

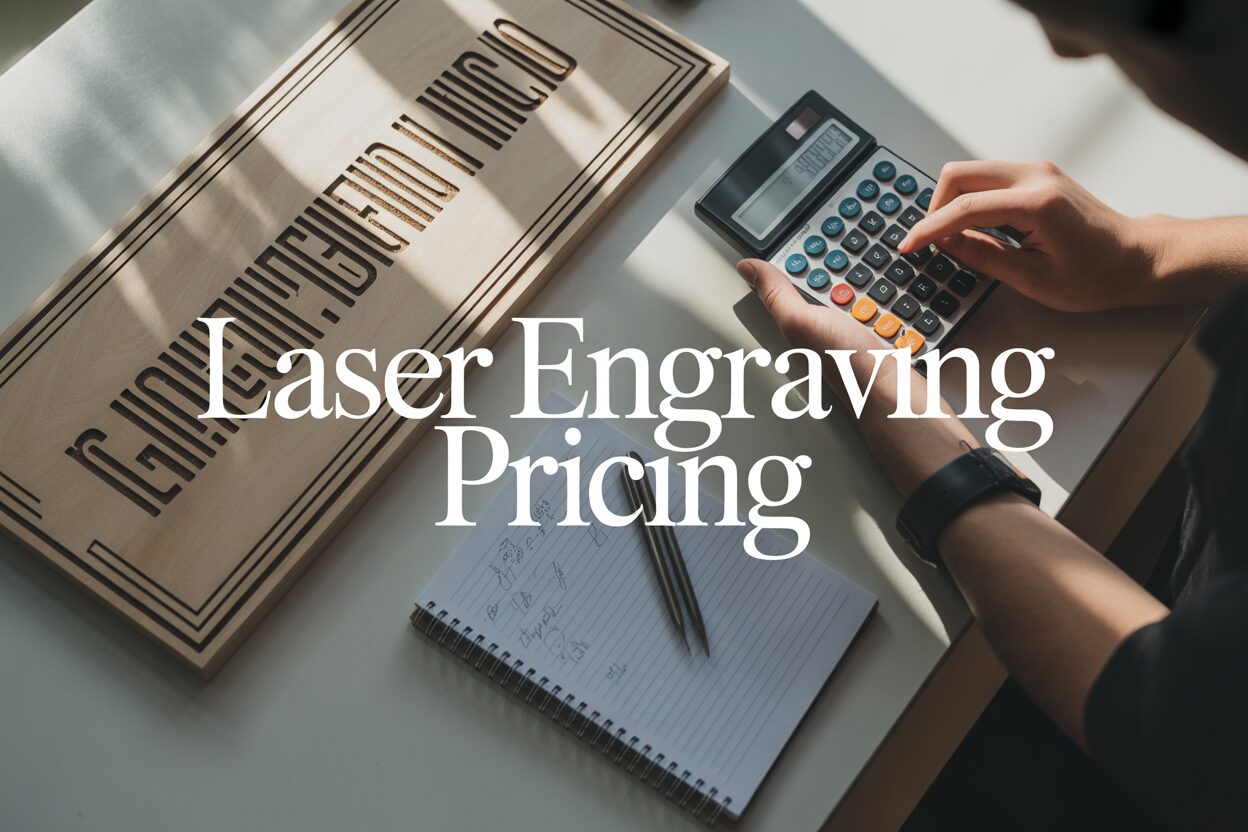
Pricing Your Laser Engraving Work for Profitability
Apr
Estimated reading time: 8 minutes
Key Takeaways
- Calculate Every Cost: A profitable price is built on a thorough understanding of all expenses, including materials (with waste), machine runtime (electricity, depreciation, consumables), and business overheads (software, rent, marketing).
- Value Your Time: Your time is not free. You must charge a fair hourly rate for every minute spent on a project, including design, customer communication, physical setup, and post-processing.
- Choose a Strategic Pricing Model: Select a pricing model that fits your business. Use Cost-Plus for predictable items, Time-Based for custom work, and Value-Based for unique, high-value products to maximize profitability.
- Research, Don’t Copy: Analyze your competition to understand the market and position your brand, but never price based on their numbers. Your prices must be rooted in your own costs and profit goals. Regularly review and adjust your pricing to stay competitive and profitable.
Table of Contents
- Introduction
- Calculating Your Foundational Costs
- Valuing Your Time and Labor
- Developing Your Pricing Strategy
- Market Research and Staying Competitive
- Conclusions
- Frequently Asked Questions
Introduction
Determining the right price for your laser-engraved goods is crucial for building a sustainable business. This guide provides a comprehensive framework for an effective laser engraving pricing strategy. We’ll explore how to calculate your true costs, value your time, and set competitive prices that ensure profitability and attract customers, turning your passion into a thriving venture.
Calculating Your Foundational Costs
Before you can set a price that guarantees profit, you must first become a master of your expenses. Every successful pricing strategy is built upon a solid understanding of the true cost to produce an item. Ignoring these foundational costs is like building a house without a foundation—it’s destined to crumble. This chapter provides a clear framework for identifying and calculating every expense, creating a reliable laser engraving cost calculator that will become the bedrock of your business. This is the most critical first step in any effective craft business pricing model.
Deconstructing Material Costs
The most tangible cost is your raw material, but accuracy here is paramount. Don’t just guess. To calculate your material cost per project, you must determine the price per unit of measure, typically per square inch. The formula is simple: Cost of Sheet / Total Square Inches = Cost Per Square Inch. For example, if you purchase a 12×24-inch sheet of birch plywood for $10, your calculation is $10 / (12 * 24), which equals $10 / 288 square inches, or approximately $0.035 per square inch. If a project requires a 4×6-inch piece, its base material cost is 24 square inches * $0.035, which is $0.84. Always remember to factor in the material used for test cuts and any unavoidable waste (the kerf of the laser beam and the unusable edges of the material). A good rule of thumb is to add a 10-15% buffer to your material calculation to cover these small but cumulative losses.
The Hidden Costs of Running Your Laser
Your laser itself incurs costs with every minute it runs. These are often overlooked but can significantly eat into your profits. We can break this down into two key areas:
- Electricity: While it may seem minor, electricity costs add up. The most accurate way to measure this is with a power consumption meter (like a Kill A Watt device) that shows exactly how many kilowatt-hours (kWh) your entire setup (laser, chiller, exhaust fan) uses. If you don’t have one, you can estimate. A 60-80W CO2 laser system might consume around 1,000 watts (1 kW) in total. Check your utility bill for your cost per kWh (e.g., $0.15/kWh). If a project takes 30 minutes (0.5 hours) to run, the electricity cost would be 1 kW * 0.5 hours * $0.15/kWh = $0.075.
- Depreciation and Consumables: Your machine has a finite lifespan and its value decreases with use—this is depreciation. To calculate this, divide the machine’s initial cost by its expected operational lifespan in hours. If your laser cost $6,000 and you expect 10,000 hours of use, your depreciation cost is $0.60 per hour of runtime. Additionally, parts like laser tubes, lenses, and mirrors are consumables that wear out. Calculate their cost per hour as well. A laser tube costing $500 with a 2,000-hour life adds another $0.25 per hour ($500 / 2000 hours). Combining these gives you a total Machine Operating Rate that you must account for every time the laser is running.
Accounting for Business Overheads
Overheads are the essential, ongoing expenses required to keep your business running, even when you’re not engraving a specific project. These include:
- Software: Subscriptions for design programs like Adobe Illustrator, CorelDRAW, or LightBurn.
- Workspace: Rent for your workshop or a designated portion of your home mortgage/rent and utilities.
- Marketing: Website hosting fees, online advertising costs, business cards, and fees for craft markets.
- Insurance: Business liability insurance.
Sum up all these costs to get a Total Monthly Overhead figure. Then, estimate the total number of hours you work on your business each month (including design, admin, and marketing, not just laser time). Divide your Total Monthly Overhead by your Total Monthly Work Hours to get your Hourly Overhead Rate. For example, if your monthly overheads are $400 and you work 80 hours per month, your hourly overhead rate is $5. This rate must be applied to every hour you spend on a project, from initial design to final packaging.
Valuing Your Time and Labor
After calculating the tangible costs of materials and machine operation, the next critical layer of your pricing model is valuing your time. Time is your most valuable non-renewable resource, and failing to charge for it properly is the fastest path to burnout and financial loss. Many craft business owners, especially when starting, make the critical mistake of thinking their time is free. It is not. Every minute you spend on a project, whether you’re at the computer or the laser, is time that must be compensated. Properly pricing laser engraved products requires a meticulous accounting of your labor from start to finish.
Your labor on any given project can be broken down into three distinct, billable phases:
- Design Time: This encompasses all the work done before the file ever gets to the laser. It includes initial customer consultations, creating a design from scratch, modifying a customer-provided file, vectorizing a low-quality image, and any back-and-forth for revisions and approvals. This is highly skilled work. An intricate custom wedding invitation design could take several hours, whereas a simple name on a cutting board might take only five minutes. You must track this time accurately.
- Setup Time: This is the hands-on preparation work. It includes cleaning and preparing the material, applying masking tape, securing the material in the laser bed using jigs, focusing the laser head, running a test frame to ensure alignment, and loading the correct settings into the software. For a single, simple item, this might only be 5-10 minutes. For a complex job with multiple pieces or a difficult material, it could be much longer. This time is non-negotiable and must be included in your cost.
- Machine Run Time: This is the time the laser is actively engraving or cutting. While much of this cost is covered by your Machine Operating Rate (depreciation, electricity) from the previous chapter, your supervision and the occupation of your primary production asset also represent a form of labor that should be accounted for in your overall time calculation.
Setting a Fair Hourly Rate
The most common question is, “What should I charge per hour?” Do not default to minimum wage. You are a skilled operator, a designer, and a business owner. Your rate should reflect that. A good starting point is to research the rates for similar skilled services in your area, such as graphic designers or specialty craftspeople. A fair rate for this kind of work often falls in the $40-$75 per hour range, depending on your experience and market. To illustrate the impact, consider a custom slate coaster. The material cost is minimal, perhaps $1.50. The machine run time is 10 minutes. If you only charge for that, you’ll fail. The correct approach for how to price laser cutting is to add the 20 minutes of design and communication plus 5 minutes of setup. At a modest $40/hour rate, that’s 35 minutes of labor, or about $23.33. Add the material and machine costs, and you have a true cost base. Without valuing your 35 minutes of labor, you would have effectively worked for free. Every minute counts, and charging for every minute is what turns a creative passion into a profitable enterprise.
Interested in more Coaster? Check out our Coaster laser file designs: Click here!
Developing Your Pricing Strategy
With a solid grasp of your foundational costs and the value of your labor, you can now construct a pricing strategy that ensures profitability. Simply guessing or matching a competitor’s price without knowing your own numbers is a recipe for failure. A strategic approach to laser engraving pricing involves choosing a model that fits your product type and business goals. There is no single “correct” method; the most successful businesses often use a hybrid approach, but understanding the core models is essential.
The Cost-Plus Pricing Model
The most straightforward method is Cost-Plus pricing. This model is built directly on the calculations from the previous chapters. The process is simple:
- Calculate your Total Project Cost: This is the sum of your Material Cost + Machine Operating Cost + Total Labor Cost + Allocated Overhead.
- Add a Markup Percentage: This markup is your profit margin.
For example, if your total cost to produce a custom cutting board is $25, and you decide on a 100% markup (also known as keystone pricing), you would multiply your cost by 2. Your wholesale price would be $50 ($25 Cost + $25 Profit). If selling directly to consumers (retail), your markup might be higher, perhaps 150-200% ($25 x 2.5 = $62.50 or $25 x 3 = $75). This model is excellent for standardized items or batch production where costs are predictable, as it guarantees that every sale is profitable.
The Time-Based Pricing Model
This model places the primary emphasis on your active labor and is particularly effective for custom jobs where design and setup time vary significantly. While similar to Cost-Plus, its formula is structured differently to highlight the value of your time: (Hourly Labor Rate x Total Project Hours) + Total Material Costs + (Machine Operating Rate x Machine Run Time). Here, “Total Project Hours” includes every phase: design, setup, and any post-processing. This method is transparent and easy to justify to clients seeking custom work. When a customer requests a complex design revision, you can clearly explain that the price will adjust based on the additional design time required. This is a powerful tool for managing client expectations and ensuring you are compensated for every minute of your expertise when selling laser cut products that are unique to each order.
The Value-Based Pricing Model
Value-Based pricing is the most advanced and potentially most profitable strategy. Instead of focusing on your internal costs, it focuses on the perceived value to the customer. The price is determined not by what it cost you to make, but by what the final product is worth to them. This is ideal for artistic pieces, highly personalized gifts (e.g., wedding items, memorial plaques), or corporate awards where the emotional or brand-building value far exceeds the material cost. For instance, a small, engraved acrylic plaque for a corporate award might have a total production cost of $15. However, the value it represents to the company—employee recognition, morale, brand image—could make it worth $100 or more. This model requires confidence and a deep understanding of your target market. To implement it, you must first calculate your “floor price” using a Cost-Plus or Time-Based model to ensure you don’t lose money. Then, you price the item based on its uniqueness, artistry, emotional significance, and the solution it provides for the client.
Market Research and Staying Competitive
Once you have calculated your costs and chosen a pricing model, you must test your numbers against the reality of the marketplace. Pricing in isolation is a critical error; you are not just selling a product, you are competing for a customer’s dollar. Effective market research is not about finding the lowest competitor and matching their price—that’s a race to the bottom where nobody wins. Instead, it’s about understanding the landscape so you can strategically position your own offerings for maximum profitability. This analysis is a cornerstone of any successful craft business pricing strategy.
The goal of competitor research is to understand the value proposition of other businesses. When you look at a competitor’s product, go beyond the price tag. Ask critical questions:
- What is the quality of their materials? Are they using premium hardwood or cheaper plywood?
- How complex and refined are their designs?
- What does their customer service and communication look like? Read their reviews.
- What is their turnaround time and what are their shipping costs? Free shipping is a cost they have absorbed into their price.
- How professional is their branding and product photography?
By analyzing these factors, you can identify where you fit. If your materials, craftsmanship, and service are superior, your prices should be higher. If you aim to be a more accessible option, your price should reflect that, but it must still be based on your own profitable cost structure.
Targeting Your Market and Standardizing Prices
Your pricing will also be heavily influenced by your target audience. The strategy for selling laser cut products varies wildly between different customer segments. A one-off, highly personalized wedding gift sold on Etsy is a transaction driven by emotion and perceived value, allowing you to use a value-based pricing model. In contrast, a B2B order for 200 branded keychains for a corporate client is a transaction driven by budget, volume, and efficiency. This client will likely expect a clear, per-unit price and potential volume discounts. You must price accordingly.
To maintain sanity and professionalism, especially when dealing with repeat or corporate clients, create a pricing sheet for your standard products and services. This internal document should list base prices for common items (e.g., a 4-inch slate coaster with a stock design), along with set fees for common add-ons like custom design work ($X per hour), setup fees for new logos, or material upgrade charges. A pricing sheet ensures consistency, allows you to generate quotes quickly and confidently, and prevents you from undervaluing your work on the fly.
Finally, remember that pricing is not a “set it and forget it” task. The market is dynamic. The cost of acrylic might spike, a new competitor could enter the market, or a new design trend could increase demand for a particular product. You must schedule time to review your foundational costs, re-evaluate your competitors, and adjust your pricing at least once or twice a year. Staying informed and adaptable is the key to remaining both competitive and, most importantly, profitable.
Conclusions
Mastering your laser engraving pricing is not just about covering costs; it’s about valuing your skill and building a profitable brand. By implementing a clear cost calculation method, valuing your design and labor time accurately, and researching your market, you can confidently price your work. This strategic approach will help you sustain your business and succeed in the competitive market of selling laser cut products.
Frequently Asked Questions
Q: What is the single biggest pricing mistake new laser engraving business owners make?
A: The most common and damaging mistake is undervaluing or completely ignoring their own labor time. They calculate material and machine costs but forget to pay themselves a fair hourly wage for design, setup, communication, and finishing work, effectively working for free and making it impossible to build a sustainable business.
Q: How do I calculate my machine’s operating cost per hour?
A: Your machine operating cost is the sum of its depreciation per hour and its consumables cost per hour. To find the depreciation, divide the total cost of your laser setup by its expected lifespan in hours. For consumables, do the same for parts like the laser tube, lenses, and mirrors (e.g., cost of tube / expected hours of life = tube cost per hour). Add these figures together for a total machine rate.
Q: Should I just find a competitor and price my products a little lower than theirs?
A: No, this is a dangerous strategy known as a “race to the bottom.” You don’t know your competitor’s costs, efficiency, or business goals. Pricing below them without knowing your own numbers could mean you’re losing money on every sale. Instead, research competitors to understand the market’s value perception, then set your prices based on your own calculated costs and desired profit margin.

Subscribe to Our Newsletter
And enjoy FREE Download Files, SALE Alerts and Inspiring TIPS
Pricing Your Laser Engraving Work for Profitability
A Comprehensive Guide to Pricing Your Laser Engraving Services
A Comprehensive Guide on How to Price Laser Engraving Services
Charcuterie Board Engraving File – Wine & Grapes 3D Illusion…
$4.00Original price was: $4.00.$3.00Current price is: $3.00.(25% off)
Bee and Honey Jar Charcuterie Board Engraving File | PNG Download #007…
$4.00Original price was: $4.00.$3.20Current price is: $3.20.(20% off)
Valentine Love Captions: 6 Charcuterie Board Engraving Files…
$8.00Original price was: $8.00.$5.60Current price is: $5.60.(30% off)
American Eagle Flag Laser Engraving File for Charcuterie & Cutting…
$4.00Original price was: $4.00.$2.80Current price is: $2.80.(30% off)