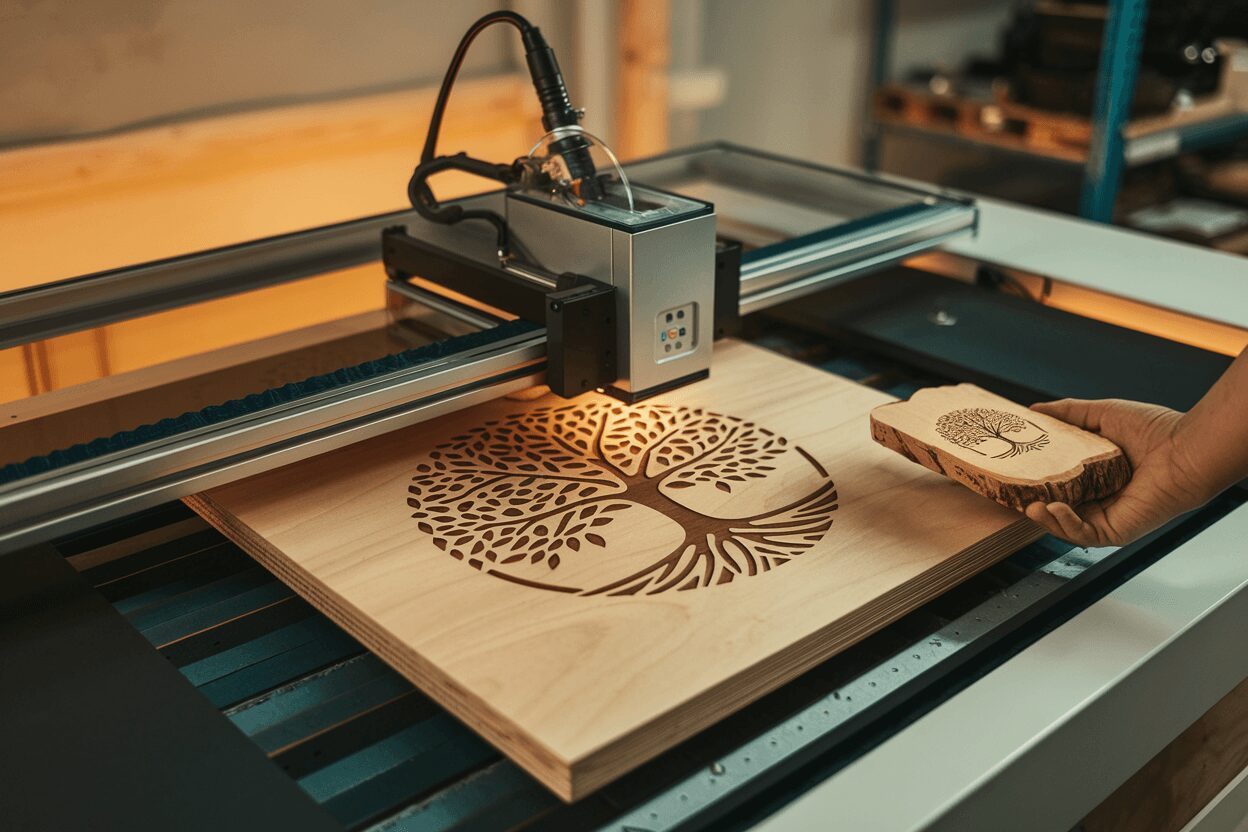
Laser Engraving for Beginners: Step-by-Step Guide to Your First Project
Laser engraving is a versatile and exciting technology that allows you to create intricate and precise designs on a wide variety of materials. Whether you’re a hobbyist looking to explore a new craft, or a professional looking to expand your skillset, laser engraving is a great option. In this guide, we’ll take you through the process of creating your first laser engraving project, from start to finish.
Step 1: Choose Your Material
The first step in any laser engraving project is to choose the material you will be working with. Laser engravers can be used on a wide variety of materials, including wood, plastic, metal, and glass. Each material has its own unique properties and will require different settings on the laser engraver. For your first project, we recommend starting with a simple material like wood or plastic.
Step 2: Create Your Design
Once you have chosen your material, the next step is to create your design. This can be done using a variety of software programs, such as Adobe Illustrator, Inkscape, or AutoCAD. When creating your design, keep in mind the size and shape of your material, as well as the capabilities of your laser engraver. For your first project, we recommend starting with a simple design, such as a text or a simple shape.
Step 3: Prepare Your Material
Once you have your design ready, the next step is to prepare your material for engraving. This may involve cleaning the material, securing it in place, and adjusting the settings on your laser engraver. Be sure to follow the manufacturer’s instructions for preparing your specific material.
Step 4: Engrave Your Design
Now it’s time to engrave your design! Place your material in the laser engraver and use the software to align your design with the material. Then, start the engraving process. Be sure to monitor the engraving process to ensure that everything is going smoothly and that the settings are correct.
Step 5: Inspect Your Engraving
Once the engraving process is complete, inspect your engraving to ensure that it meets your expectations. If there are any issues, such as uneven engraving or poor quality, you may need to adjust the settings on your laser engraver and try again.
Step 6: Clean Up
Finally, be sure to clean up your workspace and properly store your laser engraver and materials. This will help ensure that your laser engraver is ready for your next project.
Laser engraving is a fun and rewarding technology that allows you to create intricate and precise designs on a wide variety of materials. With this step-by-step guide, you now have all the information you need to create your first laser engraving project. So, gather your materials, fire up your laser engraver, and get started on your first project today!
Please note that this is a general guide and the specific steps may vary depending on the laser engraver and materials you are using. Always be sure to follow the manufacturer’s instructions and safety guidelines when using a laser engraver.
Also, it is important to note that Laser Engraving can produce harmful fumes and particulates, it is essential to use a proper ventilation system and safety equipment such as safety glasses and gloves.
Additionally, Laser Engraving can be a loud process, it is recommended to use the laser engraver in a well-ventilated area, and to notify people around you before starting the engraving process.
Lastly, always double-check the settings and the material before starting the engraving process, as incorrect settings or unsuitable materials can cause damage to the laser engraver or even pose a safety hazard.
With the right preparation, safety measures and knowledge, laser engraving can be a fun and rewarding hobby or profession.


Subscribe to Our Newsletter
And enjoy FREE Download Files, SALE Alerts and Inspiring TIPS


A Beginner’s Guide to Crafting a Laser Cut Box
How to Create a Stunning Personalized Charcuterie Board
A Step-by-Step Guide to Creating Engraved Slate Coasters
Charcuterie Board Engraving File – Wine & Grapes 3D Illusion…
$4.00Original price was: $4.00.$3.00Current price is: $3.00.(25% off)
Valentine Love Captions: 6 Charcuterie Board Engraving Files…
$8.00Original price was: $8.00.$5.60Current price is: $5.60.(30% off)
Bee and Honey Jar Charcuterie Board Engraving File | PNG Download #007…
$4.00Original price was: $4.00.$3.20Current price is: $3.20.(20% off)
American Eagle Flag Laser Engraving File for Charcuterie & Cutting…
$4.00Original price was: $4.00.$2.80Current price is: $2.80.(30% off)