

 Français
 Deutsch
 Español
 Italiano
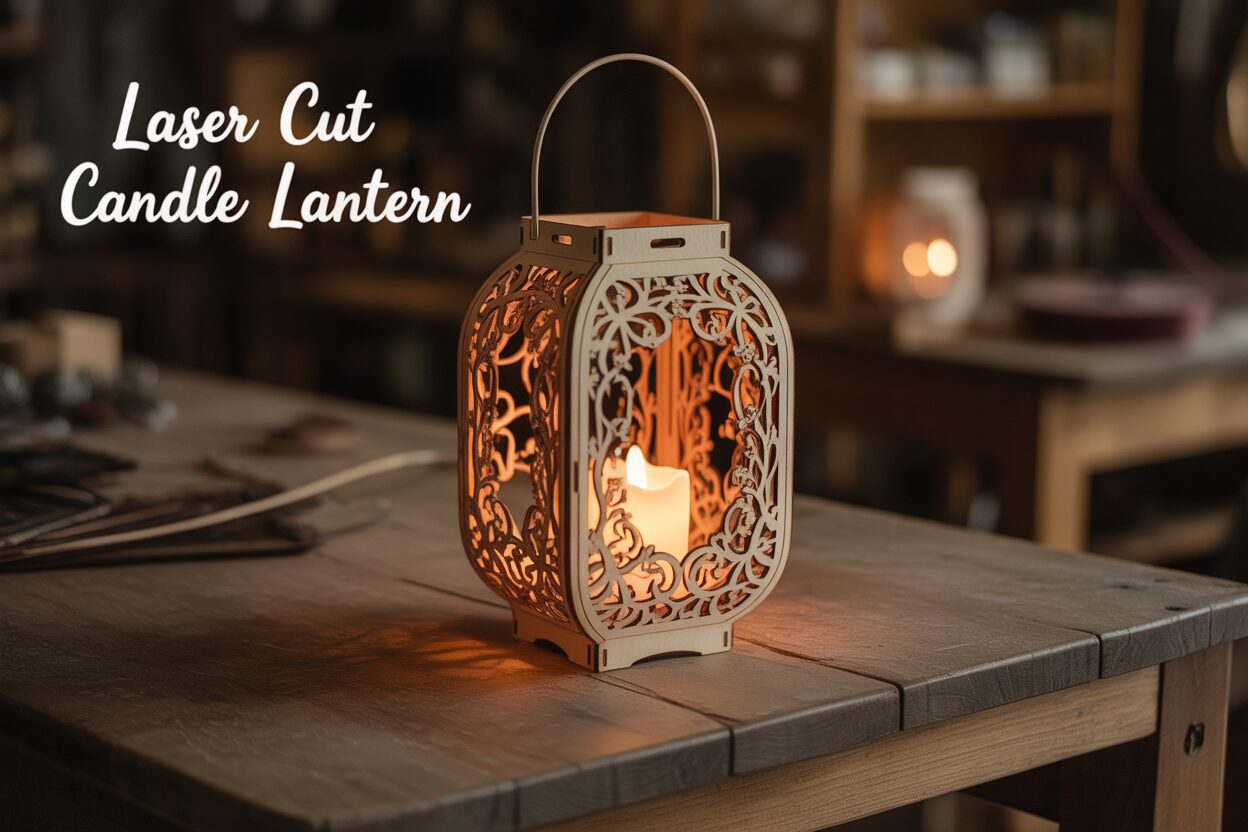
How to Make a Beautiful Laser Cut Candle Lantern
Aug
Estimated reading time: 6 minutes
Key Takeaways
- Material Matters: The choice between 3mm birch plywood for a natural look and MDF for a paintable surface is the first key decision that impacts the lantern’s aesthetic and durability.
- Design and Preparation: Use a pre-tested design file for reliability or create your own, but always verify structural integrity and test joints before cutting. Customize your lantern with laser-engraved patterns for a personal touch.
- Safety First Cutting: Always monitor your laser cutter while it’s in operation due to fire risk, and ensure proper ventilation is active. Use test cuts on scrap material to perfect your machine’s settings.
- Assemble with Care: Perform a “dry fit” before gluing to ensure all pieces align. Use a combination of CA glue for quick tacking and wood glue for long-term strength.
- NEVER Use a Real Flame: For safety, exclusively use battery-operated LED flameless candles. Placing a real candle inside a wooden lantern is an extreme fire hazard.
Table of Contents
Discover the charm of handcrafted decor with a laser-cut candle lantern. This project blends intricate design with the warmth of natural wood, creating a stunning centerpiece for any room. This guide will walk you through every step, from selecting your materials and design to the final assembly, making it easy to create your own beautiful, glowing lantern.
Choosing the Right Design and Materials
The foundation of a stunning laser cut candle lantern lies in two key decisions: the material you choose and the design you bring to life. These initial choices will dictate the lantern’s aesthetic, its durability, and the complexity you can achieve. Taking the time to consider these elements carefully will ensure a smooth and successful project from the very first cut.
The most common and highly recommended materials for this type of project are thin plywoods and MDF. Birch plywood, typically 3mm (1/8 inch) thick, is a popular favorite. It’s relatively strong for its weight, has an attractive natural wood grain that can be stained or left raw, and cuts cleanly. However, be aware that plywood can have hidden voids or inconsistencies in the inner layers, which can sometimes cause a small section of your cut to fail. Medium-Density Fiberboard (MDF) is another excellent option. It offers a perfectly uniform surface with no grain, making it ideal if you plan to paint your lantern. It’s often cheaper than plywood, but it is less durable and creates more fine dust when cut. The thickness of your material is crucial. A standard 3mm wood is a perfect balance for most lantern designs, offering good stability while being thin enough for intricate cutouts. For a very large or robust lantern, you might consider 5mm or 6mm (1/4 inch) wood, but be prepared for longer cutting times. Thinner materials, like 2mm wood, can be used for exceptionally delicate, lace-like designs, but the final product will be much more fragile.
Finding and Finalizing Your Lantern Blueprint
With your material selected, it’s time to choose your wood candle lantern design. You can either use a pre-made file or create one yourself. For beginners, starting with a professionally designed, pre-tested file is highly recommended. Websites like Etsy, design marketplaces, and even some open-source communities offer thousands of beautiful lantern designs in formats like SVG, DXF, or AI. When choosing a pre-made file, look for designs with clear instructions, photos of the finished product, and positive reviews. This helps ensure you’re getting a file that is not only beautiful but also structurally sound and easy to assemble. If you’re feeling more adventurous and have experience with vector design software like Adobe Illustrator or the free alternative Inkscape, you can design your own lantern. A great starting point is a basic box with interlocking finger joints. From there, you can begin adding your decorative cutouts to the panels.
Whether you’ve downloaded a design or created your own, the final step before cutting is a thorough inspection and personalization. The flat panels of a lantern are a perfect canvas for customization. Consider adding decorative laser engraving patterns to the solid areas of your panels. You could engrave intricate mandalas, delicate floral patterns, names, or meaningful dates to make the lantern uniquely yours. Engraving adds incredible detail without compromising the strength of the panel. Most importantly, you must verify the design’s structural integrity. Check the joints—they are the skeleton of your lantern. They should be designed to be snug, accounting for your laser’s kerf (the tiny amount of material the laser vaporizes). A good practice is to cut a single male and female joint as a test to ensure they fit together perfectly with your chosen material. If they are too loose, the lantern will be wobbly; too tight, and you risk snapping the wood during assembly. Finally, look at the overall design. Are there any support struts that are too thin? Are the cutout patterns so dense that the remaining panel is too weak? A design that looks stunning on screen might be too fragile in reality. Ensure there is enough solid material to hold everything together securely.
Laser Cutting Your Lantern Components
With your design finalized and material chosen, it’s time for the most exciting step: bringing your lantern to life with the laser. This process transforms your digital blueprint into tangible wooden pieces. Proper preparation of your file and machine settings is the key to a clean, precise, and successful cut.
First, prepare your digital file for the laser cutter’s software. Most laser software uses different colors to distinguish between operations. A common convention is to set all lines you want to cut completely through the material to a specific color (like red) with a very thin stroke weight (e.g., 0.01mm). Lines for scoring—a light cut that doesn’t go all the way through, perfect for fold lines or decorative accents—should be a different color (like blue). Any areas for engraving, such as the laser engraving patterns we discussed, should be filled with a solid color (often black). Double-check your file for any overlapping lines or unclosed shapes, as these can confuse the laser and result in incomplete cuts or errors. Once your file is color-coded, you’re ready to send it to the machine.
From Digital File to Physical Cut
Let’s use a Glowforge lantern project as an example workflow. After turning on the Glowforge and its attached ventilation, you place your sheet of birch plywood or MDF onto the machine’s honeycomb bed. The software’s web interface will show you a camera view of the bed, allowing you to drag and drop your design directly onto the image of your material, positioning it to maximize wood usage and avoid any imperfections. The Glowforge software automatically recognizes the different colors in your SVG file and separates them into distinct operations. You can then assign a process to each color: cut, score, or engrave. If you are using their proprietary “Proofgrade” materials, the machine will read a QR code on the material and automatically apply the perfect power and speed settings. If using your own material, you will need to enter settings manually. A good starting point for 3mm birch plywood is typically a moderate speed with high power for cutting. Always run a small test cut on a scrap piece of your material before committing to the full job. This allows you to fine-tune the power and speed to ensure it cuts cleanly through without creating excessive charring.
Safety is paramount during the cutting process. A laser cutter is essentially a focused beam of light that burns material away—it is a fire hazard. Never, ever walk away from your laser while it is operating. Small flare-ups are common, especially with woods containing sap or glue, and you must be present to pause the job and extinguish them if they don’t self-extinguish immediately. Ensure your machine’s fume extraction system is running properly and is vented to the outside. The fumes from cutting wood and especially MDF can be harmful to inhale. Once the job is complete, wait a minute for the smoke to clear before opening the lid. The freshly cut sheet will be hot. Carefully remove the entire sheet from the laser. Some pieces may fall out on their own, but others, especially those with intricate details, will remain in the sheet. Gently poke them from the back or use a small weeding tool or craft knife to carefully nudge the connection points until the pieces release. Patience here will prevent you from accidentally snapping a delicate part of your beautiful lantern.
Assembly and Finishing Touches
You’ve successfully navigated the design and cutting phases, and now you have a sheet of beautifully intricate wooden pieces. This final stage of assembly and finishing is where your project transforms from a collection of flat parts into a three-dimensional work of art. A little patience and attention to detail here will result in a professional-quality lantern you can be proud of.
The first rule of assembling laser cut wood is to always perform a “dry fit” before reaching for any adhesive. Gently slot all the pieces together without any glue to ensure everything aligns as intended. This is your chance to identify any joints that are too tight. If a joint is snug, you can lightly sand the edges of the tab until it fits smoothly. Forcing a tight joint will likely cause the wood to snap. Once you’re confident in the fit, you can begin the final assembly. Your choice of adhesive is important. Standard wood glue (PVA glue) creates an incredibly strong, durable bond and is quite forgiving, allowing you to reposition pieces for a few minutes. The downside is its long drying time. For a faster bond, you can use CA glue (cyanoacrylate or “super glue”) with an activator spray. This provides a near-instant bond, which is great for tacking pieces together quickly but offers no room for error. A good strategy is to use small dabs of CA glue to hold the structure in place, then apply a thin bead of wood glue along the inside seams for long-term strength. As you join the sides, ensure the lantern is perfectly square. Assemble it on a flat surface and use a small framing square or even a couple of heavy books to hold the corners at a 90-degree angle while the glue sets.
Polishing Your Creation with Finishing Touches
With the main structure assembled, it’s time for the finishing touches that elevate your DIY laser cut lantern from a craft project to a decorative masterpiece. The edges of laser-cut wood often have a dark, smoky residue. While some people like this rustic, toasted look, you can easily remove it for a cleaner finish. Use a fine-grit sandpaper (220-grit or higher) to lightly sand the faces and edges of your lantern. This will remove the burn marks and also smooth out the wood surface, preparing it for a finish. Be gentle, especially around intricate cutouts. For cleaning smoke stains off the surface, a cloth dampened with isopropyl alcohol often works wonders. Next, decide if you want to stain, paint, or seal your lantern. Applying a wood stain can enrich the natural grain of birch plywood, giving it a deeper, warmer color. Painting allows for complete customization to match any decor. For both staining and painting, it’s often easiest to finish the individual pieces *before* assembly, being careful not to get any paint or stain inside the joint slots, as this can interfere with the fit. If you love the natural look of the wood, a simple clear coat is the best option. A few light coats of a spray-on satin or semi-gloss polyurethane will protect the wood from moisture and dust and give it a beautiful, professional sheen. Finally, and most importantly, is the choice of candle. Under no circumstances should you ever place a real wax-and-wick candle inside a wooden lantern. It is an extreme fire hazard. Instead, use a battery-operated LED flameless candle. Modern LED candles provide a surprisingly realistic flickering effect, offering all the ambiance with none of the danger, ensuring your beautiful creation can be enjoyed safely for years to come.
You have now successfully crafted a beautiful laser-cut candle lantern. This project demonstrates the incredible precision and creative potential of your machine. By following these steps, you can create personalized and intricate decor for yourself or as a thoughtful gift. Experiment with different designs and finishes to make each lantern uniquely yours and light up your space.
Frequently Asked Questions (FAQ)
Q: What is the best material for a laser-cut lantern?
A: For a natural wood look, 3mm (1/8 inch) birch plywood is a top choice due to its strength and attractive grain. If you plan to paint your lantern, MDF is an excellent alternative as it provides a perfectly smooth, uniform surface.
Q: Can I use a real candle in my wooden lantern?
A: No. Under no circumstances should you ever use a real flame candle. It is an extreme fire hazard that can easily ignite the wood. Always use a battery-operated LED flameless candle to safely enjoy the ambiance.
Q: How do I get my laser-cut pieces to fit together properly?
A: Always perform a “dry fit” without glue first. If a joint is too tight, you can lightly sand the tab until it fits smoothly. For best results, cut a small test piece of a male and female joint from your chosen material to verify your laser’s kerf settings before cutting the entire project.
Q: My laser-cut edges are dark and smoky. How can I clean them?
A: While some prefer the rustic look, you can easily clean the edges. Use a fine-grit sandpaper (220-grit or higher) to lightly sand the faces and edges. For smoke stains on the surface, a cloth lightly dampened with isopropyl alcohol is also very effective.

Subscribe to Our Newsletter
And enjoy FREE Download Files, SALE Alerts and Inspiring TIPS
Pricing Your Laser Engraving Work for Profitability
A Comprehensive Guide to Pricing Your Laser Engraving Services
A Comprehensive Guide on How to Price Laser Engraving Services
Charcuterie Board Engraving File – Wine & Grapes 3D Illusion…
$4.00Original price was: $4.00.$3.00Current price is: $3.00.(25% off)
Bee and Honey Jar Charcuterie Board Engraving File | PNG Download #007…
$4.00Original price was: $4.00.$3.20Current price is: $3.20.(20% off)
Valentine Love Captions: 6 Charcuterie Board Engraving Files…
$8.00Original price was: $8.00.$5.60Current price is: $5.60.(30% off)
American Eagle Flag Laser Engraving File for Charcuterie & Cutting…
$4.00Original price was: $4.00.$2.80Current price is: $2.80.(30% off)