

 Français
 Deutsch
 Español
 Italiano
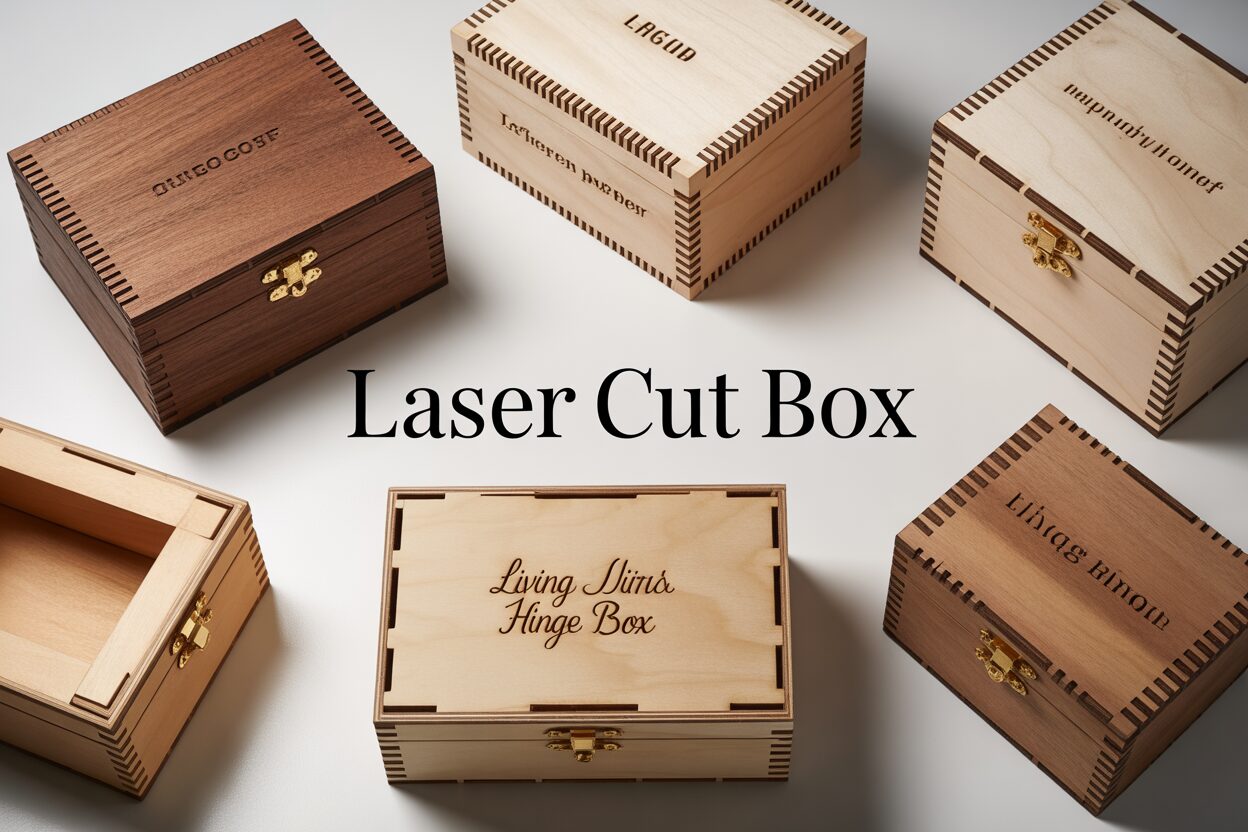
Designing and Crafting Your Own Laser Cut Box
Sep
Estimated reading time: 8 minutes
Key Takeaways
- A precise laser cut box file is the most critical element for a successful project, with finger joints and kerf compensation being fundamental design concepts.
- Understanding and compensating for kerf—the material vaporized by the laser—is essential for creating snug, professional-looking joints.
- Online tools like MakerCase or Boxes.py can generate basic box designs, which you can then customize with engravings, handles, or decorative lids.
- Baltic Birch plywood is the recommended material for beginners due to its stability, consistent cutting quality, and excellent surface for engraving.
- Advanced techniques like creating a living hinge or adding decorative inlays can transform a simple box into a unique, high-value piece of craftsmanship.
Table of Contents
- Essential Design Principles for Laser Cut Boxes
- Choosing the Right Materials for Your Project
- Advanced Techniques for Unique Box Creations
- Conclusions
- Frequently Asked Questions
Discover the art of creating custom boxes with your laser cutter. This guide will walk you through the entire process, from initial design concepts and material selection to assembly and finishing. Whether you’re making a simple storage container or an intricate decorative piece, you’ll gain the skills needed to produce professional-quality results for any project.
Interested in more Boxes? Check out our Boxes laser file designs: Click here!
Essential Design Principles for Laser Cut Boxes
A successful laser cut project begins not with the hum of the machine, but on the digital canvas. The quality of your laser cut box file is the single most important factor determining the final product’s fit, strength, and overall appearance. A rushed or imprecise design will inevitably lead to a wobbly, ill-fitting box, wasting both time and material. Taking the time to master the fundamentals of digital design is the true foundation of crafting a beautiful and functional wooden box design.
The cornerstone of most laser cut boxes is the finger joint, also known as a box joint. This classic woodworking joint is perfectly suited for laser cutting, creating strong, self-aligning right-angle connections. The concept is simple: a series of interlocking rectangular tabs, or “fingers,” on the edge of one panel fits perfectly into a corresponding series of notches on another. To create this in design software like Adobe Illustrator or LightBurn, you must be precise. The length of each finger must exactly match the thickness of your material. For example, if you are using 3mm plywood, your fingers must extend 3mm. The process involves creating a pattern of alternating positive shapes (the fingers) and negative spaces (the notches) along the edge of a panel. This pattern is then mirrored on the adjoining panel, ensuring that where one piece has a finger, the other has a notch, allowing them to slot together seamlessly.
Understanding and Compensating for Kerf
The most critical concept separating beginners from experienced makers is understanding kerf. The laser beam is not an infinitely thin line; it has a physical width and vaporizes a small amount of material as it cuts. This vaporized path is the kerf. While often less than a millimeter, this tiny gap is the difference between a snug, professional-looking joint and a loose, sloppy one. If you design a 3mm finger to fit into a 3mm notch, the laser will remove the kerf from both sides, making the resulting finger slightly smaller and the notch slightly larger, creating a loose fit. To achieve that satisfyingly snug press-fit, you must compensate for the kerf. The best way to determine your laser’s kerf is to perform a test cut on the specific material you’ll be using. A common method is to design and cut a small 20mm x 20mm square, then precisely measure the resulting piece and the hole it was cut from. The difference in size is a direct result of the kerf. To compensate in your design, you must make the fingers slightly wider and the notches slightly narrower by your measured kerf value (or half the kerf on each side). This ensures that after the laser removes material, the parts fit together perfectly.
Using Box Generators and Refining Your Design
Creating a box design from scratch can be daunting, especially when accounting for kerf on every joint. Fortunately, you don’t have to start with a blank page. Online box generators like MakerCase or Boxes.py are invaluable tools. These web-based applications allow you to simply input your desired dimensions (height, width, depth), material thickness, and even your kerf value. With a click, they generate a complete, ready-to-cut laser cut box file in formats like SVG or DXF. These generators are the perfect starting point. You can download the basic file and then import it into your preferred design software to add your personal touch. This is where you can transform a simple container into a unique creation by adding intricate engravings, cutting out handles, or designing a decorative lid. Finally, consider both structure and style in your final design.
- For a stronger box, use more, smaller fingers rather than a few large ones.
- Pay attention to the wood grain direction on your panels for maximum strength and visual appeal.
- Use engravings to add text, logos, or patterns that make the box uniquely yours.
- Consider creating an inlaid lid using a contrasting wood type for a high-end, aesthetic touch.
By combining precise joint design, accurate kerf compensation, and creative flourishes, you can design a box that is not only structurally sound but also a beautiful piece of craftsmanship.
Choosing the Right Materials for Your Project
The material you choose is the very soul of your box, dictating its strength, appearance, and the character it will develop over time. While a laser can cut a vast array of materials, wood and its derivatives are the most common and rewarding for box making. The overwhelmingly popular choice, especially for beginners and professionals alike, is plywood. A plywood box laser cut offers the best balance of cost, stability, and workability. Not all plywood is created equal, however. The gold standard for laser cutting is Baltic Birch. This multi-ply product is known for its void-free core, which means the laser cuts through consistent material without hitting air pockets or glue patches that can cause flare-ups or incomplete cuts. Its cross-banded layers provide exceptional dimensional stability, resisting warping far better than solid wood. Furthermore, its smooth, light-colored surface provides a perfect canvas for crisp, high-contrast engravings. Cheaper craft store or construction-grade plywoods often contain fillers and inconsistencies in the core layers, leading to unpredictable results and a frustrating cutting experience.
Exploring Alternatives to Plywood
While Baltic Birch is a fantastic all-rounder, other materials offer unique properties for different applications.
- Solid Wood: For a truly premium feel, nothing beats solid wood like cherry, walnut, or oak. The natural grain and color variations are beautiful. However, solid wood is more challenging to laser cut. Its density varies between the harder grain lines and softer material, which can result in uneven cutting and more pronounced charring on the edges. It is also more prone to warping with changes in humidity and is generally more expensive.
- MDF (Medium-Density Fiberboard): MDF is an engineered wood product made from compressed wood fibers. Its key advantage is its absolute uniformity. It has no grain or voids, so it cuts and engraves with perfect consistency. It’s also very affordable. The downsides are its rather plain appearance (it’s best when painted) and the fine, unpleasant dust it produces when cut. It is also less durable than plywood and can swell if it gets wet.
- Acrylic: For a modern or decorative box, acrylic is an excellent choice. It comes in a huge range of colors, from crystal clear to opaque black, and even glitter or fluorescent finishes. When cut with a laser, it produces a beautiful, flame-polished edge. However, it’s more brittle than wood and can crack if the joints are too tight. It also requires different laser settings (typically lower power and higher speed) to avoid melting.
Material Choice for Special Projects and Design Considerations
When creating a special laser cut gift box, the material choice elevates the project from simple storage to a cherished keepsake. Consider using a premium solid wood like walnut for its rich, dark tones, or maple for its light, elegant grain. You can also use wood veneers applied to a stable plywood or MDF core to get the look of exotic wood without the cost or cutting difficulties. The final crucial consideration is material thickness. Common thicknesses like 3mm (1/8 inch) and 6mm (1/4 inch) are popular for a reason. Thinner materials cut faster but result in a more delicate box, while thicker materials create a much more robust and substantial product. Remember, as discussed in the previous chapter, the material thickness directly dictates the length of your finger joints. You must design your joints to exactly match the thickness of the material you have chosen, making this decision a foundational part of the design process itself.
Advanced Techniques for Unique Box Creations
Once you have mastered the standard six-sided cube, you can begin to explore advanced techniques that transform a simple container into a functional work of art. These methods require more precision in the design phase but the results are incredibly rewarding, allowing you to create truly unique and memorable pieces. By integrating complex features directly into your laser cut box file, you can craft items like a personalized laser cut gift box that is as impressive as the gift it contains.
The Magic of the Living Hinge
One of the most captivating techniques in laser cutting is the creation of a ‘living hinge’. This ingenious design allows you to bend a rigid material like plywood or MDF as if it were flexible, creating beautiful curves and rounded lids from a single flat piece. A living hinge box eliminates the need for a separate, flat lid, offering a seamless and organic aesthetic. The hinge itself is not a mechanical component but a precise pattern of cuts that leaves just enough material to hold the piece together while allowing it to flex. To design a living hinge:
- Define the Hinge Area: In your design software, create a rectangular area on your box panel where you want the bend to occur.
- Create the Cut Pattern: The most common pattern consists of a series of long, parallel lines that run perpendicular to the direction of the intended bend. These lines must not extend to the very edge of the panel; leave a solid border on all sides for structural integrity.
- Mind the Gaps: The spacing of these cuts is critical. The small strips of material left between the cuts act as the “springs” of the hinge. A typical starting point for 3mm plywood is to have cuts spaced about 1.5mm to 2mm apart. Too close, and the hinge will be weak and prone to breaking. Too far apart, and it won’t be flexible enough.
- Test, Test, Test: Always cut a small test strip of your hinge pattern on your chosen material before committing to the full project. This allows you to check its flexibility and durability. The grain direction of plywood is also a factor; a living hinge bends most easily and reliably across the grain of the surface veneer.
Inlays, Engravings, and Complex Closures
Beyond bending wood, you can add layers of detail and functionality. Creating an inlaid lid is a superb way to add a touch of elegance. This involves designing a shallow pocket on the lid’s surface using a vector engraving setting in your software. You then cut the inlay piece—a monogram, a logo, or a pattern—from a contrasting material like a thin wood veneer or a different color of acrylic. By carefully compensating for kerf, you can make the inlay piece slightly oversized for a tight, friction-fit press. For a truly professional look, intricate engraved patterns can cover the surfaces of your laser cut box. Rather than simple text, consider using complex geometric patterns, floral motifs, or even high-detail photo engravings to create a stunning visual texture. Finally, move beyond a simple lift-off lid. You can design integrated sliding lids that run in a groove cut into the box’s inner walls, or even create simple mechanical closures, like a rotating clasp or a small pin-lock mechanism, all cut from the same sheet of wood and incorporated into your initial design. By combining these advanced techniques, your projects are limited only by your imagination.
Conclusions
You now have the fundamental knowledge to design and create stunning laser-cut boxes. By applying these principles and techniques, you can turn simple materials into personalized works of art. Don’t be afraid to experiment with different designs and materials to explore the full potential of your laser cutter and bring your unique ideas to life.
Frequently Asked Questions
Q: What is the most important factor for a good laser cut box?
A: The quality and precision of the digital laser cut box file is the single most important factor. A well-designed file with accurate finger joints and proper kerf compensation is the foundation for a strong, well-fitting final product.
Q: What is kerf and why do I need to compensate for it?
A: Kerf is the width of material that the laser beam vaporizes as it cuts. You must compensate for it in your design by making fingers slightly wider and notches slightly narrower. If you don’t, the removal of material from both pieces will result in a loose, sloppy joint instead of a snug press-fit.
Q: What is the best material for beginners making a laser cut box?
A: Baltic Birch plywood is highly recommended for beginners. It is cost-effective, dimensionally stable, and has a void-free core that ensures consistent and reliable cutting. Its smooth, light surface is also an excellent canvas for high-contrast engravings.
Q: How does a living hinge work?
A: A living hinge is an intricate pattern of cuts made in a rigid material like plywood. These cuts remove enough material to allow the sheet to become flexible and bend along the pattern, creating curved surfaces or seamless lids from a single flat piece without needing mechanical hinges.

Subscribe to Our Newsletter
And enjoy FREE Download Files, SALE Alerts and Inspiring TIPS
A Comprehensive Guide on How to Price Laser Engraving Services
How to Price Your Laser Engraving and Cutting Services
The Ultimate Guide to Crafting a Laser Cut Box
Charcuterie Board Engraving File – Wine & Grapes 3D Illusion…
$4.00Original price was: $4.00.$3.00Current price is: $3.00.(25% off)
Bee and Honey Jar Charcuterie Board Engraving File | PNG Download #007…
$4.00Original price was: $4.00.$3.20Current price is: $3.20.(20% off)
Valentine Love Captions: 6 Charcuterie Board Engraving Files…
$8.00Original price was: $8.00.$5.60Current price is: $5.60.(30% off)
American Eagle Flag Laser Engraving File for Charcuterie & Cutting…
$4.00Original price was: $4.00.$2.80Current price is: $2.80.(30% off)