

 Français
 Deutsch
 Español
 Italiano
Creating the Perfect Personalized Charcuterie Board with a Laser Engraver
Dec
Estimated reading time: 6 minutes
Key Takeaways
- Material Matters: The choice of material—like fine-grained maple for detail, rustic olive wood for bold designs, or modern slate for high contrast—is critical to the final look of your engraved board.
- Preparation is Key: For a clean, professional result on wood, always apply a layer of masking tape to prevent smoke staining and conduct a test run on scrap material to dial in your laser settings.
- Finish for Safety and Beauty: Always use a food-safe finish, such as mineral oil or a beeswax blend, to protect the wood, ensure it’s safe for food contact, and dramatically enhance the contrast of the engraving.
Table of Contents
- Selecting the Ideal Board and Digital Design
- The Laser Engraving Process Step-by-Step
- Finishing and Caring for Your Engraved Board
- Conclusions
- Frequently Asked Questions
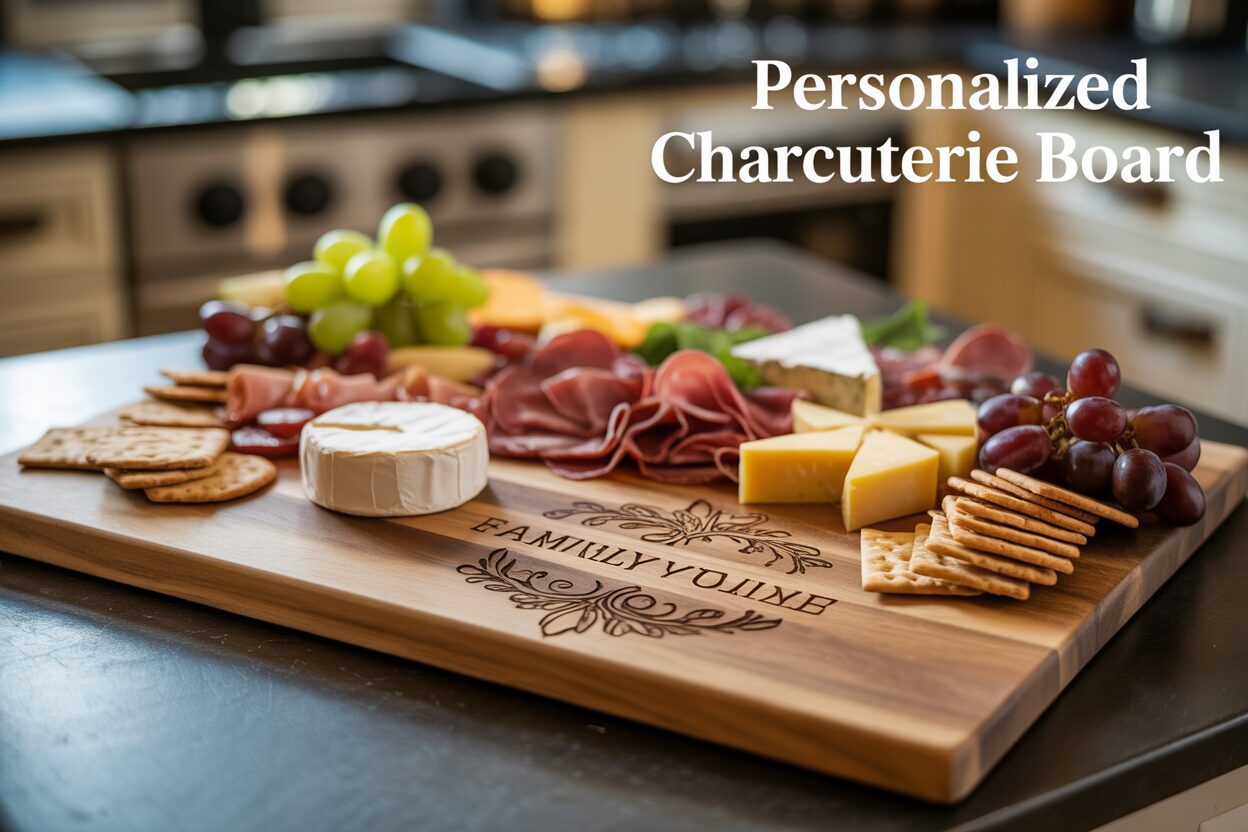
Discover how to transform a simple piece of wood or slate into a stunning personalized charcuterie board. This guide will walk you through selecting the right materials, the laser engraving process, and applying a food-safe finish. Elevate your hosting game or create a heartfelt, custom gift that will be cherished for years to come.
Interested in more Charcuterie Board? Check out our Charcuterie Board laser file designs: Click here!
Selecting the Ideal Board and Digital Design
The foundation of a truly memorable personalized charcuterie board lies in the careful selection of two key elements: the board itself and the digital design you’ll engrave upon it. This pairing is not just a matter of taste; it’s a technical decision that will directly impact the final quality and visual appeal of your project. A complex, delicate design can get lost in a heavily grained wood, while a simple monogram might look underwhelming on a large, plain surface. Mastering this combination is the first step toward creating a professional-grade piece.
Choosing Your Canvas: The Board Material
The ideal board for laser engraving has a tight, consistent grain and a smooth, flat surface. Porous woods or those with very prominent, uneven grains can cause the laser to engrave inconsistently, resulting in a patchy or unclear design. Here’s a breakdown of popular materials:
- Maple: Often considered the gold standard for engraving, maple boasts a light, uniform color and a very fine, subtle grain. This creates a perfect, high-contrast canvas where the dark burn of the laser stands out beautifully. It’s an excellent choice for highly detailed designs, intricate text, and photographic engravings. Its primary con is that, as a lighter wood, it can stain more easily over time.
- Olive Wood: Prized for its dramatic, swirling grain and rich, warm tones, olive wood creates an undeniably luxurious and rustic board. Each piece is entirely unique. However, that beautiful, wild grain can be a double-edged sword. It can interfere with or obscure fine details in a design. Olive wood is best suited for bold, simple engravings like large initials, family names, or simple logos that can hold their own against the wood’s natural character.
- Acacia Wood: Known for its remarkable color variations, which can range from light blonde to deep brown within a single piece, acacia is both durable and visually striking. This variation is also its biggest challenge for engraving. The laser may react differently to the lighter and darker sections, potentially creating an uneven burn. It’s a great option for bold text or geometric patterns, but always run a power test on a discreet area first.
- Slate: For a modern and elegant alternative, consider slate. When a laser engraves slate, it ablates the top surface, revealing a lighter, grayish-white layer underneath. This creates a crisp, permanent, and exceptionally high-contrast mark. Slate is perfect for sophisticated designs, logos, and detailed text. Its main drawback is its fragility; it can chip or break if dropped and is strictly for serving, not cutting.
Finding the Perfect Artwork: The Digital Design
Once you have your material, it’s time to select the art that will bring it to life. Your design choice will define the board’s personality, whether it’s a wedding gift, a housewarming present, or a piece for your own home. There are two main paths to finding the perfect design. The first is to create your own. Using vector design software like Adobe Illustrator, Inkscape (a free alternative), or even user-friendly programs like Canva, you can design a custom monogram, combine a family name with an established date, or write out a meaningful quote. This approach offers ultimate personalization and ensures your piece is one-of-a-kind.
If you’re not a designer or are short on time, the second path is to explore the vast world of pre-made cutting board engraving files. Online marketplaces like Etsy, Creative Fabrica, and Design Bundles are treasure troves of professionally crafted designs optimized for laser engraving. You can find everything from intricate floral wreaths and kitchen measurement conversion charts to humorous quotes and holiday themes. Purchasing a pre-made file is a fantastic way to achieve a polished, high-quality result without the steep learning curve of digital design. Whichever path you choose, the synergy between your chosen board and your artwork is what will elevate your project from a simple craft to a cherished keepsake, a truly beautiful engraved charcuterie board.
The Laser Engraving Process Step-by-Step
With your board and design selected, you are ready to bring your vision to life. The laser engraving process is where precision and preparation pay off, transforming a simple piece of wood or slate into a personalized masterpiece. Following a methodical approach will ensure a clean, professional result and prevent costly mistakes. This step-by-step guide will walk you through the entire process, from preparing the surface to the final pass of the laser.
Step 1: Preparing the Board and Setting Up the File
Before the laser even touches the board, proper surface preparation is key. First, ensure the board is completely clean and free of dust or oils by wiping it down with a soft cloth and isopropyl alcohol. For wood boards, the single most effective technique for achieving a crisp, clean engraving is to apply a layer of masking. This can be painter’s tape or, ideally, a wide roll of paper transfer tape. Apply the masking smoothly and firmly across the entire area to be engraved, using a squeegee or credit card to remove any air bubbles. This mask serves a critical purpose: it prevents smoke and resin from the burn from staining the surrounding wood, resulting in a much sharper and higher-contrast finish. Once the board is prepped, import your design file into your laser control software. Measure your board carefully and resize the digital artwork to the desired dimensions. Use the software’s alignment tools to position the design precisely where you want it on the board—centered, in a corner, or aligned with a handle.
Step 2: The All-Important Test Run
Never engrave your final piece without first running a test. Every piece of wood is unique; its density, grain pattern, and moisture content will affect how it reacts to the laser. Skipping this step is the fastest way to ruin a perfectly good board. Use a piece of scrap material that is the exact same type and thickness as your charcuterie board. Create a small test grid or a series of lines in your software, and engrave them using a range of power and speed settings. Your goal is to find the “sweet spot” that produces a rich, dark brown mark without digging too deep into the wood or creating excessive charring. For a laser engraved cutting board, a shallower engrave is often preferable as it’s easier to clean. For slate, you are looking for a setting that produces a bright, consistent white mark without chipping the material. Document the settings that give you the best result; these are what you will use for the final project.
Step 3: Executing the Final Engraving
With your board masked and your settings dialed in, it’s time to engrave. Securely place your custom charcuterie board inside the laser engraver, ensuring it is perfectly flat. Use your laser’s camera overlay or red dot pointer to perform a final check of the design’s placement. An essential step here is to set the correct focal height for your laser; an out-of-focus laser will produce a blurry, weak engraving. Once everything is aligned and focused, close the lid, turn on your ventilation system, and start the job. It is crucial to never leave a laser engraver running unattended. Monitor the process to ensure there are no flare-ups and that the engraving is proceeding as expected. Once the machine has finished, wait a moment for the smoke to clear before opening the lid. Your design will still be covered by the masking tape, but the exciting reveal is just one step away.
Finishing and Caring for Your Engraved Board
The engraving is complete, but the most transformative step is yet to come. The process of finishing not only protects your work but also dramatically enhances the wood’s natural beauty, turning a good project into a stunning one. After the laser has finished its job, carefully peel away the masking tape. You may notice some slight residue or soot inside the engraved lines. Use a soft-bristled brush, like a toothbrush, and a small amount of isopropyl alcohol to gently scrub the engraved area, then wipe it clean with a soft cloth. Let the board air dry completely. This post-engraving cleaning is crucial as it prepares the surface for sealing. The laser has exposed raw wood fibers, making them highly absorbent and vulnerable to moisture, bacteria, and staining. Applying a finish saturates these fibers, sealing the wood from the inside out. This makes the board safer for contact with food, easier to clean, and deepens the wood’s color, creating a beautiful contrast that makes your engraving pop.
Choosing the Right Food-Safe Finish
When selecting a finish for a surface that will contact food, safety is paramount. You must choose a non-toxic, food safe finish for engraved wood. Never use standard woodworking finishes like polyurethane or lacquer. The best choices are penetrating oils and waxes that nourish the wood rather than forming a plastic-like film on top.
- Food-Grade Mineral Oil: This is the industry standard for a reason. It’s inexpensive, widely available, and incredibly easy to apply. It is a non-drying oil, meaning it penetrates the wood fibers to prevent them from drying out and cracking, but it won’t polymerize or harden. Its primary drawback is that it washes away with soap and water, requiring regular reapplication to maintain protection.
- Beeswax and Mineral Oil Blends: Often sold as “board butter” or “wood conditioner,” these products offer a significant upgrade over mineral oil alone. The beeswax (and sometimes carnauba wax) fills the pores of the wood and provides a more durable, water-resistant barrier on the surface. This finish lasts longer than plain oil and gives the board a beautiful, soft satin sheen.
- Fractionated Coconut Oil: A great plant-based alternative, fractionated coconut oil has had the long-chain triglycerides removed, so it remains liquid at room temperature and, most importantly, will not go rancid like common cooking oils (such as olive or vegetable oil, which you should never use to finish a board). It functions similarly to mineral oil.
Application and Long-Term Care
Applying the finish is a simple and rewarding process. Using a clean, lint-free cloth, apply a generous amount of your chosen oil or conditioner to the entire surface of your personalized charcuterie board. Be sure to cover the front, back, and all edges. Pay special attention to the engraved areas, allowing the finish to soak deeply into the design. Let the board sit for at least 20-30 minutes (or even overnight for the first coat) to allow the finish to penetrate as deeply as possible. After it has soaked in, take another clean cloth and buff off all the excess. The surface should feel nourished, not greasy. To ensure a long life for your creation, follow a few simple care rules: always hand wash with mild soap and warm water, never put it in the dishwasher, and never let it soak. Dry it thoroughly with a towel after washing. Most importantly, re-apply your chosen finish every month or whenever the wood starts to look dull or dry. This regular maintenance will keep it looking beautiful and protected for years of gatherings to come.
Conclusions
You’ve now learned how to create a beautiful and functional engraved charcuterie board. By following these steps, you can confidently produce a high-quality, custom piece that is both personal and practical. This project not only enhances your laser engraving skills but also results in a wonderful item for your home or as a special gift for someone else.
Frequently Asked Questions
Q: What is the best wood for a highly detailed laser engraving on a charcuterie board?
A: Maple is often considered the gold standard for detailed engravings. Its light, uniform color and fine, subtle grain create a high-contrast canvas where the dark burn of the laser stands out beautifully, making it perfect for intricate text or photographic designs.
Q: Is it necessary to apply masking tape to the wood before engraving?
A: Yes, applying a layer of masking (like painter’s tape or paper transfer tape) is a crucial step. It prevents smoke and resin from the laser burn from staining the surrounding wood, resulting in a much sharper, cleaner, and higher-contrast finish.
Q: Can I use vegetable oil or olive oil to finish my engraved board?
A: No, you should never use common cooking oils like vegetable or olive oil, as they will go rancid over time. Always use a non-toxic, food-safe finish like food-grade mineral oil, fractionated coconut oil, or a blend of beeswax and mineral oil to protect the wood and keep it safe for food contact.

Subscribe to Our Newsletter
And enjoy FREE Download Files, SALE Alerts and Inspiring TIPS
A Comprehensive Guide to Pricing Your Laser Engraving Services
A Comprehensive Guide on How to Price Laser Engraving Services
How to Price Your Laser Engraving and Cutting Services
Charcuterie Board Engraving File – Wine & Grapes 3D Illusion…
$4.00Original price was: $4.00.$3.00Current price is: $3.00.(25% off)
Bee and Honey Jar Charcuterie Board Engraving File | PNG Download #007…
$4.00Original price was: $4.00.$3.20Current price is: $3.20.(20% off)
Valentine Love Captions: 6 Charcuterie Board Engraving Files…
$8.00Original price was: $8.00.$5.60Current price is: $5.60.(30% off)
American Eagle Flag Laser Engraving File for Charcuterie & Cutting…
$4.00Original price was: $4.00.$2.80Current price is: $2.80.(30% off)