

 Français
 Deutsch
 Español
 Italiano
Creating the Perfect Personalized Charcuterie Board
Nov
Estimated reading time: 11 minutes
Key Takeaways
- Choose the Right Wood: Always use a dense, food-safe hardwood like maple, cherry, or walnut. Maple offers high-contrast engraving, cherry provides a warm mid-tone, and walnut creates a subtle, luxurious effect.
- Use Vector Graphics for Design: For a crisp, professional engraving, your design must be a vector file (SVG, AI, EPS). Pixel-based images (JPEG, PNG) will result in a blurry and jagged finish.
- Test Your Laser Settings: Before engraving your final board, always run a test on a scrap piece of the same wood to perfect the power and speed settings for your desired burn depth and darkness.
- Apply a Food-Safe Finish: Never use varnish or polyurethane. Finish your board with a generous coat of food-grade mineral oil to hydrate the wood, followed by a board cream (beeswax and mineral oil blend) to seal and protect the surface.
Table of Contents
- Choosing the Best Wood for Your Board
- Designing a Custom Engraving
- The Art of Laser Engraving Your Board
- Finishing and Caring for Your Charcuterie Board
- Frequently Asked Questions
- Conclusions
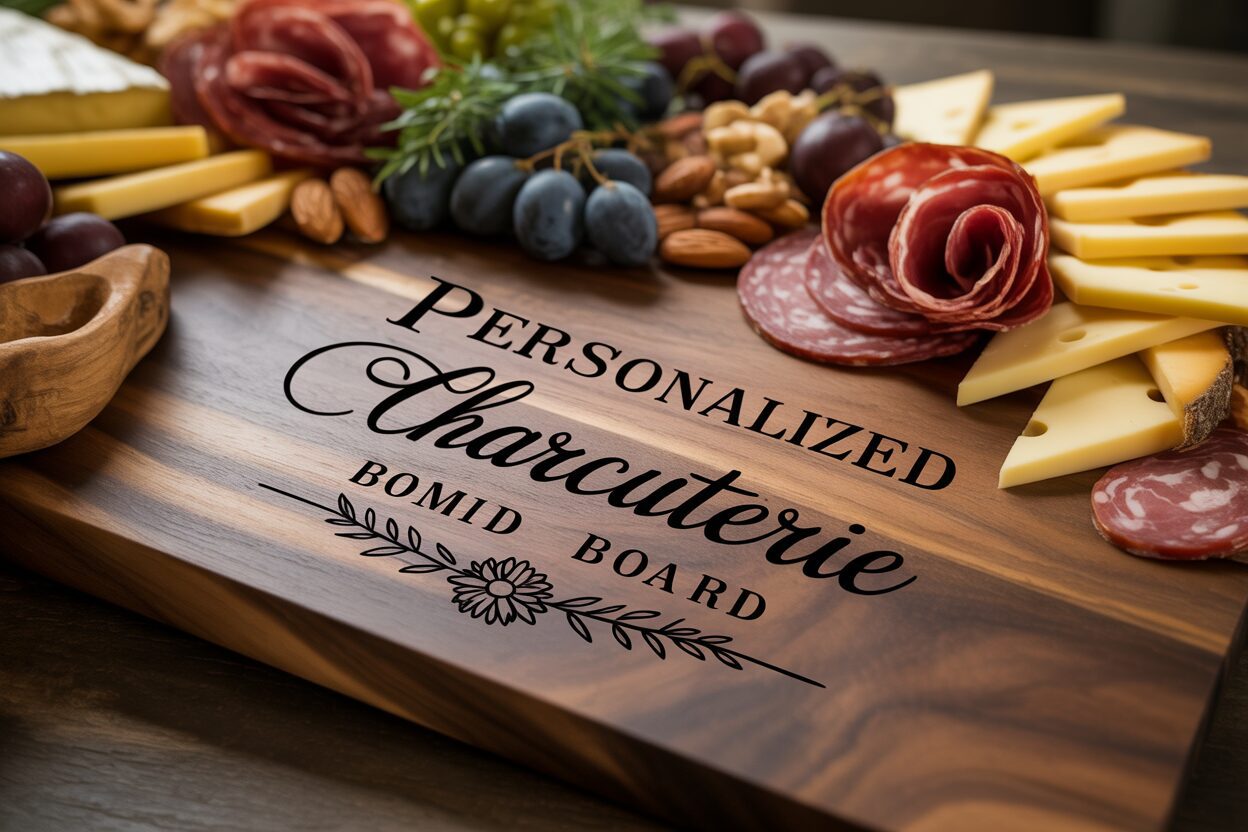
A personalized charcuterie board is more than just a serving platter; it’s a centerpiece for gatherings and a cherished gift. This guide will walk you through creating a stunning engraved charcuterie board. We’ll explore everything from selecting the right wood and design to the specifics of laser engraving and finishing, ensuring your creation is both beautiful and functional.
Choosing the Best Wood for Your Board
The foundation of any great charcuterie board is, quite literally, the wood it’s made from. Your choice will affect not only the board’s appearance and longevity but also its food safety and how well it accepts your personalized engraving. The first and most critical distinction to understand is between hardwood and softwood. For a charcuterie board, you must always choose a hardwood. Hardwoods, such as maple and oak, come from deciduous trees (trees that lose their leaves annually). They have a denser cellular structure, making them durable, less porous, and more resistant to knife marks. Softwoods, like pine or cedar, come from coniferous trees. They are lighter, more porous, and damage easily, making them unsuitable for direct food contact as they can harbor bacteria and impart unwanted flavors.
Top Hardwood Choices for Engraving
When selecting a hardwood, three species stand out for their exceptional qualities for both serving food and laser engraving. Each offers a unique aesthetic and interacts with the laser differently, allowing you to match the wood to your design vision.
- Maple: Often considered the gold standard for cutting boards and charcuterie boards, maple is incredibly hard, durable, and has a very fine, closed-grain structure. This makes it one of the most food-safe woods available. Its creamy, light color provides a bright, clean canvas that makes cheeses, fruits, and meats visually pop. For laser engraving wood, maple is a dream to work with. The laser burns the wood to a dark, rich brown, creating a sharp and high-contrast result that makes detailed text and intricate logos stand out beautifully.
- Cherry: If you desire a warmer, richer tone, cherry is an excellent choice. It has a beautiful, smooth texture and a reddish-brown hue that deepens over time, developing a lovely patina with age and exposure to light. While slightly softer than maple, it is still very durable and food-safe. When laser engraved, cherry produces a deep, dark burn that is slightly more subtle than on maple. The result is an elegant, sophisticated look where the engraving feels perfectly integrated with the wood’s natural warmth.
- Walnut: For a luxurious and dramatic presentation, nothing beats walnut. Its deep, chocolate-brown color, often accented with complex grain patterns and lighter sapwood, creates a stunning backdrop for your culinary creations. Walnut is a hard, durable wood that stands up well to use. Laser engraving on walnut yields a tone-on-tone effect. The burn is typically a shade darker than the wood itself, resulting in a subtle, low-contrast personalization. This understated elegance is perfect for a sophisticated gift where the engraving is a tasteful, refined detail rather than the main focus.
Sourcing Your Wood and Inspecting for Quality
Finding the right piece of wood is just as important as choosing the right type. Your local lumberyard is often the best starting point. There, you can hand-select your piece, inspecting it for quality and unique character. Woodworking supply stores are another great option, often selling pre-cut and surfaced blanks that save you preparation time. When selecting your board, pay close attention to the grain pattern. Look for a piece with a visually appealing grain—whether you prefer a straight, uniform look or a more dynamic, figured pattern like curly or bird’s-eye maple. If you’re considering a live edge board, ensure the natural edge is solid and free of loose bark. Most importantly, inspect the wood for defects. Avoid any pieces with cracks, deep splits, or large, loose knots, as these can compromise the board’s integrity and create sanitation issues. Check that the board is flat by laying it on a level surface; a warped or cupped board will be unstable and difficult to work with.
Designing a Custom Engraving
With your perfect piece of wood selected, the next step is to infuse it with personality. The design you choose will transform a simple board into a cherished keepsake. The possibilities for charcuterie board design ideas are virtually limitless, tailored to the occasion, the recipient, and your personal style. For a timeless wedding or anniversary gift, consider elegant monograms, the couple’s last name with an established date, or the coordinates of a meaningful location like a first home or wedding venue. For housewarming charcuterie board gifts, a tasteful “Home Sweet Home” design, a family name, or even the engraved signature from a beloved family recipe can create a deeply personal connection. Don’t be afraid to think outside the box; a simple line drawing of a home, a favorite quote, or an intricate geometric pattern can make for a stunning custom charcuterie board. Corporate gifts also offer a fantastic opportunity for personalization, with company logos and slogans creating a branded, high-end item for clients or employees.
From Concept to Clean Lines: The Importance of Vector Graphics
Regardless of the design’s complexity, the key to a professional, crisp engraving lies in using the correct file format. For laser engraving, you must use a vector graphic. Unlike pixel-based images (like JPEGs or PNGs) which are made of tiny dots and become blurry when enlarged, vectors are created from mathematical paths and lines. This means they can be scaled to any size without any loss of quality, ensuring the laser follows a perfectly smooth and precise path. Engraving with a low-quality, pixelated image will result in a fuzzy, jagged, and unprofessional finish. Common vector file formats include SVG, AI, DXF, and EPS. If you are creating your own design, several software options are available:
- Professional Software: Adobe Illustrator and CorelDRAW are the industry standards for creating vector graphics, offering ultimate control and flexibility.
- Free Alternatives: Inkscape is a powerful and completely free open-source vector editor that is a fantastic alternative to paid software.
- User-Friendly Options: Canva has become a popular tool for its intuitive interface. While primarily for other types of design, a Pro account allows you to download your creations as SVG files, making it a great choice for text-based layouts and simple graphics.
If you aren’t a designer, you can easily find thousands of pre-made, high-quality vector files on marketplaces like Etsy, which you can then personalize with names or dates using the software mentioned above.
Layout and Placement for Maximum Impact
The final step in the design phase is deciding on the size and placement of your engraving. The goal is for the design to complement the board, not overwhelm it. A common mistake is making the engraving too large, which can detract from the food presentation. A good rule of thumb is to keep the design confined to a corner, a handle, or along one edge, leaving the primary serving area clear. Placing a monogram or small logo in the bottom right-hand corner is a classic, elegant choice. For larger, more central designs, ensure they are aesthetically balanced and leave ample negative space around them. Before you send your file to be engraved, print your design to scale on a piece of paper. Cut it out and place it on your board to physically see how it looks. This simple step allows you to adjust the size and position for perfect visual balance, ensuring your final engraved board is nothing short of spectacular.
The Art of Laser Engraving Your Board
This is where your digital design meets the physical world. The laser engraving process is a fascinating blend of art and technology that permanently etches your creation into the wood. While a laser cutter might seem intimidating, understanding the core steps and principles will empower you to create a beautiful engraved charcuterie board with confidence. Before you begin, always consult the specific manual for your laser machine, as controls and features can vary. Safety is paramount: ensure your machine’s ventilation system is running properly to exhaust smoke and fumes, and never leave the laser unattended while it is operating.
The first step is preparing the wood surface. Make sure your board is clean, dry, and free of any dust or debris. For light-colored woods like maple, a common professional technique is to apply a layer of wide masking tape over the area you plan to engrave. This “mask” helps prevent smoke and resin residue from staining the surface of the wood around your design, resulting in a cleaner, higher-contrast engraving that requires less cleanup. Once prepared, place your board inside the laser cutter. Ensure it is perfectly flat and secure it so it cannot shift during the engraving process. Use the machine’s focusing tool to set the correct distance between the laser lens and the surface of the wood. An improperly focused laser will produce a blurry, weak line, so this step is critical for achieving a sharp, detailed result.
Calibrating Your Laser for the Perfect Burn
The key to a perfect engraving lies in dialing in the correct settings for power and speed. These two variables work in tandem to control the depth and darkness of the burn. Think of it this way: power is the intensity of the laser beam, while speed is how quickly it moves across the wood. A higher power setting or a slower speed will result in a deeper, darker burn. Conversely, lower power or higher speed creates a lighter marking. The ideal settings depend entirely on the wood you chose in the previous chapter.
- For Maple: Its dense, light-colored surface requires more energy to mark. You will likely use a combination of relatively high power and moderate speed to achieve a rich, dark brown contrast.
- For Cherry: Being slightly softer than maple, cherry requires less power. Using the same settings as maple might result in a burn that is too deep. Start with a lower power setting to achieve an elegant, dark marking that doesn’t feel overly scorched.
- For Walnut: Since walnut is already dark, the goal is often a subtle, tone-on-tone effect. This is typically achieved with a very high speed and moderate power, which quickly marks the surface without digging deep.
Before engraving your final custom charcuterie board, always run a test on a small scrap piece of the exact same wood. Engrave a small version of your design or a simple test grid with various power and speed settings. This allows you to see precisely how the wood will react and lets you choose the exact aesthetic you want, whether it’s a deep, rustic burn or a delicate, light etching. Once you’ve perfected your settings, send your final design to the laser, stay nearby to monitor the process, and watch as your vision is brought to life.
Finishing and Caring for Your Charcuterie Board
The engraving process is complete, but the final, crucial steps will elevate your project from a simple engraved object to a professionally finished, food-safe piece of art. This stage is all about protecting the wood, enhancing its natural beauty, and ensuring your personalized charcuterie board lasts for years to come. The first step after engraving is to prepare the surface. If you used a masking tape layer, carefully peel it away. You will likely notice a slight residue or halo around the engraved areas. To achieve a perfectly smooth, silky finish, you must sand the entire board. Using a fine-grit sandpaper, such as 220-grit, gently sand the surface, always moving with the grain of the wood. This light sanding will remove any residual burn marks and smooth out the wood fibers that may have been raised during the engraving process. Be careful not to sand too aggressively over the engraved area itself, as you want to preserve its depth and detail. Once you are satisfied with the smoothness, wipe the board down with a tack cloth or a slightly damp, lint-free cloth to remove every trace of sanding dust.
Applying a Food-Safe Finish
This is the most transformative step, where the wood’s color and grain will truly come to life. It is absolutely critical to use only 100% food-safe finishes. Never use finishes like polyurethane, varnish, or staining products, as they are not safe for direct food contact. The industry standards for finishing charcuterie boards and cutting boards are:
- Food-Grade Mineral Oil: This is the essential first step. Mineral oil is a non-drying oil that penetrates deep into the wood fibers. This process, often called “seasoning,” hydrates the wood, preventing it from drying out, cracking, or warping. It also creates the initial barrier against moisture and food stains. To apply, pour a generous amount of oil onto the clean board and use a soft cloth to spread it evenly over every surface, including the edges and the engraved areas. Let the oil soak in for at least a few hours, or ideally, overnight. You will see the wood literally drink it up.
- Board Cream (Mineral Oil and Beeswax): After the initial oiling, applying a board cream or conditioner adds a second layer of protection. These products typically blend mineral oil with natural waxes like beeswax or carnauba wax. The wax doesn’t penetrate as deeply as the oil; instead, it seals the surface, providing a more robust water-resistant barrier and giving the board a beautiful, satin sheen. Apply the cream with a clean cloth, let it sit for 15-20 minutes, and then buff off any excess with another clean cloth until the surface feels smooth, not tacky.
Care and Maintenance Instructions
A well-made board, when properly cared for, can become a family heirloom. Including a small card with these care instructions when you give your gift is a thoughtful touch that ensures its longevity.
Cleaning: After use, wash your board by hand with mild dish soap and warm water. Never submerge the board in water or place it in a dishwasher, as this will cause it to warp and crack.
Drying: Immediately after washing, dry the board thoroughly with a clean towel. To allow for even air circulation, let it air dry completely by standing it on its edge.
Re-oiling: The wood will eventually get thirsty. When the board starts to look dry or dull, it’s time to reapply a coat of food-grade mineral oil or board cream. A monthly treatment is a good rule of thumb for a frequently used board. This regular maintenance will keep your personalized charcuterie board looking beautiful and protect it for a lifetime of gatherings.
Frequently Asked Questions
Q: What is the best wood for a personalized charcuterie board?
A: The best woods are dense, closed-grain hardwoods. Maple is ideal for high-contrast engraving, cherry offers a warm, rich tone, and walnut provides a luxurious, dark backdrop for a subtle, elegant look. Always avoid softwoods like pine, as they are not food-safe.Interested in more Charcuterie Board? Check out our Charcuterie Board laser file designs: Click here!
Q: Why do I need a vector file for laser engraving?
A: Vector files (like SVG or AI) use mathematical paths, allowing them to be scaled to any size without losing quality. This ensures the laser engraves crisp, clean lines, unlike pixel-based images (JPG, PNG) which result in a blurry, jagged finish.
Q: How do I make my engraved charcuterie board food-safe?
A: You must use a 100% food-safe finish. First, season the board by soaking it with food-grade mineral oil. Then, apply a protective layer of board cream (a blend of mineral oil and beeswax) to seal the surface and provide a water-resistant barrier.
Q: Can I put my wooden charcuterie board in the dishwasher?
A: No, never put a wooden board in the dishwasher or submerge it in water. The intense heat and prolonged moisture will cause the wood to warp, split, and crack. Always wash it by hand with mild soap and dry it immediately.
Conclusions
You now have the knowledge to create a truly special personalized charcuterie board. By carefully selecting your materials, crafting a meaningful design, and using proper engraving techniques, you can produce high-quality, memorable charcuterie board gifts. This skill not only enhances your crafting abilities but also opens up new possibilities for creating products that customers and loved ones will adore.

Subscribe to Our Newsletter
And enjoy FREE Download Files, SALE Alerts and Inspiring TIPS
A Comprehensive Guide on How to Price Laser Engraving Services
How to Price Your Laser Engraving and Cutting Services
The Ultimate Guide to Crafting a Laser Cut Box
Charcuterie Board Engraving File – Wine & Grapes 3D Illusion…
$4.00Original price was: $4.00.$3.00Current price is: $3.00.(25% off)
Bee and Honey Jar Charcuterie Board Engraving File | PNG Download #007…
$4.00Original price was: $4.00.$3.20Current price is: $3.20.(20% off)
Valentine Love Captions: 6 Charcuterie Board Engraving Files…
$8.00Original price was: $8.00.$5.60Current price is: $5.60.(30% off)
American Eagle Flag Laser Engraving File for Charcuterie & Cutting…
$4.00Original price was: $4.00.$2.80Current price is: $2.80.(30% off)