

 Français
 Deutsch
 Español
 Italiano
Create Stunning Laser Engraved Charcuterie Boards
Jul
Estimated reading time: 7 minutes
Key Takeaways
- Wood Selection is Crucial: For food safety and the best engraving results, always choose a closed-grain hardwood like maple, cherry, or walnut. Avoid open-grained woods (oak, ash) and softwoods (pine).
- Preparation is Key to Quality: A flawless result depends on meticulous preparation. Always sand the board smooth, clean it with denatured alcohol to remove all dust, and secure it firmly in the laser bed before engraving.
- Always Test Your Settings: Never engrave your final piece without first running a material test on a scrap piece of the same wood. This allows you to dial in the perfect power and speed for a clean, dark mark without risking your project.
- Use a Food-Safe Finish: The final step is non-negotiable for function and safety. Seal the board with a food-grade mineral oil and a beeswax conditioner (“board butter”) to protect the wood and make it safe for contact with food.
Table of Contents
- Selecting the Perfect Wood and Design
- Board Preparation and Laser Settings
- Engraving and Applying a Food-Safe Finish
- Conclusions
- Frequently Asked Questions
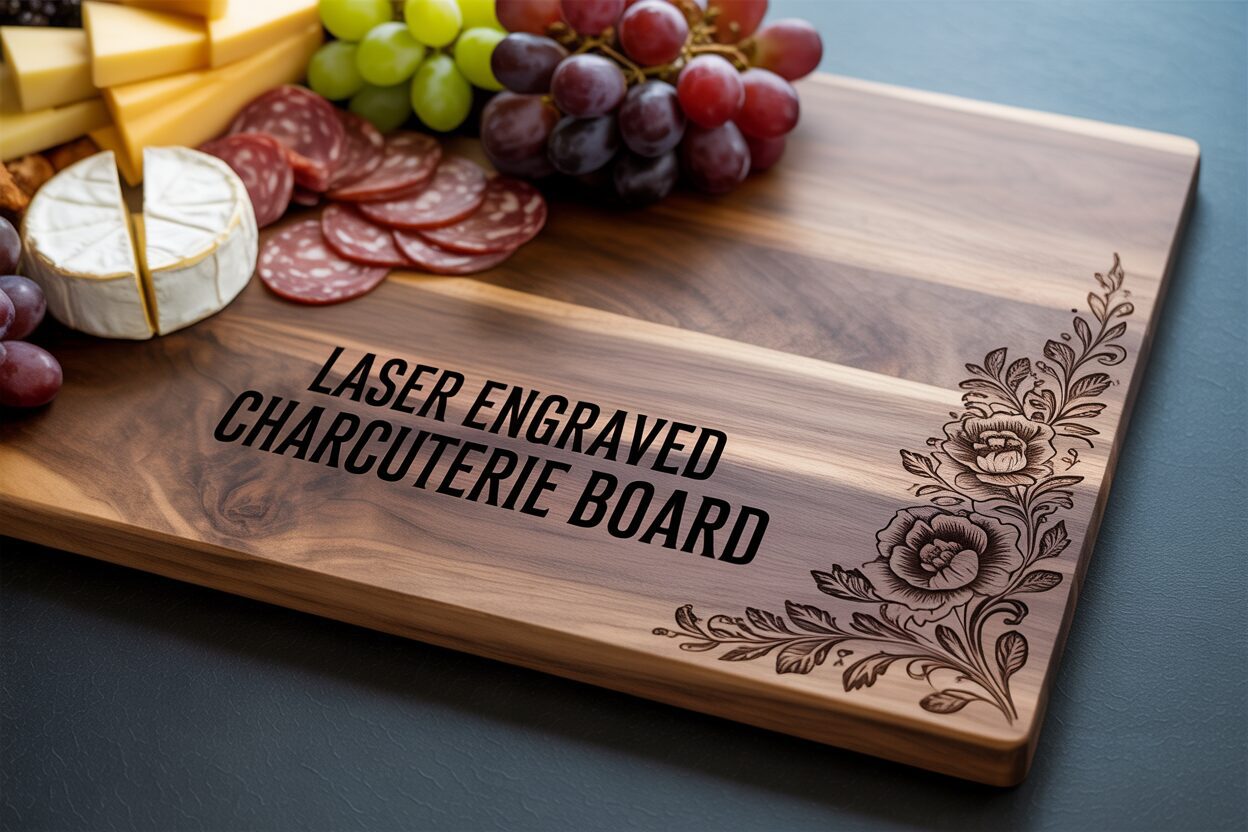
Elevate your hosting game by learning to create a personalized laser engraved charcuterie board. This popular item is not only a fantastic project for laser enthusiasts but also a sought-after product. This guide will walk you through the entire process, from selecting the right wood and design to ensuring your final piece is completely food-safe and ready for use.
Interested in more Charcuterie Board? Check out our Charcuterie Board laser file designs: Click here!
Selecting the Perfect Wood and Design
The foundation of any great laser engraved charcuterie board is the wood itself. Your choice of material affects not only the final look and feel but also its longevity and food safety. The ideal choice for a surface that will come into contact with food is a closed-grain hardwood. These woods have very small, dense pores, which prevent food particles, bacteria, and moisture from penetrating deep into the material. This makes them significantly easier to clean and sanitize, ensuring they remain food-safe over time. The top contenders in this category are maple, cherry, and walnut. Maple is a fantastic, durable option known for its light, creamy color and subtle grain. This pale surface creates a high-contrast canvas, making your laser engravings stand out sharply. Cherry offers a beautiful, warm reddish-brown hue that deepens and grows richer with age. It engraves cleanly, yielding elegant and consistent results. For a touch of luxury, walnut provides a dark, sophisticated base. The engraving on walnut is more subtle and tonal, resulting in a refined, high-end look.
Conversely, you should avoid open-grained woods like oak and ash for food-contact surfaces. While beautiful, their large, porous structures can easily trap food and bacteria, making them difficult to clean thoroughly and posing a potential health risk. Softwoods like pine are also unsuitable; they are not durable enough to withstand knife marks and regular use, and they can sometimes impart a resinous flavor to the food placed on them. For those just starting with wood engraving for beginners, maple is an excellent choice. Its consistent density and light color are very forgiving, and the high contrast you can achieve with the laser makes it incredibly satisfying to see your design come to life. Cherry is another beginner-friendly option that engraves with beautiful clarity.
Choosing a Design for Your Custom Board
Once you’ve selected your wood, the next step is to choose a design that will turn your board into a unique piece of art. The possibilities for charcuterie board design ideas are virtually endless, so consider the board’s purpose and the recipient’s style. For a personal touch, especially for gifts, you can’t go wrong with classic monograms, family names, or significant dates like a wedding anniversary. These timeless designs transform a simple board into a cherished heirloom. If you prefer something more decorative, consider intricate botanical illustrations, elegant damask patterns, or modern geometric borders. These can be strategically placed on the handle or around the edges to preserve the central serving area. For a more functional or whimsical approach, you could engrave a kitchen conversion chart, a wine and cheese pairing guide, or a humorous quote.
When it comes to sourcing your design, you have two main paths: create it yourself or find one online. If you’re comfortable with design software, programs like Adobe Illustrator or the free alternative Inkscape are perfect for creating vector files—the ideal format for laser engraving. Vectors are scalable without losing quality, ensuring crisp, clean lines. For simpler text-based designs, even user-friendly tools like Canva can work. If you’d rather use a pre-made design, websites like Etsy, Creative Fabrica, and Vecteezy offer vast libraries of high-quality SVG files created specifically for laser cutting and engraving. When selecting a design, ensure it has clean lines and is not overly detailed for the size of your board, as tiny elements can get lost or burn out. Always do a test engraving on a scrap piece of the same wood to dial in your laser settings and ensure your custom charcuterie board turns out perfectly.
Board Preparation and Laser Settings
With your perfect wood and design chosen, it’s time to prepare your board and machine for the main event. This stage is crucial, as meticulous preparation is the key to a flawless engraving. A small amount of effort here prevents costly mistakes and ensures your final product is as stunning as you envisioned. The entire process can be broken down into a few simple but essential steps:
- Surface Preparation: The quality of your engraving is directly related to the quality of your wood’s surface. Even a brand-new board benefits from a final sanding. Your goal is to create a perfectly smooth, flat plane for the laser to work on. Start with a medium-grit sandpaper, around 150-grit, to remove any minor imperfections or mill marks. Always sand with the grain of the wood to avoid creating unsightly cross-grain scratches that will show up in the final finish. After the initial pass, move to a finer grit, like 220, for a silky-smooth finish. This step ensures the laser beam remains perfectly focused across the entire design, resulting in crisp lines and uniform depth.
- Cleaning the Surface: After sanding, the board will be covered in a fine layer of sawdust. This dust must be completely removed. If left on the surface, the laser will burn the dust particles instead of the wood, resulting in a fuzzy, low-quality engraving. First, use a vacuum with a brush attachment or compressed air to remove the bulk of the dust. Follow this with a wipe-down using a lint-free cloth lightly dampened with denatured alcohol or isopropyl alcohol. The alcohol will pick up any remaining fine dust and oils from your hands, and it evaporates quickly without raising the wood grain. Avoid using water, as it can cause the wood fibers to swell.
- Laser Setup and Securing the Board: Place your clean, dry board inside the laser engraver. It is absolutely critical that the board is perfectly flat and cannot move during the engraving process. Use honeycomb pins, hold-down clamps, or heavy, flat weights on the corners (well away from the laser’s path) to secure it firmly to the laser bed. Any slight shift will misalign the design and ruin the piece. Once secured, you must set the laser’s focus precisely to the top surface of the charcuterie board. An incorrect focal distance will result in a weak, blurry, or inconsistent engraving. Follow your machine’s specific instructions for focusing, whether it uses an auto-focus sensor or a manual focusing gauge.
Dialing in Your Engraving Settings
Finding the optimal settings for engraving on wood is a balancing act between three main variables: power, speed, and resolution (often measured in DPI or LPI). Power dictates the intensity of the laser beam; higher power burns deeper and darker. Speed is how fast the laser head moves; slower speeds allow the laser more time to burn the material, also resulting in a deeper, darker mark. Resolution determines the spacing between engraved lines; higher resolutions create a more solid, filled-in look but also introduce more heat to the wood. Because every type of wood reacts differently—walnut burns more easily than maple, for example—there is no single “correct” setting. This is why the single most important step in this entire process is to perform a test engraving. Never run your main project without first testing your settings on a scrap piece of the exact same wood, prepared in the exact same way (sanded and cleaned). Create a small test file with a series of squares or a small part of your design. Engrave each square with a different combination of power and speed. This “material test grid” will show you exactly how the wood will react, allowing you to choose the setting that produces the rich, clean look you desire for your final custom charcuterie board without risking your main workpiece.
Engraving and Applying a Food-Safe Finish
With your settings perfected and the board securely in place, you are ready for the most exciting step: engraving your custom charcuterie board. Double-check that your laser’s ventilation system is on, as engraving wood produces a significant amount of smoke and particulate matter. Send the design file to the machine and begin the job. It is imperative to stay with your laser and monitor the process. While modern lasers are very safe, you should never leave a machine running unattended. You’ll watch as the laser beam methodically traces your design, vaporizing the wood and leaving behind a beautifully etched mark. The smell of burnt wood will fill the air—a sign of a successful engraving. Once the job is complete, allow the machine’s exhaust fan to run for a few minutes to clear any remaining smoke before opening the lid.
Upon removing the board, you’ll notice a layer of smoky, resinous residue on and around the engraved area. Cleaning this off is essential for a sharp, professional look. The key is to be effective yet gentle.
- Start by using a soft-bristled brush, like an old toothbrush, to gently scrub inside the engraved lines. This will dislodge the bulk of the loose char and residue.
- Next, take a clean, lint-free cloth and lightly dampen it with denatured alcohol or high-percentage isopropyl alcohol. Gently wipe the engraved area. The alcohol is an excellent solvent for the smoky residue but evaporates quickly without raising the wood grain. You may need to use several clean sections of the cloth until it comes away clean.
- For stubborn spots, you can apply a bit more pressure with the cloth or use the brush again with a little alcohol. Be patient and work carefully to avoid smearing the residue into the un-engraved wood grain.
Applying a Food-Safe Finish
This final step is what transforms your project into a functional piece of kitchen art and makes your laser engraving food safe. Applying a proper finish not only protects the wood from drying out and cracking but also seals the pores—including those newly created by the laser—to prevent bacteria from finding a home. It also dramatically enhances the natural color and grain of the wood, making the engraved design pop. The only finishes you should ever use are those specifically rated as food-grade and non-toxic. The most common and effective choices are pure, food-grade mineral oil and beeswax blends, often sold as “board butter” or “wood conditioner.” Never use cooking oils like olive or vegetable oil, as they can go rancid over time, creating foul odors and flavors.
To apply the finish, follow this simple two-step process:
- Oiling the Board: Begin with a generous application of food-grade mineral oil. Pour the oil directly onto the clean, dry board and use a lint-free cloth to spread it evenly across every surface—top, bottom, and all sides. Be sure to work the oil deep into the engraved areas. Let the board sit and absorb the oil for at least 30 minutes; for the very first conditioning, letting it soak overnight is even better. The wood will drink up the oil, restoring its moisture. After it has had time to soak, use a new, clean cloth to wipe away any excess oil from the surface.
- Sealing with Conditioner: The mineral oil moisturizes from within, while a beeswax conditioner creates a protective barrier on the surface. Scoop a small amount of the beeswax blend onto a cloth and apply it to the board in a circular motion, again covering all surfaces. Let the conditioner sit for about 15-20 minutes. Finally, take a third clean cloth and buff the entire board vigorously. This will remove the excess wax and polish the surface to a beautiful, silky-smooth sheen, leaving you with a durable, beautiful, and completely food-safe charcuterie board.
Conclusions
You now have the knowledge to create a stunning and professional laser engraved charcuterie board. By choosing the right materials, perfecting your design, and applying a food-safe finish, you can produce beautiful, functional art. This project is a perfect way to enhance your skills, create amazing gifts, or even add a best-seller to your product line.
Frequently Asked Questions
Q: What’s the best wood for a laser engraved charcuterie board for beginners?
A: For beginners, maple is an excellent choice. Its light color creates high contrast with the engraving, its grain is consistent, and its density is very forgiving, making it easy to achieve great results.
Q: Is the engraved area food-safe?
A: Yes, the engraved area becomes completely food-safe after it has been thoroughly cleaned of residue and sealed with a food-grade finish like mineral oil and beeswax. The finish seals the pores of the wood, preventing bacteria from accumulating.
Q: Can I use a cooking oil like olive or vegetable oil to finish my board?
A: No, you should never use cooking oils. They are not shelf-stable and will go rancid over time, creating unpleasant odors and flavors on your board. Stick to 100% food-grade mineral oil and beeswax-based conditioners.
Q: Do I really need to do a test engraving before starting my main project?
A: Absolutely. This is arguably the most critical step. Every piece of wood is different, and a material test on a scrap piece is the only way to guarantee your power and speed settings are perfect for the desired outcome, preventing you from ruining your charcuterie board.

Subscribe to Our Newsletter
And enjoy FREE Download Files, SALE Alerts and Inspiring TIPS
Pricing Your Laser Engraved Products for Profit
A Comprehensive Guide on How to Price Laser Engraving Jobs
Pricing Your Laser Engraving Work for Profitability
Charcuterie Board Engraving File – Wine & Grapes 3D Illusion…
$4.00Original price was: $4.00.$3.00Current price is: $3.00.(25% off)
Bee and Honey Jar Charcuterie Board Engraving File | PNG Download #007…
$4.00Original price was: $4.00.$3.20Current price is: $3.20.(20% off)
Valentine Love Captions: 6 Charcuterie Board Engraving Files…
$8.00Original price was: $8.00.$5.60Current price is: $5.60.(30% off)
American Eagle Flag Laser Engraving File for Charcuterie & Cutting…
$4.00Original price was: $4.00.$2.80Current price is: $2.80.(30% off)