

 Français
 Deutsch
 Español
 Italiano
Crafting Unique Laser Cut Christmas Ornaments
Sep
Estimated reading time: 6 minutes
Key Takeaways
- Material Choice is Key: The final look and feel of your ornament is determined by your choice of material, with wood offering a classic, rustic feel and acrylic providing a modern, vibrant aesthetic.
- Proper File Setup is Crucial: A successful laser cut depends on a correctly prepared vector file where cut lines, vector engraving, and raster engraving areas are clearly defined, typically by color and line weight.
- Design for Durability: Intricate designs are beautiful but must be structurally sound. Ensure connecting parts are at least 1.5mm thick, and the hanging loop is robust to prevent breakage.
- Finishing Elevates Your Creation: Post-processing, such as cleaning, sanding, and sealing for wood, or cleaning and embellishing for acrylic, is what transforms a simple cut-out into a polished, professional-quality ornament.
Table of Contents
- Choosing the Right Materials for Your Ornaments
- Designing Your Custom Ornaments
- Finishing Touches to Make Your Ornaments Shine
- Conclusions
- Frequently Asked Questions
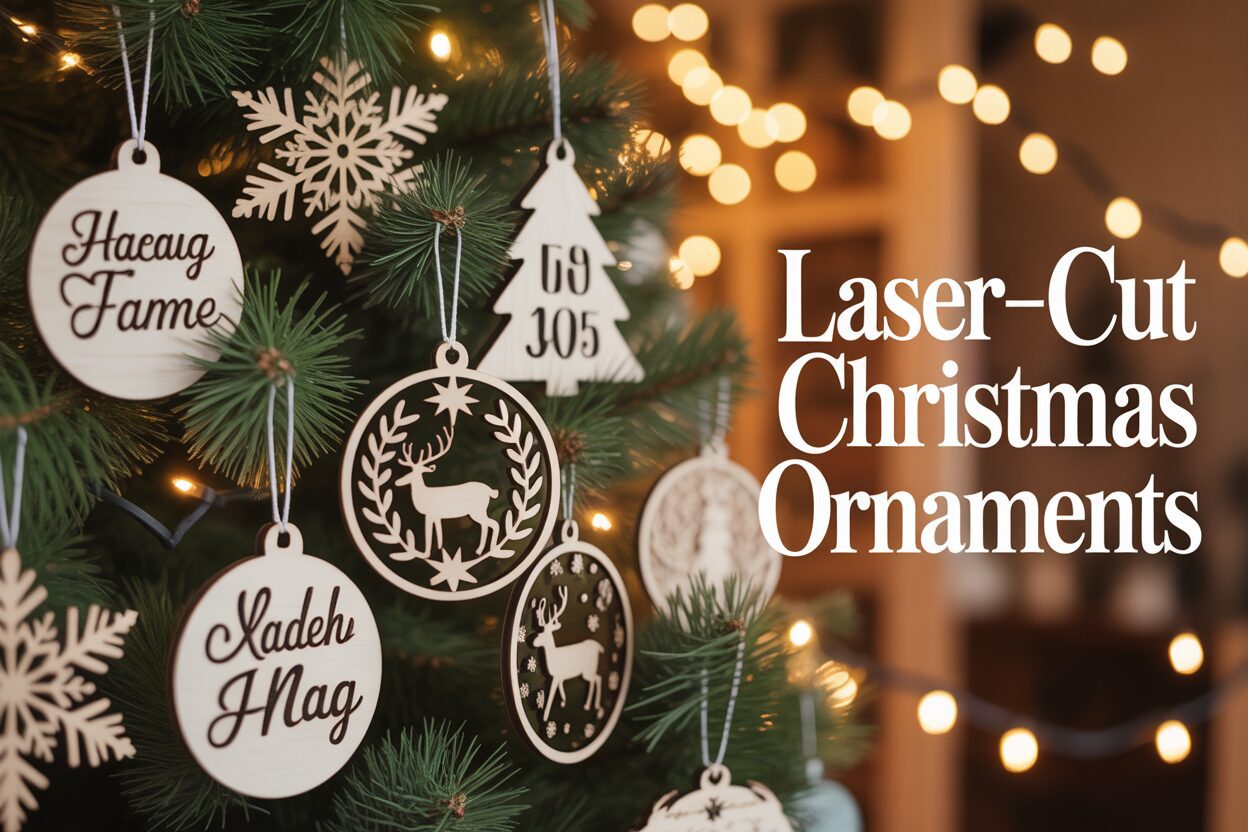
Discover the magic of creating your own laser cut Christmas ornaments. This guide will walk you through the entire process, from selecting the perfect materials like wood and acrylic to mastering design techniques. Whether you’re a seasoned crafter or a beginner, you’ll learn how to produce stunning, personalized decorations that will be cherished for years to come.
Choosing the Right Materials for Your Ornaments
The material you choose is the very soul of your ornament, defining its character long before the laser even touches its surface. Your decision will pivot between the timeless, rustic warmth of wood and the sleek, vibrant modernity of acrylic. Each offers a unique canvas for your creativity, with distinct advantages and considerations that will shape the final piece. Let’s explore these two primary options to help you select the perfect foundation for your laser cut Christmas ornaments.
The Classic Appeal of Laser Engraved Wood
Wood is the traditional choice for a reason. It evokes a sense of nostalgia and natural beauty that feels perfectly at home on a Christmas tree. The laser doesn’t just cut the wood; it interacts with it, creating a dark, caramelized edge and a beautifully contrasted engraving that brings designs to life. Wooden ornaments are lightweight, making them ideal for even the most delicate branches. However, wood can be fragile, especially with intricate, filigree-style designs, and it can be susceptible to humidity if not properly sealed after cutting.
Recommended Wood Types
Your choice of wood species will significantly impact the ornament’s final appearance and feel. Here are some of the most popular and effective options for laser engraved wood ornaments:
- Birch Plywood: Often considered the go-to material for laser cutting, especially for beginners. It’s affordable, readily available (typically in 1/8″ or 3mm thickness), and has a smooth, light-colored surface that provides excellent contrast for engraving. Its consistency makes it reliable and easy to work with.
- Cherry: For a richer, more premium feel, cherry is an outstanding choice. It has a beautiful warm, reddish hue and a fine grain. The engraving results in a subtle but elegant dark tone, creating heirloom-quality pieces that will age gracefully.
- Walnut: If you desire a sophisticated, darker ornament, walnut is unmatched. Its deep, chocolate-brown color provides a luxurious backdrop. Engraving on walnut is less about high contrast and more about creating a beautiful textural difference, resulting in a subtle and elegant look.
- Maple: Known for its light color and minimal grain, maple offers a clean, bright canvas. It provides a sharp contrast similar to birch but with the durability and refined finish of a hardwood.
The Modern Look of Acrylic Laser Ornaments
For a completely different aesthetic, acrylic offers a world of possibilities. It cuts with a stunningly clean, flame-polished edge and is available in a seemingly endless variety of colors and finishes. Acrylic laser ornaments are incredibly durable, waterproof, and shatter-resistant, making them a fantastic choice for homes with children or pets. The main drawbacks are that acrylic can be more expensive than wood and is more susceptible to surface scratches. The engraving on clear acrylic can also be subtle, appearing as a frosted white mark, which can be a pro or a con depending on your design.
Exploring Acrylic Finishes
The versatility of acrylic truly shines through its different finishes, each offering a unique visual effect:
- Clear Acrylic: This creates a beautiful, glass-like or icy effect, perfect for snowflakes, monograms, and engraved photo ornaments. The frosted white engraving catches the light beautifully, making the design appear to float.
- Colored Acrylic: From bold, opaque reds and greens to translucent jewel tones, colored acrylic allows your designs to pop with vibrancy. It’s perfect for creating playful characters, festive shapes, or modern geometric designs that stand out on the tree.
- Frosted Acrylic: Offering a soft, matte finish, frosted acrylic diffuses light beautifully. It has an elegant, high-end feel and has the practical benefit of hiding fingerprints and minor scratches better than its clear counterpart.
- Mirrored Acrylic: For maximum sparkle, nothing beats mirrored acrylic. Available in silver, gold, rose gold, and other festive colors, it reflects the twinkling Christmas lights, adding a dynamic and glamorous touch to your tree. Note that it is typically engraved on the back for a clean look from the front.
Designing Your Custom Ornaments
With your material selected, you’re ready to move into the most creative phase: designing your custom ornaments. This is where your vision takes shape, transforming a blank piece of wood or acrylic into a personalized keepsake. Using vector design software is key to this process, as it allows you to create the precise paths the laser will follow. Popular programs include Adobe Illustrator, CorelDRAW, and the free, open-source option, Inkscape. The core principle is to differentiate between lines the laser will cut, and areas it will engrave.
Preparing Your File for the Laser
Proper file setup is the most critical step to ensure a successful outcome. Laser cutters read specific instructions from your design file, so you must “speak their language.” This involves color-coding your design elements and ensuring all paths are correctly formatted.
- Setting Cut Lines: Any line you want the laser to cut completely through the material must be a vector path. The industry standard is to set this path to a hairline thickness (0.001 inches or 0.025mm) and a specific color, typically pure red (RGB: 255, 0, 0). This tells the laser software to follow this line with full cutting power. This is used for the outer contour of your ornament and any internal cut-outs.
- Defining Engraving Areas: You have two options for engraving. For raster engraving, which fills in an area (like shading or a photo), you can use any filled shape or a high-resolution bitmap image. The laser will move back and forth, like an inkjet printer, etching the design onto the surface. For vector engraving or “scoring,” you create a line just like a cut line but assign it a different color (e.g., blue – RGB: 0, 0, 255). This instructs the laser to follow the path with lower power, creating a clean, crisp line without cutting all the way through, perfect for delicate details or outlines.
- Text and Fonts: When adding names, dates, or messages to personalized wood ornaments, always convert your text to paths or curves before saving. This turns the letters into fixed vector shapes, ensuring the laser cutter can read them correctly even if it doesn’t have that specific font installed on its computer.
Designing for Durability and Beauty
A beautiful design is only successful if it holds together. The nature of laser cut ornaments means you can create incredibly intricate patterns, but you must consider structural integrity. Fine, delicate details, like the arms of a snowflake or the antlers on a reindeer, are the most vulnerable points. As a rule of thumb, ensure that any connecting “bridges” of material are at least 1.5mm (approx. 1/16″) thick to prevent them from snapping easily. Pay special attention to the loop for hanging the ornament; make sure it is thick and placed far enough from the edge to support the ornament’s weight. Also, be mindful of “islands”—unsupported pieces within a design, like the center of the letter ‘O’. Unless you are intentionally creating a multi-part, layered ornament, these pieces will simply fall out once cut. Consider using a stencil-style font or adding small connector tabs to keep these internal shapes in place, ensuring your finished laser xmas ornaments are both stunning and sturdy enough to be cherished for years to come.
Finishing Touches to Make Your Ornaments Shine
Once the laser has finished its precise work, your ornament is born, but it’s not yet complete. The finishing touches are what elevate a simple cut-out into a polished, professional-looking piece of holiday art. This post-processing stage is where you clean, protect, and embellish your creations, adding the final layer of personality that makes them truly special. The techniques vary significantly between the warmth of wood and the clarity of acrylic, each requiring a unique approach to achieve the best results.
Post-Processing for Laser Engraved Wood
The laser cutting process on wood creates a beautiful, caramelized edge but can also leave behind a slight smoky residue or “halo” on the surface, especially around engraved areas. Your first step is to clean this up. A pro tip for future projects is to apply a layer of low-tack paper masking tape to the wood before cutting; this peels away after the job, taking almost all the smoke stains with it. If you didn’t mask the material, a gentle wipe with a cloth slightly dampened with isopropyl alcohol can remove much of the surface residue. For a perfectly smooth, professional finish, light sanding is essential. Using a fine-grit sandpaper (220-grit or higher), gently sand the surface of the ornament, moving with the grain of the wood. Be careful around delicate, intricate parts of your design. The goal is to remove the smoke halo and smooth the surface without dulling the sharp, laser-cut edges.
Once your laser engraved wood ornament is clean and smooth, you can choose how to finish it. Leaving it natural highlights the beautiful contrast between the light wood and the dark engraved lines. However, a finish will protect it for years to come.
- Staining: Applying a thin coat of wood stain can deepen the wood’s natural color and enhance its grain, providing a rich, classic look. Simply wipe on the stain with a clean cloth and wipe off any excess.
- Painting: Acrylic craft paints are perfect for adding festive color. You can paint the entire ornament a solid color or use a fine-tipped brush to meticulously paint-fill specific engraved sections, bringing your design to life.
- Sealing: This is the most important step for longevity. A clear spray sealer, like a matte or satin polyurethane, will protect the wood from humidity and handling. It also helps lock in the dark, smoky look of the engraving. Apply one or two light, even coats for a durable, lasting finish.
Finishing Touches for Acrylic Laser Ornaments
Acrylic laser ornaments require a different approach. They emerge from the laser with a beautifully flame-polished edge and typically don’t require any sanding. The main task is cleaning. Most acrylic sheets come with a protective paper or plastic film that you should peel off after cutting to reveal the pristine surface. To remove any fingerprints or dust, use a soft, lint-free microfiber cloth. It is critical to never use alcohol or ammonia-based cleaners (like standard window cleaner), as they can cause the acrylic to develop tiny stress fractures, an effect known as “crazing.” A little bit of mild soap and water is all you need for a sparkling clean finish.
With acrylic, the finishing touches are all about embellishment and turning a beautiful shape into a dazzling decoration.
- Paint Filling: The frosted white engraving on acrylic creates a perfect texture to hold paint. Use an acrylic paint pen or a syringe to carefully fill the engraved lines with color. Let it dry slightly, then wipe the excess paint from the smooth surface, leaving behind a crisp, colorful inlay.
- Adding Sparkle: For an extra festive touch, apply a thin layer of clear craft glue to certain areas and sprinkle with fine glitter. You can also glue on tiny rhinestones to act as ornaments on a laser-cut tree or as eyes for a character.
- The Hanger: The final step for any ornament is the hanger. Thread a beautiful piece of velvet ribbon, rustic twine, or a metallic cord through the hanging hole to complement the style of your laser cut Christmas ornaments and get them ready for the tree.
Conclusions
Now you have the knowledge to create beautiful laser cut Christmas ornaments that stand out. By experimenting with different materials and designs, you can produce unique decorations for your tree or to give as heartfelt gifts. Embrace your creativity and start crafting your own collection of laser xmas ornaments to make this holiday season truly special and memorable.
Frequently Asked Questions
Q: What is the best wood for a beginner making laser cut ornaments?
A: Birch plywood is widely considered the best choice for beginners. It’s affordable, consistent, and its light-colored surface provides excellent contrast for engravings, making it very easy to work with.Interested in more Ornaments? Check out our Ornaments laser file designs: Click here!
Q: How can I prevent my acrylic ornaments from breaking or cracking?
A: Acrylic is very durable, but it can develop tiny stress fractures (crazing) if cleaned with harsh chemicals. Never use alcohol or ammonia-based cleaners; stick to mild soap and water with a soft microfiber cloth.
Q: My text isn’t showing up correctly on the final ornament. What went wrong?
A: This is a common issue when the font used in the design file isn’t installed on the laser cutter’s computer. To prevent this, always convert your text to paths or curves before saving the file. This turns the letters into fixed shapes that any machine can read.
Q: How do I prevent smoke stains on my wooden ornaments?
A: The best method is to apply a layer of low-tack paper masking tape to the surface of the wood before you start cutting. Once the laser is finished, you can simply peel the tape off, and it will take most of the smoke residue with it, leaving a clean surface behind.

Subscribe to Our Newsletter
And enjoy FREE Download Files, SALE Alerts and Inspiring TIPS
Pricing Your Laser Engraving Work for Profitability
A Comprehensive Guide to Pricing Your Laser Engraving Services
A Comprehensive Guide on How to Price Laser Engraving Services
Charcuterie Board Engraving File – Wine & Grapes 3D Illusion…
$4.00Original price was: $4.00.$3.00Current price is: $3.00.(25% off)
Bee and Honey Jar Charcuterie Board Engraving File | PNG Download #007…
$4.00Original price was: $4.00.$3.20Current price is: $3.20.(20% off)
Valentine Love Captions: 6 Charcuterie Board Engraving Files…
$8.00Original price was: $8.00.$5.60Current price is: $5.60.(30% off)
American Eagle Flag Laser Engraving File for Charcuterie & Cutting…
$4.00Original price was: $4.00.$2.80Current price is: $2.80.(30% off)