

 Français
 Deutsch
 Español
 Italiano
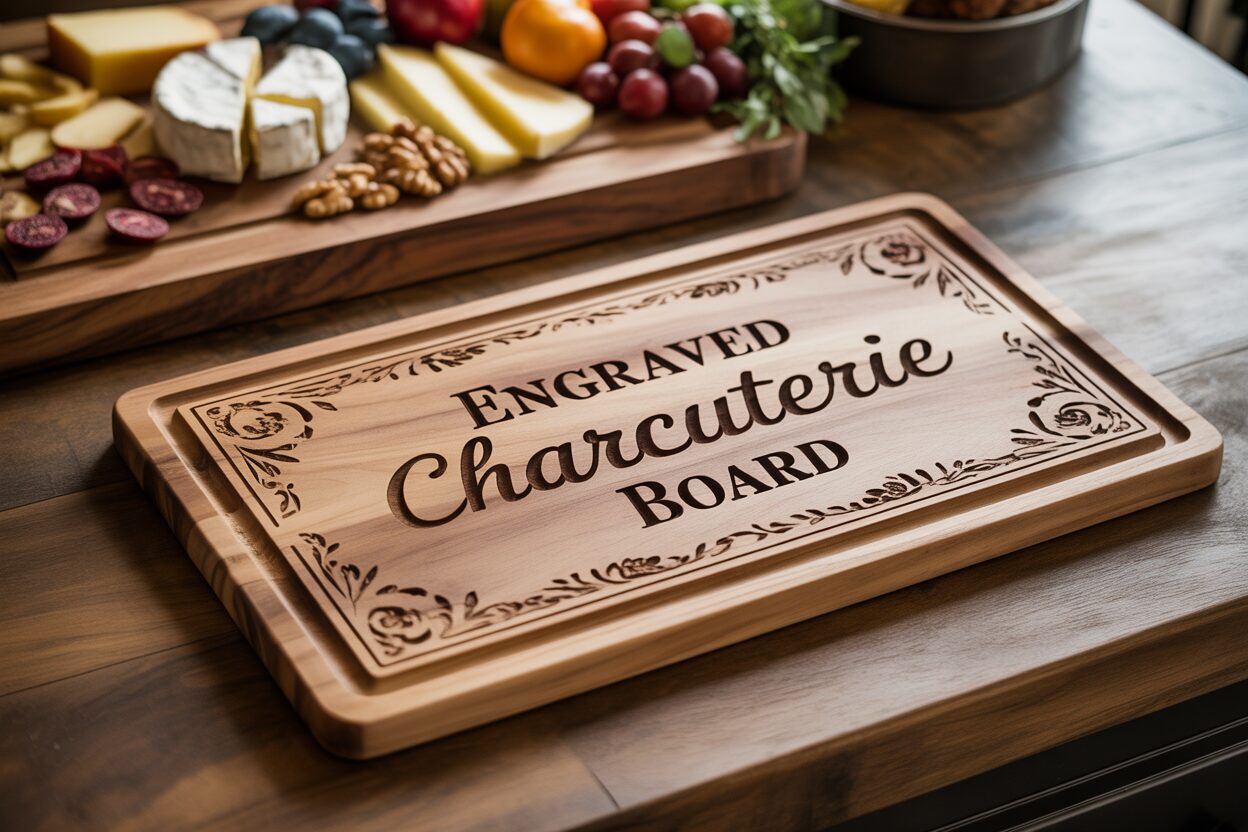
Crafting the Perfect Engraved Charcuterie Board
Feb
Estimated reading time: 8 minutes
Key Takeaways
- Choose the Right Wood: For a food-safe and durable engraved charcuterie board, always select a closed-grain hardwood. Maple, Cherry, and Walnut are top choices, each offering a unique color and grain that affects the final look of the engraving.
- Prepare Your Design File: For the sharpest results, use a vector file (like an SVG). Ensure fonts are bold enough to be legible, simplify complex logos to high-contrast black and white, and convert all text to paths before sending the file to the laser.
- Always Test Your Laser Settings: The ideal power and speed settings vary significantly between wood types. Always perform a test run on a scrap piece of the same wood to dial in your settings and avoid ruining your final board.
- Clean and Finish Properly: After engraving, clean away residue with a soft brush and denatured alcohol. The final, crucial step is to apply a food-safe mineral oil or board butter to protect the wood and dramatically enhance the contrast and beauty of your design.
Table of Contents
- Choosing the Right Wood for Your Charcuterie Board
- Preparing Your Design File for Engraving
- The Laser Engraving Process and Finishing Touches
- Conclusions
- Frequently Asked Questions
Discover how to transform a simple wood charcuterie board into a personalized masterpiece. This guide will walk you through the process of creating a beautiful engraved charcuterie board, from selecting the right materials to applying the finishing touches. Perfect for gifts or adding a special touch to your own home, this project is a fantastic way to showcase your creativity.
Choosing the Right Wood for Your Charcuterie Board
The foundation of a truly exceptional engraved charcuterie board is, without question, the wood itself. Your choice will dictate not only the board’s longevity and safety but also how beautifully your design is rendered. While many types of wood exist, for a project that combines food service with detailed engraving, hardwoods are the undisputed champions. Hardwoods are dense, durable, and feature a closed-grain structure. This is crucial for a wood charcuterie board because a less porous surface is easier to clean and less likely to harbor bacteria from food particles. Woods like pine or fir, being softwoods, will dent and scar easily from knife use and their porous nature makes them unsuitable for direct food contact. Stick to trusted, food-safe hardwoods to ensure your creation is both stunning and functional.
Top Hardwood Choices and Their Engraving Characteristics
When selecting your material, three hardwoods consistently stand out for their performance and aesthetic appeal: Maple, Cherry, and Walnut. Each offers a unique canvas for your laser engraved design.
- Maple: Often considered the gold standard, maple is a very hard, dense wood with a light, creamy color. Its grain is incredibly fine and subtle, providing a smooth, uniform surface. This makes it the perfect choice for highly detailed engravings. When engraved, maple produces a sharp, high-contrast dark brown or black burn, allowing intricate text, delicate logos, and even photo-realistic images to pop with exceptional clarity.
- Cherry: Known for its warm, reddish-brown hue that deepens to a rich patina over time, cherry offers a look of classic elegance. Its grain is smooth and often straight, providing a consistent surface for engraving. The laser creates a beautiful, deep burn that is a few shades darker than the surrounding wood. The result is a more subtle, tone-on-tone effect compared to maple, perfect for sophisticated monograms and classic designs where elegance is valued over high contrast.
- Walnut: For a bold and luxurious statement, walnut is an unparalleled choice. Its deep, chocolate-brown color is often highlighted by complex and swirling grain patterns. Engraving on walnut results in a dark-on-dark, almost embossed appearance. The contrast is minimal, so this wood is best suited for strong, simple designs that don’t rely on fine detail. The finished piece of laser engraved wood is dramatic and modern, letting the wood’s natural beauty share the spotlight with your design.
How Grain Affects Your Final Design
Understanding wood grain is critical to predicting the final look of your engraving. A wood with a fine, straight grain, like maple, acts as a consistent canvas, allowing the laser to burn evenly across the entire design for crisp, predictable results. In contrast, woods with more prominent or wavy grain patterns, such as walnut or figured cherry, introduce a variable. The laser’s burn may appear slightly lighter or darker as it passes over different densities and colors within the grain. This can add a unique, organic character to your piece, but it can also obscure very fine details. For woods with active grains, it’s wise to either choose bolder, simpler designs or strategically place your artwork in an area of the board with a calmer grain pattern.
Tips for Purchasing the Perfect Board
When you’re ready to buy, keep a few key factors in mind to ensure your board is suitable for both engraving and serving. First, check the finish. The ideal wood charcuterie board will be either unfinished or treated only with a food-safe oil like mineral oil or a beeswax blend. Avoid any board with a varnish, lacquer, or chemical sealant, as these are not safe for food and will produce toxic fumes and a poor-quality burn when hit with the laser. Second, ensure the board is perfectly flat. A warped or bowed board will cause the laser to go in and out of focus, resulting in an inconsistent and blurry engraving. Finally, look for solid construction. Most boards are made of several strips of wood glued together (edge-grain construction); just ensure the seams are tight and the board feels sturdy and substantial, with a thickness of at least 3/4 inch.
Preparing Your Design File for Engraving
With your perfect piece of wood selected, the next step is to translate your creative vision into a digital file that the laser engraver can understand. Proper file preparation is the most critical technical step in creating a flawless engraving. The foundation of this process lies in understanding the difference between two fundamental image types: vector and raster. A vector image, like those in an SVG or AI file, is created from mathematical paths and lines. It can be scaled to any size without losing quality, making it ideal for sharp text, logos, and line art. The laser follows these paths precisely. A raster image, like a JPG or PNG, is made of a grid of pixels. While excellent for photographs, they can become blurry when enlarged and are engraved line-by-line, like a printer. For most designs on a personalized charcuterie board, a vector file is vastly superior, ensuring crisp, clean lines. You’ll often find excellent starting points by searching for a “charcuterie board svg” file online, which you can then customize.
Crafting Your Design Elements
The beauty of a laser-engraved piece is in the details. When designing, consider how different elements will translate onto wood.
- Fonts: Not all fonts are created equal for engraving. Very thin or delicate script fonts can get lost in the wood grain or appear faint. Opt for fonts with a medium to bold weight for names, dates, and quotes. If you choose a script font, ensure it’s thick enough to be clearly legible after engraving. Before finalizing, it’s a critical step to convert all text to paths or outlines. This turns the letters into vector shapes, ensuring the laser software reads them correctly, even if it doesn’t have the font installed.
- Monograms and Logos: Creating a monogram is a classic way to personalize a board. Focus on balance and clarity. For business logos, simplification is key. Complex logos with gradients, shadows, or multiple colors will not engrave well. You must convert them to a high-contrast, black-and-white design. The laser only understands “on” (burn) and “off” (don’t burn), so pure black shapes will yield the best results.
- Decorative Elements: Flourishes, borders, or small icons can add a wonderful finishing touch. However, avoid overly dense or complex patterns in a small area, as this can lead to excessive burning or charring, obscuring the detail. Simple, elegant line work that complements the main design is often more effective than a cluttered graphic. Remember the wood you chose in the previous step; a simple design will stand out on a busy Walnut grain, while a more intricate design can shine on a smooth Maple surface.
Finalizing Your File for Flawless Engraving
Once your design is complete in your preferred software (like Adobe Illustrator, CorelDRAW, or Inkscape), the final steps are to prepare it for the laser. First, set your document or artboard size to the exact dimensions of your custom cutting board. This allows you to position your design precisely where you want it on the final product. Next, ensure your design is composed of a solid fill color, typically pure black (RGB 0,0,0). The laser software will interpret this black area as the part to be engraved. Clean up your file by removing any stray points or overlapping lines that could confuse the machine. Finally, save your file in a vector format compatible with your laser software, with SVG, AI, and DXF being the most common and reliable choices. Taking the time to meticulously prepare your digital file is the secret to moving from a good design on screen to a stunning, professionally finished piece.
The Laser Engraving Process and Finishing Touches
With your digital design perfected, it’s time to bring your creation to life. This is where precision and process converge to physically burn your vision into the wood. The first step inside the workshop is to secure your board. Place your wood charcuterie board onto the laser bed, ensuring it is perfectly flat and level. Use honeycomb pins, weights, or a small jig to hold it firmly in place so it doesn’t shift during the engraving. Next, you must set the laser’s focus. An accurately focused laser beam is crucial for a sharp, clean engraving; an out-of-focus beam will produce a blurry, weak-looking result. Your machine will have a specific tool or auto-focus procedure for this—follow it meticulously. Once the board is secure and the laser is focused, you will load your design file into the laser’s control software and position it digitally over the area you wish to engrave.
Dialing in Your Laser Settings
The key to a perfect burn lies in balancing two main variables: power and speed. These settings will vary significantly based on your laser’s wattage and the type of wood you chose. As a general rule:
- Maple: Being very hard and dense, maple requires higher power or a slower speed to achieve a deep, dark burn. It provides excellent contrast, making it very forgiving.
- Cherry: This wood is slightly softer than maple and engraves beautifully with a bit less power or a slightly faster speed. You are aiming for a rich, dark red-brown tone without excessive charring.
- Walnut: Since walnut is already dark, you often need less power. Too much power can create a charred, muddy look that obscures the detail. The goal is a clean, deep engraving that provides tonal contrast.
Before you ever engrave your final piece, always perform a test run. Use a scrap piece of the exact same wood and thickness. Engrave a small section of your design or a test matrix of different settings to see how the wood reacts. This single step is the most important for avoiding a costly mistake and is essential for creating a professional-quality engraved charcuterie board.
Cleaning and Finishing for a Flawless Result
Once the engraving is complete, you will notice a layer of smoky residue and sap around the engraved area. Cleaning this off properly is critical for a crisp final appearance. Start by using a soft-bristled brush to gently scrub away the loose char and dust from within the engraved lines. For any stubborn, sticky residue, lightly dampen a clean cloth with denatured alcohol and carefully wipe the surface. The alcohol will dissolve the sap without raising the wood grain like water would. Be gentle and wipe with the grain.
The final, transformative step is applying a food-safe finish. This not only protects the wood but also dramatically enhances the look of the grain and the contrast of the engraving. The best choice is a high-quality, food-grade mineral oil or a “board butter” which is typically a blend of mineral oil and beeswax. Pour a generous amount of oil onto the board and use a clean, lint-free cloth to spread it evenly over the entire surface, including the edges and the engraved areas. Let the oil soak in for at least 20-30 minutes, or even overnight. The wood will drink up the oil, with the engraved portions often turning a much darker, richer color. Afterwards, take another clean cloth and buff off all the excess oil until the board feels smooth and dry to the touch. This final step turns your project from a simple piece of engraved wood into a beautiful and functional personalized charcuterie board, ready for its debut.
Conclusions
Creating a custom engraved charcuterie board is a rewarding project that combines craftsmanship with personalization. By following these steps, you can produce a high-quality, food-safe piece that’s perfect for any occasion. Whether for personal use or as a unique gift, your laser-engraved creation is sure to impress with its professional finish and thoughtful design.
Frequently Asked Questions
Q: What’s the best wood for a detailed engraving on a charcuterie board?
Interested in more Charcuterie Board? Check out our Charcuterie Board laser file designs: Click here!
A: Maple is the best choice for highly detailed engravings. Its fine, subtle grain and light color create a smooth canvas, allowing the laser to produce a high-contrast, sharp burn that makes intricate designs pop with clarity.
Q: Can I use a regular JPG or PNG file for my design?
A: While you can, it’s not recommended for most designs. Vector files (like SVG or AI) are far superior because they use mathematical paths, resulting in crisp, clean lines that can be scaled without losing quality. Raster files like JPG or PNG are made of pixels and are better suited for photographs, but can appear blurry for text and logos.
Q: My board has a varnish on it. Can I still engrave it?
A: No, you should not engrave a board with varnish, lacquer, or a chemical sealant. These finishes are not food-safe and will produce toxic fumes when hit with the laser. They also result in a poor-quality burn. Always start with an unfinished board or one treated only with a food-safe oil.
Q: What should I do after the laser has finished engraving?
A: After engraving, you must clean the smoky residue from the surface. Use a soft brush to remove loose char, and a cloth lightly dampened with denatured alcohol for sticky sap. The final and most important step is to apply a food-safe finish, like mineral oil or a beeswax blend, to protect the wood and enhance the contrast of your design.

Subscribe to Our Newsletter
And enjoy FREE Download Files, SALE Alerts and Inspiring TIPS
A Comprehensive Guide to Pricing Your Laser Engraving Services
A Comprehensive Guide on How to Price Laser Engraving Services
How to Price Your Laser Engraving and Cutting Services
Charcuterie Board Engraving File – Wine & Grapes 3D Illusion…
$4.00Original price was: $4.00.$3.00Current price is: $3.00.(25% off)
Bee and Honey Jar Charcuterie Board Engraving File | PNG Download #007…
$4.00Original price was: $4.00.$3.20Current price is: $3.20.(20% off)
Valentine Love Captions: 6 Charcuterie Board Engraving Files…
$8.00Original price was: $8.00.$5.60Current price is: $5.60.(30% off)
American Eagle Flag Laser Engraving File for Charcuterie & Cutting…
$4.00Original price was: $4.00.$2.80Current price is: $2.80.(30% off)