

 Français
 Deutsch
 Español
 Italiano
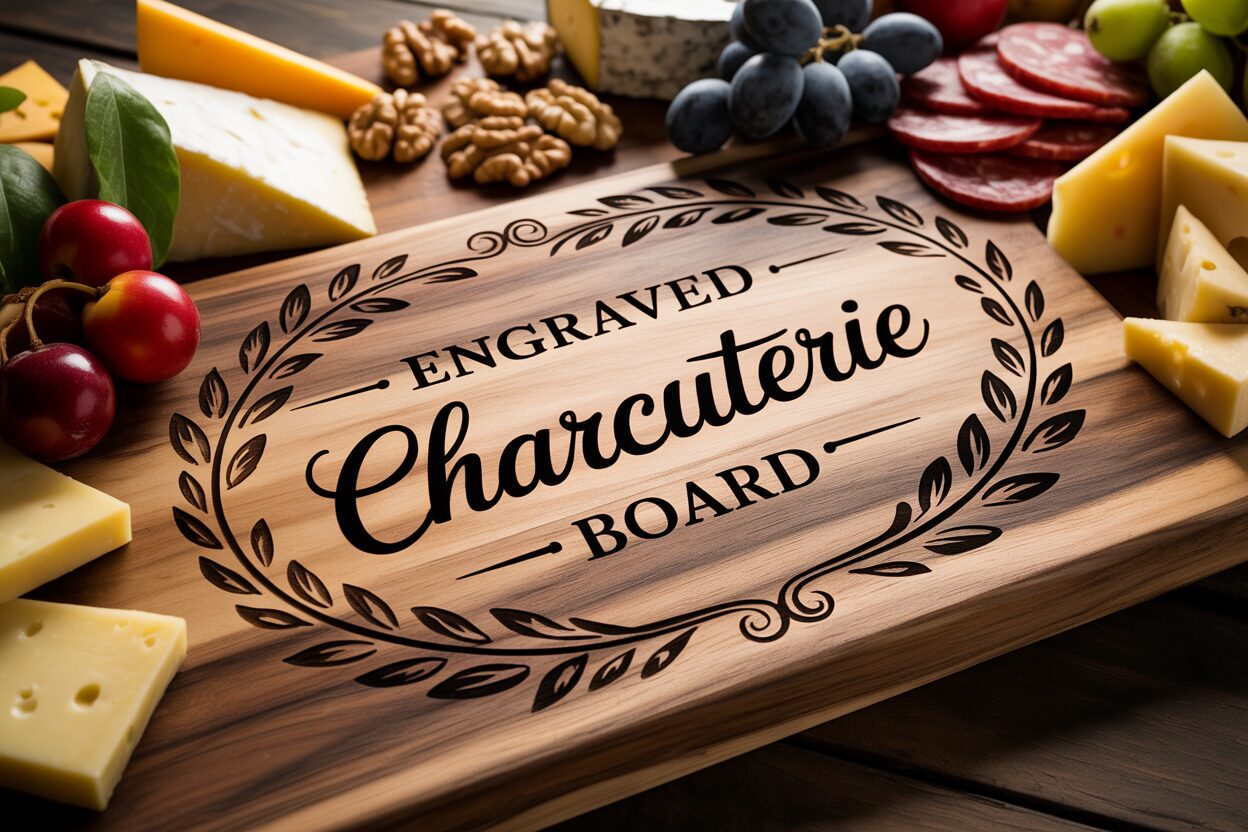
Crafting the Perfect Engraved Charcuterie Board
Jan
Estimated reading time: 7 minutes
Key Takeaways
- Material Matters: The choice between woods like Maple (high-contrast), Walnut (luxurious), and Acacia (rustic) or modern Slate significantly impacts the final look, durability, and food safety of your engraved board.
- Design for the Occasion: Personalization is key. Tailor designs like monograms, custom illustrations, or significant dates to create meaningful gifts for weddings, housewarmings, or corporate events.
- Preparation is Crucial: For a professional finish, always use a vector file (SVG, AI) for your design, and apply masking tape to wood surfaces before engraving to prevent smoke stains and achieve crisp, clean lines.
- Food Safety First: Never compromise on safety. Use only food-safe woods and, most importantly, treat the entire board with a food-grade finish like mineral oil or a board conditioner after engraving to create a protective, safe surface for food contact.
Table of Contents
- Choosing the Right Materials for Your Board
- Design Ideas for a Personalized Charcuterie Board
- The Laser Engraving Process Step-by-Step
- Conclusions
- Frequently Asked Questions
Discover the art of making a custom charcuterie board that stands out. This guide will walk you through the process of selecting materials, designing, and engraving personalized charcuterie boards. From intricate wood burning ideas to elegant slate designs, learn how to create memorable laser engraved gifts for any occasion, transforming a simple platter into a cherished keepsake.
Interested in more Charcuterie Board? Check out our Charcuterie Board laser file designs: Click here!
Choosing the Right Materials for Your Board
The Foundation: Selecting the Perfect Wood
The material you choose is the canvas for your art. It dictates the aesthetic, the feel, and how the laser interacts with the surface to create your design. Wood is the classic choice, offering warmth and natural beauty. However, not all woods are created equal when it comes to charcuterie boards. Your primary considerations should be a dense, closed-grain structure for food safety, durability to withstand use, and a grain pattern that complements, rather than competes with, your engraving.
- Maple: The Classic Canvas. Maple is a go-to for good reason. As a very hard, closed-grain wood, it’s highly durable and resistant to bacteria, making it exceptionally food-safe. Its light, uniform color creates a high-contrast background, allowing laser engravings to appear dark, crisp, and incredibly detailed. This makes it ideal for intricate logos, fine text, or complex patterns. While its subtle grain doesn’t offer the dramatic flair of other woods, it provides an understated elegance that ensures your engraved design is the star of the show. Be mindful that its light surface can be more susceptible to stains from colorful foods.
- Walnut: The Premium Choice. For a touch of luxury, nothing beats walnut. Its rich, dark chocolate hues exude sophistication. Laser engraving on walnut produces a stunning result; the laser burns away the dark wood to reveal the lighter material underneath, creating a natural, tone-on-tone effect that is both subtle and striking. The typically straight, fine grain provides a consistent surface perfect for detailed work. While walnut is a durable hardwood, it is slightly softer than maple, so it may show knife marks more readily over time. It is a premium material that commands a higher price, but the elegant result is often worth the investment.
- Acacia: The Rustic Character. If you desire a board with bold, natural character, acacia is an excellent option. Known for its remarkable durability and water resistance, acacia boasts a dynamic, often multi-toned grain with deep, rich colors ranging from honey gold to dark brown. This variation means every board is unique. Engraving on acacia produces a dark burn with good contrast, though the active grain can sometimes obscure very fine details. It’s a perfect choice for designs that are bold and rustic, harmonizing with the wood’s natural, wild beauty.
A Modern Alternative: The Sophistication of Slate
For a contemporary and dramatic look, consider moving beyond wood to slate. A slate charcuterie board offers a sleek, minimalist aesthetic that is both modern and timeless. Its dark gray or black surface provides a fantastic backdrop for cheeses, fruits, and cured meats, making their colors pop. When laser engraved, the laser fractures the surface of the slate, producing a permanent, light gray or white mark that stands out with exceptional clarity. This high-contrast result is perfect for sharp, clean designs. Slate is non-porous, so it won’t absorb flavors or bacteria and is easy to clean. However, it has its trade-offs: it is brittle and can chip or break if mishandled, and it should never be used as a cutting surface, as it will instantly dull your knives.
The Uncompromising Rule: Prioritizing Food Safety
Regardless of the material you choose, food safety is non-negotiable. This principle applies to both the raw material and the finish. Always select woods known to be food-safe; avoid open-pored woods like red oak, which can trap food particles and bacteria. The laser engraving process vaporizes any pre-existing finish in the design area, leaving the wood bare and vulnerable. Therefore, it is absolutely essential to treat the entire board after engraving. Do not use varnishes, lacquers, or any non-food-grade finish. Instead, apply a generous coat of a food-safe finish, such as mineral oil or a specialized board conditioner made from a blend of mineral oil and beeswax. This conditions the wood, enhances its natural beauty, and creates a protective, safe barrier for food contact. This final step transforms your beautiful object into a functional, safe, and long-lasting piece of kitchen art.
Design Ideas for a Personalized Charcuterie Board
The design you choose transforms a simple board into a personal statement or a cherished keepsake. This is where your creativity takes center stage, turning wood or slate into a canvas for a unique story. The possibilities are boundless, ranging from timeless elegance to modern, artistic expressions. Consider the placement carefully; a design in a corner preserves the main serving area, while a large, central motif makes a bold statement. The key is to create a visual harmony between the design, the material, and the board’s intended function.
From Timeless Classics to Modern Art
The most popular designs often revolve around personalization, creating an item that is truly one-of-a-kind.
- Monograms and Text: A classic choice for a reason. Engraving a family name, a couple’s initials, or a significant date (like “Est. 2024”) offers a touch of refined elegance. The font choice is critical here; a flowing script can evoke romance, while a bold, sans-serif font feels modern and clean. Consider adding a decorative flourish, like a simple wreath or a dividing line, to frame the text.
- Intricate Patterns: For a more decorative approach, patterns can be stunning. Delicate floral wreaths tracing the edge of the board add a soft, organic touch that works beautifully on light woods like maple. Conversely, bold geometric patterns or intricate mandalas create a striking, contemporary look, especially when engraved with crisp precision on a dark walnut or slate board.
- Illustrative Designs: Let your personality shine through with custom illustrations. This could be anything from a mountain range for an adventurous couple, a simple outline of a beloved pet, or even a cherished family recipe engraved in a loved one’s actual handwriting. These highly personal designs turn the board into a true heirloom.
Crafting the Perfect Gift for Any Occasion
A personalized charcuterie board is a standout gift, and tailoring the design to the event makes it even more meaningful. For a wedding or anniversary, consider interlocking monograms, the coordinates of where the couple met, or a simple “Mr. & Mrs.” with their last name and wedding date. For a housewarming party, a design featuring the new home’s address, a “Home Sweet Home” message, or a stylized map of their new neighborhood is a thoughtful touch. For corporate gifts or holiday presents, a company logo can be elegantly placed in a corner, or seasonal motifs like pine branches or autumn leaves can be subtly incorporated into the design.
Translating Your Vision with Design Software
To ensure your design engraves flawlessly, it’s crucial to prepare it correctly. The gold standard for laser engraving is a vector file (like SVG, AI, or DXF). Unlike pixel-based images (like JPG or PNG), vectors are made of mathematical paths, which the laser can follow perfectly, resulting in clean, sharp lines at any size. Software like Adobe Illustrator or the free alternative Inkscape are ideal for creating or tracing designs into a vector format. When creating your design, remember the material. High-contrast, simple line art is incredibly effective on slate, where the laser creates a bright white mark. For wood, especially lighter varieties like maple, you can incorporate more detail and even some shading effects (dithering). Always create a small test engrave on a scrap piece of the same material to ensure your laser settings and design complexity translate as you envision before committing to the final board.
The Laser Engraving Process Step-by-Step
With your design finalized and your material selected, it’s time to bring your vision to life. The laser engraving process is a blend of precision preparation, technical settings, and careful finishing. Following these steps methodically will ensure a clean, professional result that transforms a simple board into a work of art.
Step 1: Meticulous Preparation
A flawless engraving begins with a flawless surface. For a wooden board, even if it appears smooth from the store, it’s best to sand it. Start with a medium-grit sandpaper (around 120) and progress to a fine grit (220 or higher) for a silky-smooth finish. Always sand with the grain to avoid scratches. Once sanded, wipe away all dust with a tack cloth or a slightly damp rag. Now for the most critical pro tip for wood: apply a layer of medium-tack application tape or wide painter’s mask over the entire surface. This mask acts as a protective shield. The laser will cut through it cleanly, but it will prevent the smoke and resin residue from staining the porous wood grain surrounding your design, which is the secret to achieving razor-sharp, high-contrast results without a “smoky halo.” For slate, preparation is simpler: just ensure the surface is clean, dry, and free of any oils or fingerprints.
Step 2: Laser Setup and Safety
Position your board in the laser cutter, ensuring it is level. Use the machine’s focus tool to set the correct focal height; an out-of-focus laser will produce a blurry, weak engraving. Next, import your vector design file into the laser software. Use the machine’s framing function or red dot pointer to preview the engraving area, meticulously aligning the design to your desired location on the board. Before you press start, double-check your safety measures. Ensure your ventilation system is running properly to extract all smoke and fumes, and always wear your certified laser safety glasses.
Step 3: Dialing in Your Settings
The settings you choose will define the look of your engraving. Every laser and material is different, so always run a small test on a scrap piece or the inconspicuous back of the board first.
- For Wood (e.g., Maple, Walnut, Acacia): You are essentially burning the wood, so you’ll balance speed and power. A slower speed and higher power will create a deeper, darker burn, ideal for bold text or logos. A faster speed and lower power will produce a lighter, more subtle etch, suitable for delicate patterns. A good starting point for a 60W CO2 laser might be around 300 mm/s speed and 30-40% power. Maple, being harder and lighter, may require a bit more power than a darker wood like walnut to achieve a similar dark contrast.
- For Slate: You are not burning the material; you are fracturing its surface to create a light mark. This requires a very different approach: high speed and low power. Too much power will melt or overly chip the slate, resulting in a messy finish. You want to move fast enough to just break the surface. A good starting point for a 60W laser could be 400-500 mm/s speed at only 15-20% power. The goal is a clean, bright white or light gray mark.
Step 4: The Finishing Touches
Once the laser has finished its work, the final steps begin. For wood, carefully peel away the masking tape. You will be left with a perfectly clean engraving surrounded by untouched wood. Use a small, soft brush (an old toothbrush works well) to gently scrub out any remaining char or debris from within the engraved lines. Now, apply your food-safe mineral oil or board conditioner. This is a magical step: the oil will rehydrate the wood, deepen its natural color, and make the dark burn of the engraving pop with rich contrast. For slate, simply wipe the board with a damp cloth to remove any dust. For an extra touch of class, you can also apply a thin layer of food-safe mineral oil to the slate. This will darken the surface to a deep, rich black, making the light-colored engraving stand out dramatically.
Conclusions
With the right techniques and a bit of creativity, an engraved charcuterie board can be more than just a serving dish, it can be a piece of art. Whether for your home or as a thoughtful present, a personalized charcuterie board is a unique way to impress. We hope this guide has inspired you to explore the possibilities of laser engraving.
Frequently Asked Questions
Q: What is the best wood for a charcuterie board?
A: The best woods are dense, closed-grain hardwoods. Maple is a top choice for its durability, food safety, and light color, which provides excellent contrast for dark engravings. Walnut offers a luxurious, dark background for a subtle, tone-on-tone effect. Acacia is great for a rustic look with its dynamic grain.
Q: Can I use any oil to finish my engraved charcuterie board?
A: No, it is critical to only use a food-safe finish. Do not use varnishes or lacquers. The best options are food-grade mineral oil or a specialized board conditioner made from a blend of mineral oil and beeswax. These are safe for food contact and also condition the wood.
Q: Why do I need to use masking tape on wood before engraving?
A: Masking tape acts as a protective shield on the wood’s surface. The laser cuts through the tape and engraves the wood, but the tape prevents smoke and resin residue from staining the wood grain around the design. This results in a much cleaner, sharper, and higher-contrast engraving without a “smoky halo.”
Q: Can I cut on an engraved slate board?
A: No, you should never use a slate board as a cutting surface. Slate is a brittle material that will instantly and severely dull your knives. It is best used for serving and presentation only.

Subscribe to Our Newsletter
And enjoy FREE Download Files, SALE Alerts and Inspiring TIPS
Pricing Your Laser Engraving Work for Profitability
A Comprehensive Guide to Pricing Your Laser Engraving Services
A Comprehensive Guide on How to Price Laser Engraving Services
Charcuterie Board Engraving File – Wine & Grapes 3D Illusion…
$4.00Original price was: $4.00.$3.00Current price is: $3.00.(25% off)
Bee and Honey Jar Charcuterie Board Engraving File | PNG Download #007…
$4.00Original price was: $4.00.$3.20Current price is: $3.20.(20% off)
Valentine Love Captions: 6 Charcuterie Board Engraving Files…
$8.00Original price was: $8.00.$5.60Current price is: $5.60.(30% off)
American Eagle Flag Laser Engraving File for Charcuterie & Cutting…
$4.00Original price was: $4.00.$2.80Current price is: $2.80.(30% off)