

 Français
 Deutsch
 Español
 Italiano
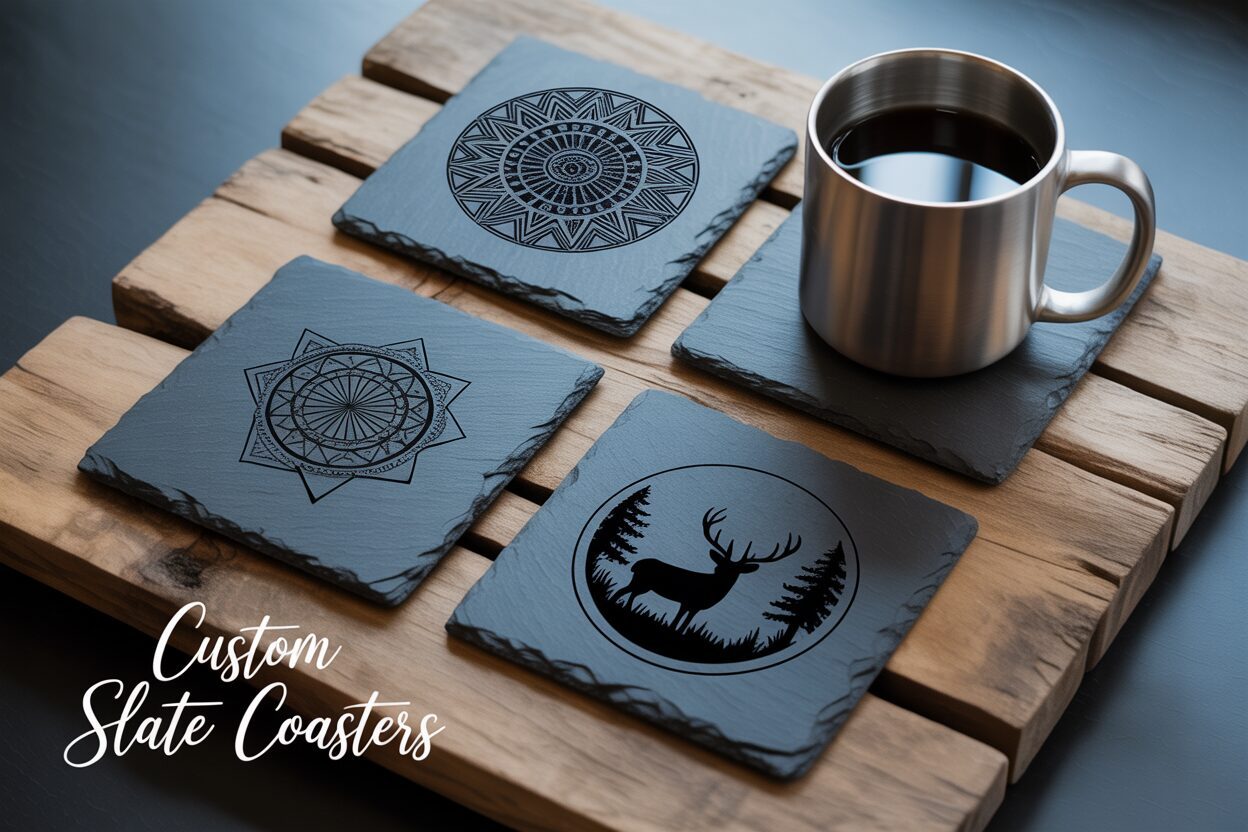
A Guide to Engraving Custom Slate Coasters
Jan
Estimated reading time: 9 minutes
Key Takeaways
- Material is Crucial: Always choose natural, unsealed, dark slate for engraving. Coated or sealed slate will produce poor results and potentially harmful fumes.
- Preparation is Key: Thoroughly clean and dry every coaster before engraving. For superior contrast and easier cleanup, apply an optional thin layer of dish soap or a transfer mask.
- Design for Contrast: Use high-contrast designs. Vector files (SVG, AI) are ideal for sharp text and logos, while photos (raster images) require significant editing and dithering to engrave well.
- Test, Don’t Guess: Every laser and slate batch is different. Always run a power/speed test grid on a scrap piece to find the optimal settings for a bright, clean mark without overburning.
- Finish for a Professional Look: After cleaning the engraved coaster, apply a finish like mineral oil or a food-safe sealant to dramatically enhance contrast, protect the slate, and create a premium final product.
Table of Contents
- Selecting and Preparing Slate for Engraving
- Creating and Optimizing Your Slate Coaster Design
- Mastering Laser Settings for Perfect Slate Engraving
- Engraving and Finishing Your Custom Coasters
- Conclusions
- Frequently Asked Questions
Discover the elegance and appeal of custom slate coasters. This guide provides a comprehensive walkthrough of the entire process, from initial preparation to the final finishing touches. We’ll explore slate selection, design preparation, and the ideal laser settings to help you master the art of slate engraving and create stunning, high-quality products that are perfect for gifts or sale.
Selecting and Preparing Slate for Engraving
The foundation of a stunning engraved coaster is the slate itself. Making the right choice at the outset will save you time, reduce waste, and yield a far superior final product. When sourcing your coasters, you will primarily encounter natural, riven slate. This is exactly what you want. Avoid any slate that is advertised as sealed, coated, or “enhanced,” as these treatments involve a clear coat that will interfere with the laser. A sealant can produce noxious fumes, melt unevenly, and prevent the laser from creating the crisp, white mark you desire. The best slate for engraving is dark, uniform in color—ranging from dark grey to near black—and has a natural, matte finish. Inspect the slate for impurities, particularly for flecks of pyrite, also known as fool’s gold. While small flecks can add character, large or numerous deposits can be problematic. The laser often struggles to mark the metallic pyrite, which can result in tiny, un-engraved spots or “skips” within your design.
Interested in more Coaster? Check out our Coaster laser file designs: Click here!
Quality, Thickness, and Surface Consistency
Beyond the basic type, pay close attention to the physical characteristics of the slate. Coaster thickness should ideally be consistent, typically between 4mm and 7mm. This range provides a satisfying weight and durability without being overly cumbersome. More importantly, consistent thickness across a batch is crucial for maintaining laser focus, especially if you plan to engrave multiple coasters simultaneously using a jig. Significant variations will require you to refocus the laser for each coaster, slowing down your workflow considerably. Equally important is the surface uniformity. Natural slate is never perfectly flat, and this rustic texture is part of its appeal. However, you must reject pieces with extreme variations—deep valleys or high ridges across the engraving area. These inconsistencies can move portions of the design out of the laser’s focal plane, resulting in fuzzy, inconsistent lines and a generally unprofessional look. Before purchasing a batch, inspect a few samples by laying them on a flat surface to check for excessive wobbling.
A Step-by-Step Preparation Guide
Proper preparation is a non-negotiable step for achieving professional-grade results. Every piece of slate must be cleaned and, optionally, treated before it meets the laser. This ensures a clean canvas for the laser to work on and significantly improves the final contrast and finish.
- Inspection and Cleaning: Before anything else, give each coaster a final inspection for cracks or flaws you may have missed earlier. Slate is often shipped with a significant amount of dust and may have oils from handling. Both can negatively affect the engraving quality. The best cleaning method is simple: wash each coaster with warm water and a small amount of mild dish soap. Use a soft-bristled brush to gently scrub the surface and get into the natural crevices. Rinse thoroughly to remove all soap residue. The most critical part of this step is allowing the slate to dry completely. Any residual moisture will turn to steam when hit by the laser, potentially causing micro-fractures and resulting in a blotchy, uneven engraving. Let them air dry for several hours or gently pat them dry with a lint-free cloth.
- Optional Surface Treatments for Enhanced Contrast: This optional step is a trade secret for achieving that brilliantly bright, high-contrast mark. Once the slate is clean and dry, you can apply a very thin layer of a masking agent. There are two popular methods:
- The Dish Soap Method: Apply a few drops of standard dish soap to the coaster and use a paper towel or your finger to spread it into a very thin, even film across the entire surface. Let it dry completely. This thin soap layer helps dissipate heat more evenly, which lightens the color of the engraved mark. It also acts as a protective barrier, preventing the fine dust generated during the slate engraving process from settling back into the etched areas, making cleanup as easy as a quick rinse.
- The Transfer Mask Method: An alternative is to apply a low-tack paper transfer mask over the slate. Smooth it out carefully to avoid air bubbles. The laser will cut through the mask and engrave the slate below. When the job is finished, you simply peel away the mask, which takes all the dust and debris with it, revealing a perfectly clean and sharp engraving.
With your slate selected, cleaned, and prepped, you are now ready to move on to the most exciting part: dialing in your laser settings for the perfect burn.
Creating and Optimizing Your Slate Coaster Design
The quality of your final engraved piece is as dependent on the digital design as it is on the slate itself. A well-optimized design will engrave cleanly and crisply, while a poorly prepared one will result in a muddy, indistinct mess. The ideal slate coaster design leverages the high-contrast nature of the material. Since slate engraving is essentially a binary process—the laser either vaporizes the surface to create a light mark or it doesn’t—designs with strong positive and negative space are most effective. You will work with two primary types of graphics: vector and raster. Vector graphics, created with points and lines, are infinitely scalable and perfect for text, logos, and intricate geometric patterns. Raster graphics, made of pixels, are used for photographs and complex, textured images. Most laser control software can handle both formats, often within the same project.
Vector Designs for Sharp, Clean Engraving
For creating personalized slate coasters with names, monograms, or company logos, vector is the superior choice. Software like Adobe Illustrator, CorelDRAW, or the free alternative Inkscape are the industry standards for creating vector files. The key advantage is precision; lines will be perfectly sharp, and text will be crisp. When creating your design, think in black and white. The black areas of your design will be the parts the laser engraves. It’s a good practice to set your line thickness (stroke) to a hairline setting or convert all strokes to filled shapes to ensure the laser software interprets it correctly. You can find countless pre-made vector designs on stock websites or marketplaces like Etsy. Look for files in SVG, AI, DXF, or EPS formats. Always remember to measure your physical coaster and create a digital template (e.g., a 100mm x 100mm square) in your design software. Place your artwork within this template, leaving a “safe zone” of at least 3-5mm from the edge to account for the naturally chipped, uneven edges of the slate.
Mastering the Art of a Photo Engraved Slate Coaster
Engraving photographs presents a unique challenge because you must translate a full spectrum of grayscale tones onto a material that only has two: dark grey (un-engraved) and light grey/white (engraved). The success of a photo engraved slate coaster hinges entirely on image preparation.
- Image Selection: Start with a high-resolution photo. Images with good contrast and a clear focal point work best. Avoid photos with very busy backgrounds or where the subject blends into its surroundings, as these details will be lost.
- Editing: Open your image in a photo editor like Photoshop or GIMP. The first step is to convert it to grayscale. Next, you must aggressively edit the image to boost its contrast. Use the Levels or Curves tools to make the darks darker and the lights lighter. It’s often necessary to isolate the main subject and brighten it while darkening the background. A sharpening filter (like an Unsharp Mask) can also help to define edges, which translates well to engraving.
- Dithering: This is the most critical step. Dithering is the process of converting a grayscale image into a black and white image using dot patterns to simulate shades of gray. Your laser software (like LightBurn) will have several dithering algorithms built-in, such as Jarvis, Stucki, or Floyd-Steinberg. There is no single “best” option; each produces a slightly different pattern and works better for different images. The key is to experiment. Import your edited photo into your laser software and use its preview function to see how the different dithering options look. This process is what creates the illusion of depth and shading on the final product, turning a simple picture into a stunning piece of art.
By investing time in creating and optimizing your digital file, you ensure that the beautiful slate you so carefully prepared will be transformed into a professional-quality product.
Mastering Laser Settings for Perfect Slate Engraving
With your design finalized and your slate prepped, you have arrived at the most critical technical stage: calibrating the laser. The settings you choose here will determine the final quality of your engraved slate coasters. The three primary variables you will control are power, speed, and DPI (Dots Per Inch). Understanding their interplay is key to success. Power dictates the intensity of the laser beam. Speed controls how quickly the laser head moves across the slate. DPI determines the resolution of the engraving, or how many lines the laser will engrave in one inch. For slate engraving, the goal is not to burn deep, but to apply just enough energy to fracture the surface layer, which changes its color to a light grey or white. This means finding a delicate balance: enough power to create a bright mark, but fast enough to prevent excessive heat buildup that can cause chipping or a less vibrant result.
Establishing Your Baseline: The Test Grid
Before you even think about engraving a final piece, you must run a test grid. Every laser is different, and the composition of slate can vary significantly from one batch to another. A test grid is a small matrix of squares engraved on a scrap coaster, with each square using a different combination of power and speed. This simple test is the single most effective way to dial in the perfect settings for your specific material and machine. Most laser software, like LightBurn, has a built-in material test generator. Run the test and examine the results closely. You are looking for the square that displays the brightest, most consistent white color with the sharpest details and no signs of flaking or chipping at the edges. This winning combination of speed and power becomes your baseline for this batch of slate.
Starting Points and Troubleshooting
While a test grid is essential, here are some general starting points to get you in the right ballpark. Remember to always consult your laser machine’s manual for safety and operational guidelines.
- For Diode Lasers (10W-20W optical power): Start with a speed of around 3000 mm/min and a power setting of 80-90%. A DPI of 254 or 300 is often sufficient for excellent detail without over-saturating the material.
- For CO2 Lasers (40W-60W): These more powerful lasers require much different settings. Begin with a higher speed, around 300 mm/s, and a much lower power, typically between 12-20%. A DPI of 300 is a great starting point here as well.
During your testing and production, you may encounter some common issues. Here’s how to troubleshoot them:
- Faded or Inconsistent Engraving: This is the most common problem and is almost always a result of insufficient energy. The first thing to check is your focus; an out-of-focus laser beam loses its power density dramatically. If the focus is correct, either increase your power in small increments (2-3%) or decrease your speed.
- Chipping or Flaky Engraving: If the edges of your engraved areas look chipped or feel rough and flaky, you are applying too much energy. This is “overburning” the slate. To fix this, decrease your power or increase your speed. This reduces the amount of heat applied to a single spot, resulting in a cleaner fracture.
- Muddy or Unsharp Details: If fine text or intricate parts of a photo look blurry, first re-check your focus. If the focus is perfect, you may be using too high a DPI. On slate, extremely high DPI settings (over 400) can cause the engraved lines to bleed into one another, softening the image. Try lowering your DPI to around 254-300 for a sharper result.
By methodically testing and adjusting these core settings, you will master the process and be able to produce consistently sharp, clean, and beautifully contrasted engravings every time.
Engraving and Finishing Your Custom Coasters
You have prepared the slate and dialed in your settings; now it is time to bring your digital design to life. The physical setup inside your laser is just as important as the digital preparation. First, place your coaster on the laser bed. Because natural slate is rarely perfectly flat, it is crucial to ensure the engraving surface is as level as possible. Place a small bubble level on the coaster; if it is tilted, use thin shims (like small wood offcuts or pieces of cardstock) under the edges to level it out. An unlevel surface will cause parts of the design to be out of focus, resulting in inconsistent engraving. Once level, you must set the laser’s focus. Using your machine’s focusing tool, adjust the laser head height so the beam is perfectly focused on the top surface of the slate. A critical pro-tip: always focus on the center of the area you intend to engrave, as this provides the best average focus across the slightly uneven surface. Finally, run a “framing” pass, where the laser outlines the job area without firing, to confirm your design is perfectly centered on the coaster.
The Engraving Process and Initial Cleanup
With your coaster positioned and focused, ensure your ventilation system is running at full power. Engraving slate produces fine dust and, if you used the soap method, a distinct odor. Double-check that you have loaded the correct file with the settings you determined from your test grid, then close the lid, and begin the engraving. Do not open the lid until the job is fully complete and the exhaust fan has had a moment to clear the workspace of airborne particles. When you remove the coaster, it will be covered in a layer of light grey dust. The cleanup process is straightforward but essential for a professional finish.
- If you used a transfer mask: Simply peel the mask off. It will lift away almost all the dust, leaving a clean design behind. You may need a soft brush to remove any lingering particles.
- If you used the dish soap method: Take the coaster to a sink and rinse it under cool, running water. Use a soft-bristled brush (a toothbrush works well) to gently scrub the surface. The soap and dust will wash away easily, revealing the bright white engraving underneath.
- If you used no pre-treatment: A damp cloth or a soft brush can be used to wipe away the dust. Be gentle to avoid rubbing the fine dust back into the porous un-engraved areas of the slate.
After cleaning, it is imperative to let the coaster dry completely. Any moisture left on the surface will interfere with the final finishing step.
Finishing for a Professional Look
This final step is what separates a good coaster from a great one. Applying a finish not only protects the slate but dramatically enhances the contrast of your design, making the dark slate darker and the light engraving pop. You have two excellent options for finishing your engraved slate coasters:
- Mineral Oil: This is the easiest and most popular method. It is completely food-safe and gives the slate a beautiful, rich, semi-gloss finish. Apply a few drops of mineral oil onto a lint-free cloth and wipe it evenly across the entire surface of the coaster. You will immediately see the slate darken and the contrast of your design intensify. Let the oil soak in for 10-15 minutes, then use a clean, dry cloth to buff off any excess.
- Food-Safe Sealant: For a more permanent, durable, and waterproof finish, you can use a clear spray sealant. Choose a product specifically labeled as food-safe, and opt for a matte or satin finish to preserve the natural look of the slate. In a well-ventilated area, apply a very light, even coat. Let it dry completely according to the manufacturer’s instructions before applying a second light coat if desired.
Once finished and cured, your custom engraved slate coaster is complete, ready for use or to be gifted as a beautiful, personalized item.
Conclusions
You now have the knowledge to create your own professional-quality engraved slate coasters. By carefully preparing the material, using the right design, and dialing in your laser settings, you can produce impressive results. Don’t hesitate to experiment with different designs and techniques to develop your unique style and create beautiful, personalized pieces for any occasion.
Frequently Asked Questions
Q: What is the best type of slate for laser engraving?
A: The best slate for laser engraving is natural, unsealed, and dark in color (dark grey to near-black) with a uniform, matte finish. Avoid any slate that is advertised as coated, sealed, or “enhanced,” as these finishes will interfere with the laser and produce poor results.
Q: Why is my engraving coming out faded or inconsistent?
A: This is the most common issue and is almost always caused by either incorrect laser focus or insufficient energy. First, double-check that your laser is perfectly focused on the slate’s surface. If the focus is correct, you’ll need to increase the energy by either increasing the laser power in small increments or decreasing the travel speed.
Q: Do I need to treat the slate before engraving?
A: While not strictly necessary, pre-treating the slate is a highly recommended step for professional results. Applying a very thin layer of dish soap or a low-tack transfer mask before engraving will produce a brighter, higher-contrast mark and make the post-engraving cleanup process significantly easier.
Q: How do I engrave a photograph on slate?
A: Engraving photos requires careful image preparation. Start with a high-resolution image, convert it to grayscale, and then significantly increase the contrast using editing software like Photoshop or GIMP. The final, most critical step is to use a dithering algorithm (e.g., Jarvis, Stucki) in your laser control software to convert the grayscale image into dot patterns that simulate shading on the slate.

Subscribe to Our Newsletter
And enjoy FREE Download Files, SALE Alerts and Inspiring TIPS
Pricing Your Laser Engraving Work for Profitability
A Comprehensive Guide to Pricing Your Laser Engraving Services
A Comprehensive Guide on How to Price Laser Engraving Services
Charcuterie Board Engraving File – Wine & Grapes 3D Illusion…
$4.00Original price was: $4.00.$3.00Current price is: $3.00.(25% off)
Bee and Honey Jar Charcuterie Board Engraving File | PNG Download #007…
$4.00Original price was: $4.00.$3.20Current price is: $3.20.(20% off)
Valentine Love Captions: 6 Charcuterie Board Engraving Files…
$8.00Original price was: $8.00.$5.60Current price is: $5.60.(30% off)
American Eagle Flag Laser Engraving File for Charcuterie & Cutting…
$4.00Original price was: $4.00.$2.80Current price is: $2.80.(30% off)