
-
×
 Valentine Charcuterie Board Engraving Designs: 6 Love Sayings Bundle 1 × Original price was: $8.00.$5.60Current price is: $5.60.
(30% off)
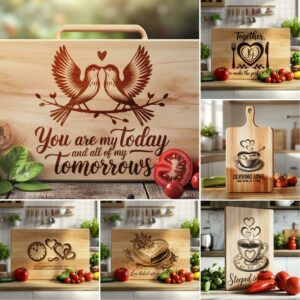 Valentine Charcuterie Board Engraving Designs: 6 Love Sayings Bundle
 Français
 Deutsch
 Español
 Italiano
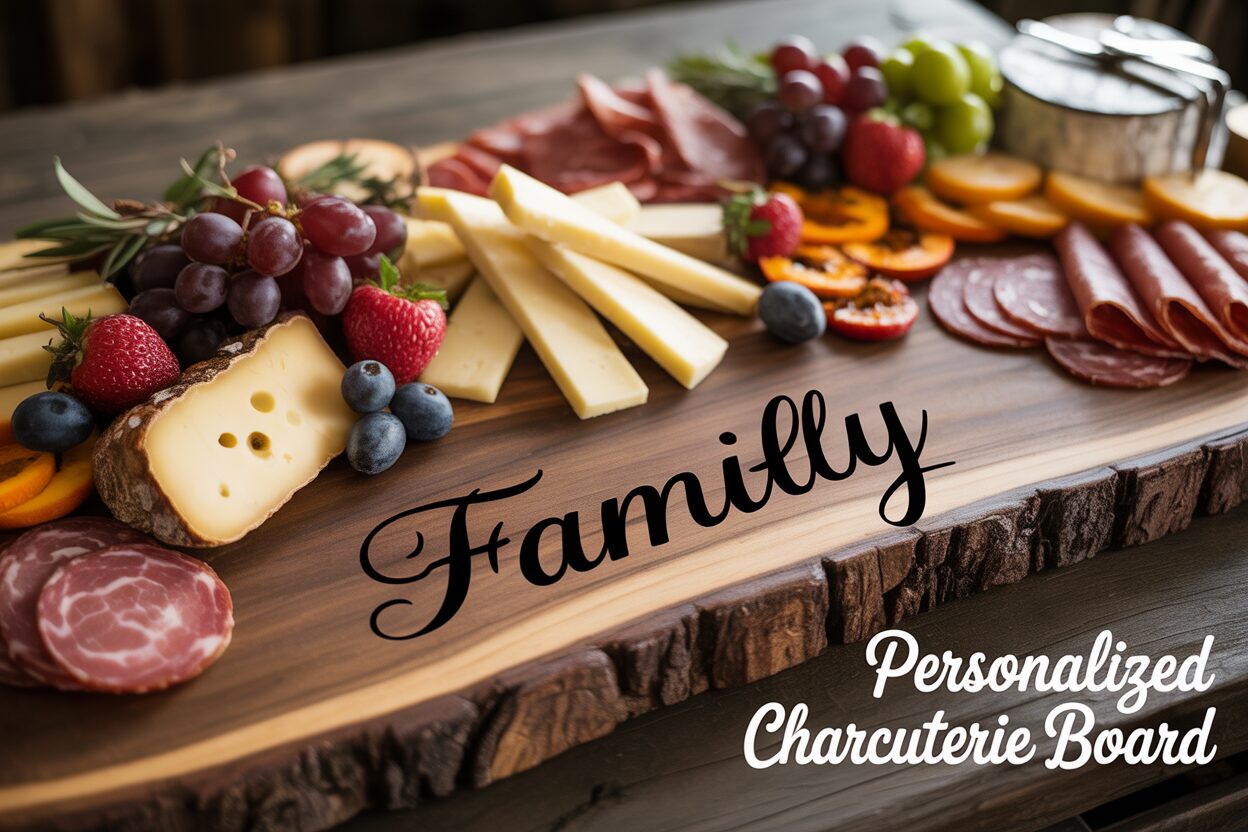
A Guide to Crafting the Perfect Personalized Charcuterie Board
26
Nov
Nov
Estimated reading time: 9 minutes
Key Takeaways
- For food safety and optimal engraving results, always select a closed-grain hardwood like maple, cherry, or walnut for your charcuterie board.
- Use vector files (SVG) for your design and strategically place the engraving in a corner or on the handle if the board will be used for cutting, to protect the artwork.
- Achieve a professional, scorch-free engraving by applying masking tape to the wood surface and testing your laser’s power and speed settings on a scrap piece first.
- Always finish and maintain your board with a 100% food-safe oil, such as mineral oil or a beeswax blend, and only ever hand-wash it to ensure its longevity.
Table of Contents
- Choosing the Right Wood for Your Custom Charcuterie Board
- Designing Your Engraving from Scratch or with SVG Files
- Laser Engraving Techniques for a Flawless Finish
- Applying a Food-Safe Finish and Proper Care
- Conclusions
- Frequently Asked Questions
Elevate your entertaining with a personalized charcuterie board, a unique piece that blends functionality with personal style. This guide will walk you through the entire process, from choosing the right wood to applying the final food-safe finish. Discover how laser engraving can transform a simple board into a cherished keepsake or a standout piece for any occasion.
Interested in more Charcuterie Board? Check out our Charcuterie Board laser file designs: Click here!
Choosing the Right Wood for Your Custom Charcuterie Board
The foundation of any great custom charcuterie board is the wood itself. Your choice will influence not only the board’s appearance and durability but also its food safety and how well it accepts your laser-engraved design. The most critical factor is selecting a closed-grain hardwood. These woods, such as maple, cherry, and walnut, have very small, dense pores that are less likely to absorb moisture, bacteria, and odors. Open-grained woods like oak and ash have larger pores that can trap food particles, making them difficult to clean thoroughly and posing a food safety risk. Always prioritize a non-porous, closed-grain wood that has been finished with a food-safe oil or wax.
Popular Hardwoods: A Comparative Look
With food safety as our guiding principle, let’s explore the best options for your project. Each wood offers a unique canvas for both your culinary creations and your custom engraving.
- Maple: Often considered the industry standard for cutting boards, Maple is a fantastic choice. It is incredibly hard and durable, capable of withstanding years of use. Its light, creamy color and subtle grain pattern create a bright, clean look that makes cheeses and cured meats pop. For laser engraving, maple is a top contender; it produces a sharp, high-contrast dark burn that makes intricate designs stand out beautifully.
- Walnut: If you desire a more dramatic and luxurious aesthetic, Walnut is an excellent option. Its rich, dark brown tones, often highlighted with lighter sapwood and complex grain patterns, provide a stunning backdrop. While slightly softer than maple, it is still a durable hardwood suitable for a serving board. Laser engraving on walnut results in a more subtle, tone-on-tone effect, creating a sophisticated and elegant finish rather than a stark contrast.
- Cherry: Known for its warm, reddish-brown hue that deepens and grows richer with age and exposure to light, Cherry offers a beautiful balance between the lightness of maple and the darkness of walnut. It’s a durable wood that is slightly softer than maple, making it kind to knife edges if used for light cutting. Engraving on cherry produces a lovely dark burn that complements its warm tones, adding a touch of personalized elegance.
- Bamboo: While technically a grass, Bamboo is a popular and sustainable alternative. It’s very hard, dense, and naturally antimicrobial. As an affordable and eco-friendly option, it’s quite appealing. However, its hardness can be tough on knives. When it comes to laser engraving, bamboo can be inconsistent. Because bamboo boards are made from laminated strips, the laser may react differently to the various strips and glue lines, sometimes resulting in an uneven or less clean engraving compared to a solid piece of hardwood.
For a truly one-of-a-kind piece, consider a live edge charcuterie board. A live edge board incorporates the natural, untouched edge of the tree trunk, complete with its organic curves and contours. This rustic, naturalistic style means no two boards are ever alike, making your gift or personal showpiece entirely unique. When selecting a live edge board, look for a piece that is well-seasoned and stable, without deep cracks or splits that could compromise its integrity or trap bacteria. Ensure the bark is either completely and cleanly removed or sealed securely to the edge to prevent it from flaking into food. A properly finished live edge board combines raw, natural beauty with functional, food-safe artistry.
Designing Your Engraving from Scratch or with SVG Files
The design is where your custom charcuterie board truly becomes a personal masterpiece. This is your opportunity to infuse the piece with personality, whether it’s for your own home or a heartfelt gift. Creating a design from scratch offers unlimited possibilities. Using graphic design software like Adobe Illustrator, Inkscape (a free alternative), or even user-friendly platforms like Canva, you can craft unique monograms, combine a family name with an established date, or plot the geographic coordinates of a special place like a home or wedding venue. When designing, focus on clean lines and clear typography. Overly complex or thin fonts may not engrave well, losing detail in the wood grain. For text, bold, classic serifs or clean sans-serif fonts often yield the best results. Vector graphics are the key to a crisp engraving, as they can be scaled to any size without losing quality, unlike pixel-based images (like JPEGs) which can become blurry.
If creating a design from scratch feels daunting, or if you’re looking for a professionally crafted starting point, the world of pre-made digital files is your best friend. A quick search for a charcuterie board svg on online marketplaces like Etsy or creative design sites will yield thousands of options ready for laser engraving. SVG (Scalable Vector Graphic) files are the ideal format for this work. You can find everything from intricate floral wreaths designed to frame a family name to witty kitchen-themed quotes and elegant geometric patterns. These files can be used as-is or easily customized by adding your own text, making the process both simple and personal.
Inspiration for Your Engraved Design
The possibilities for your design are nearly endless, but certain themes are particularly popular and effective for an engraved charcuterie board. Consider these ideas as a starting point:
- Personalized Wedding or Anniversary Gifts: This is a classic for a reason. Engraving a couple’s names, wedding date, and a simple monogram creates a timeless and cherished heirloom they can use for years to come.
- Kitchen Conversion Charts: For a board that is as functional as it is beautiful, a cleanly designed kitchen conversion chart (e.g., tablespoons to cups, ounces to grams) is a fantastic choice. It’s a piece of art that also serves as a handy kitchen tool.
- Decorative Floral or Mandala Patterns: For a purely aesthetic piece, an intricate floral border or a central mandala design can transform the board into a stunning piece of kitchen decor.
- Company Logos for Corporate Gifts: A high-quality wood board engraved with a company logo is a sophisticated and memorable corporate gift, making it an unforgettable client appreciation or employee milestone present.
- Family Recipes: Engraving a cherished family recipe in a loved one’s actual handwriting (by tracing a scanned image) creates an incredibly sentimental and meaningful gift.
Placement Matters: Serving Board vs. Cutting Board
Finally, you must consider the board’s primary function when finalizing your design placement. If the piece is intended purely as a serving board, the entire surface is your canvas. A large, central design can be a stunning focal point. However, if it’s a laser engraved cutting board that will see regular use with knives, it is crucial to consider the design’s placement. Placing a large, detailed engraving in the center of a cutting surface is not ideal. Knife blades will wear down the design over time, and the engraved grooves can trap food particles, creating a cleaning and food safety challenge. For a functional cutting board, it’s best to place the design in a corner, along an edge, or on the handle, preserving both the artwork and the primary cutting surface.
Laser Engraving Techniques for a Flawless Finish
With your design finalized, it’s time to bring it to life on the wood. The laser engraving process is a blend of art and science, requiring precision and a bit of testing to achieve a flawless finish. The first step is preparing the wood surface. Even a brand-new board should be wiped clean with a lint-free cloth to remove any dust or debris. For a dramatically cleaner result with minimal scorching (the burn marks or “halo” around the engraved area), apply a layer of medium-tack transfer tape or wide masking tape over the entire engraving area. Ensure the tape is applied smoothly, without any air bubbles or wrinkles, as these can interfere with the laser beam. This simple layer of tape acts as a protective shield; the laser will burn through it to engrave the wood, but the tape will catch the smoke and residue that cause scorch marks, peeling away afterward to reveal a crisp, clean design.
Next, securely position your board inside the laser cutter. It must be perfectly flat and unable to shift during the engraving process. Use a corner jig or hold-down pins to lock it in place. Use the machine’s focus tool to set the correct focal height between the laser lens and the surface of the board; an out-of-focus laser will produce blurry, indistinct lines. The most critical step is dialing in your laser settings, which primarily consist of power and speed. These settings will vary significantly based on your specific laser’s wattage and the type of wood you chose.
- Power: Controls the intensity of the laser beam. Higher power results in a deeper, darker engraving.
- Speed: Controls how quickly the laser head moves. Slower speeds allow the laser to dwell on the wood longer, also resulting in a deeper, darker mark.
A hard wood like maple will require more power or a slower speed to achieve a dark burn compared to a softer wood like cherry. Walnut engraves to a dark color very easily and may require higher speed or lower power to prevent excessive charring. Never guess these settings. Always run a test on a piece of scrap wood of the same species and thickness, or on an inconspicuous spot on the back of the board. Engrave a small test file with various power and speed combinations to find the one that gives you the desired depth and color without excessive charring.
Troubleshooting for a Professional Finish
Even with careful preparation, issues can arise. Knowing how to troubleshoot them is key to creating a professional-quality laser engraved cutting board.
- Problem: Scorching or a “Halo” Effect. If you’re still getting burn marks even with masking tape, your power setting is likely too high for your speed. Try decreasing the power or increasing the speed. Also, ensure your laser cutter’s air assist feature is turned on and directed at the nozzle; this blows away smoke and debris, significantly reducing scorching.
- Problem: Uneven Engraving Depth. This is often caused by a warped or unlevel board. If one part of the board is slightly higher or lower, it will be out of the laser’s optimal focal range. Double-check that your board is perfectly flat. For live edge or slightly uneven boards, you may need to focus the laser on the average height of the engraving area.
- Problem: Faint or Inconsistent Engraving. This could be a sign of insufficient power or running the laser too fast. Refer to your test piece and select a more powerful setting. It can also be caused by dense spots in the wood grain that are more resistant to the laser. In some cases, running the job a second time (a second pass) directly over the first can help darken and even out the design.
Applying a Food-Safe Finish and Proper Care
After the laser has worked its magic, your engraved charcuterie board is almost complete, but the final, most crucial step remains: applying a finish. This isn’t just about making the wood grain pop and giving it a beautiful sheen; it’s about creating a food-safe, protective barrier that will ensure the board’s longevity. Unfinished wood is porous and will readily absorb moisture, oils, and bacteria from food, leading to stains, warping, and potential health hazards. It is absolutely essential to use a finish that is non-toxic and 100% food-safe. Never use standard woodworking finishes like polyurethane, varnish, or lacquer, as they are not safe for surfaces that come into direct contact with food. Instead, choose from options specifically designed for kitchen use.
- Food-Grade Mineral Oil: This is the most common and highly recommended choice. It’s an inert, non-drying oil that penetrates deep into the wood fibers, hydrating them and preventing the wood from drying out and cracking. It’s inexpensive, readily available, and very easy to apply.
- Beeswax: Often blended with mineral oil to create a “board butter” or “board cream,” beeswax adds an extra layer of protection. While the oil soaks in, the wax stays on the surface, creating a water-resistant barrier that helps repel moisture and food juices.
- Fractionated Coconut Oil: A great alternative to mineral oil, this oil has had the long-chain triglycerides removed, so it remains liquid and will not go rancid like regular cooking oils (important: never use vegetable or olive oil, as they will spoil).
To apply the finish, start by ensuring your board is completely clean and free of any wood dust from the engraving process. Use a soft brush or compressed air to clean out the engraved lines. Apply a generous amount of your chosen oil to a clean, lint-free cloth and rub it evenly over the entire surface of the board, including the edges and handle. Don’t be shy with the first coat—a new board will be very thirsty. Let the oil soak in for at least four hours, or ideally, overnight. You’ll see the wood absorb the oil, bringing its color and grain to life. After it has soaked, use another clean cloth to buff off any excess oil. For added protection, you can apply a board cream or beeswax blend as a second step, working it into the surface and buffing it to a soft, satin finish.
Long-Term Care for Your Personalized Charcuterie Board
A beautiful personalized charcuterie board can last a lifetime with proper care. The rules are simple but non-negotiable. First, hand wash only. Never submerge the board in water or place it in a dishwasher. The intense heat and prolonged exposure to water will cause the wood to warp, split, and ruin the engraving. After a gentle wash with mild soap and warm water, dry it immediately and thoroughly with a towel. It’s best to let it air dry completely by standing it on its edge, which allows for even air circulation. To maintain its protective barrier and prevent the wood from drying out, you must re-oil your board periodically. A good rule of thumb is to re-apply a coat of food-safe mineral oil or board cream whenever the wood starts to look dull or dry, typically once a month if it’s in regular use. This simple routine will keep your custom creation looking as stunning as the day you made it, ready for countless gatherings to come.
Conclusions
Creating a personalized charcuterie board is a rewarding project that combines craftsmanship with creativity. By following these steps, you can produce a beautiful, functional, and safe piece for serving. Whether for your own home or as a heartfelt gift, a custom engraved charcuterie board is sure to be a conversation starter and a treasured item for years to come.
Frequently Asked Questions
Q: What is the best wood for a charcuterie board?
A: The best woods are closed-grain hardwoods like maple, cherry, and walnut. They are durable, food-safe, and engrave beautifully. Maple provides high contrast for engravings, walnut offers a luxurious dark tone, and cherry has a warm, reddish hue that deepens over time.
Q: Is a laser-engraved board safe to cut on?
A: Yes, but the design placement is crucial. If you plan to use the board for cutting, the engraving should be placed in a corner, along an edge, or on the handle. This preserves the main cutting surface, prevents knife damage to the artwork, and stops food particles from getting trapped in the engraved grooves.
Q: How do I properly clean and care for my engraved board?
A: Always hand-wash your board with mild soap and warm water. Never put it in a dishwasher or let it soak. After washing, dry it immediately with a towel and let it air dry standing on its edge. Periodically (about once a month), re-apply a food-safe mineral oil to keep the wood hydrated and protected.
Q: What kind of finish is safe to use on a charcuterie board?
A: You must use a 100% food-safe and non-toxic finish. The most recommended option is food-grade mineral oil. A blend of mineral oil and beeswax (often sold as “board butter” or “board cream”) is also excellent for adding a water-resistant top coat. Never use standard wood finishes like polyurethane, varnish, or lacquer.

Subscribe to Our Newsletter
And enjoy FREE Download Files, SALE Alerts and Inspiring TIPS
Pricing Your Laser Engraving Work for Profitability
A Comprehensive Guide to Pricing Your Laser Engraving Services
A Comprehensive Guide on How to Price Laser Engraving Services
Charcuterie Board Engraving File – Wine & Grapes 3D Illusion…
$4.00Original price was: $4.00.$3.00Current price is: $3.00.(25% off)
Bee and Honey Jar Charcuterie Board Engraving File | PNG Download #007…
$4.00Original price was: $4.00.$3.20Current price is: $3.20.(20% off)
Valentine Love Captions: 6 Charcuterie Board Engraving Files…
$8.00Original price was: $8.00.$5.60Current price is: $5.60.(30% off)
American Eagle Flag Laser Engraving File for Charcuterie & Cutting…
$4.00Original price was: $4.00.$2.80Current price is: $2.80.(30% off)