

 Français
 Deutsch
 Español
 Italiano
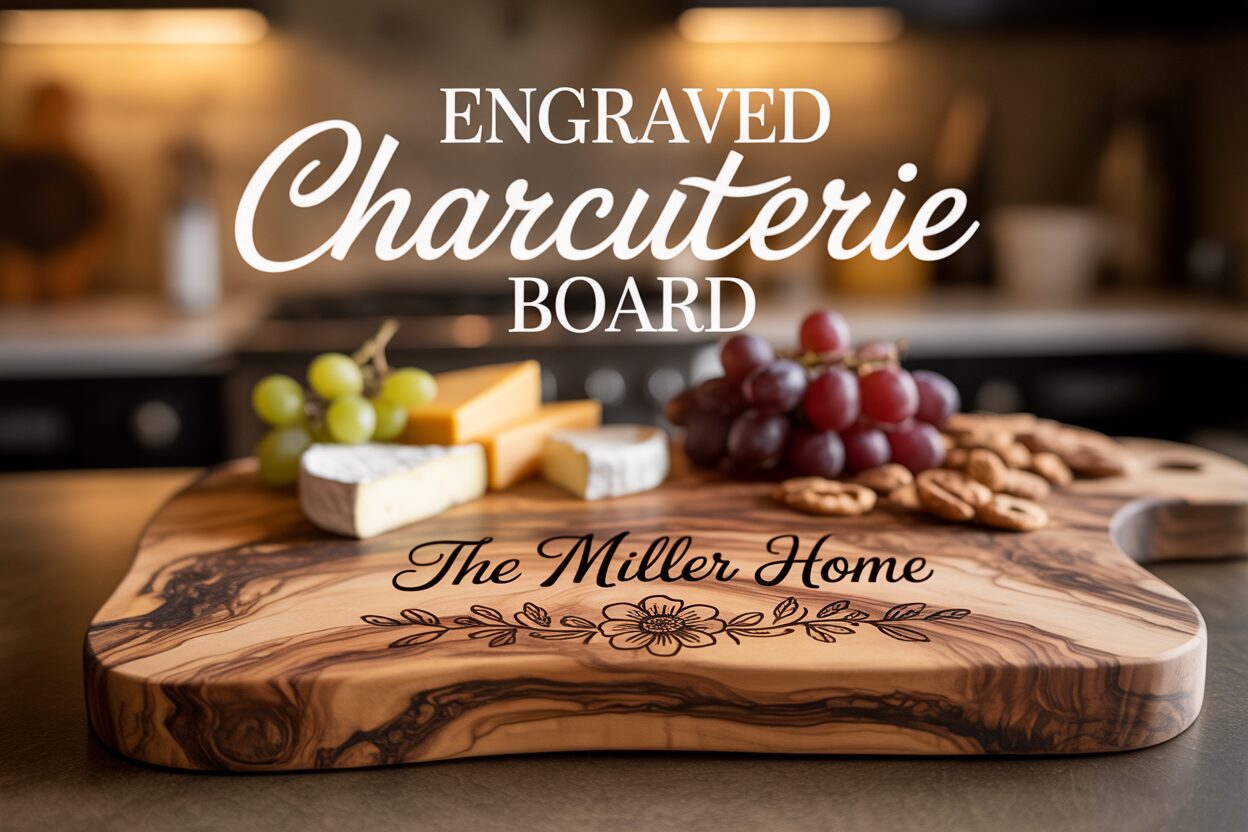
A Guide to Crafting the Perfect Engraved Charcuterie Board
Nov
Estimated reading time: 9 minutes
Key Takeaways
- Wood Selection is Key: The type of wood you choose (like olive, acacia, walnut, or maple) dramatically impacts the engraving’s contrast, detail, and the board’s final aesthetic.
- Preparation and Testing are Crucial: A flawless engraving requires a smooth, clean surface and precise laser settings. Always sand, clean with alcohol, and run a test on a scrap piece to dial in your power and speed.
- Food Safety is Non-Negotiable: After engraving and cleaning, finishing the board with food-grade mineral oil is essential to protect the wood, enhance the design, and ensure it’s safe for serving food.
- Turn Passion into Profit: A successful business requires a strategic pricing formula that covers materials, time, and skill, combined with high-quality photography and targeted marketing to find the right customers.
Table of Contents
- Choosing the Right Wood and Design for Your Board
- Preparing Your Laser and Engraving the Board
- Finishing, Food Safety, and Care Instructions
- From Hobby to Business: Selling Custom Charcuterie Boards
- Conclusions
- Frequently Asked Questions
Discover the art of creating a beautiful engraved charcuterie board. This guide offers everything you need to know, from selecting the best materials and designs to mastering the laser engraving process. Transform a simple piece of wood into a personalized masterpiece, perfect for gifting, selling, or showcasing in your own home. Let’s begin this exciting project.
Choosing the Right Wood and Design for Your Board
The foundation of an exceptional engraved charcuterie board is the wood itself. Your choice of material will influence not only the final look and feel of the board but also how the laser interacts with the surface. Each wood species has a unique personality, offering a different canvas for your creative vision.
Let’s explore some of the best options:
- Olive Wood: Renowned for its dramatic, chaotic grain patterns and rich, warm tones, olive wood creates a stunning piece before you even turn on your laser. It’s a very dense, hard wood, which means it can handle intricate details well. The laser burn on olive wood is typically a deep, dark brown, offering excellent contrast. However, its high natural oil content can sometimes create a slightly inconsistent burn, so running a material test grid is crucial. Its irregular, organic shapes make each board a one-of-a-kind work of art.
- Acacia: Acacia is a fantastic all-around choice, prized for its sustainability, durability, and striking visual appeal. It often features a mix of light and dark wood tones in a single piece, creating a dynamic background for your engraving. As a hardwood, it engraves cleanly, but be aware that the laser’s effect may vary between the lighter and darker sections of the grain. This can be used to your advantage, adding natural depth to the design, but it requires careful calibration of your laser settings for consistent results.
- Walnut: For a classic, premium look, nothing beats walnut. Its deep, chocolatey brown color provides a sophisticated canvas that makes laser engravings pop with superb contrast. The engraving often appears as a slightly lighter shade of brown, creating a subtle yet clearly visible mark. Walnut has a tight, consistent grain, which allows for incredibly clean lines and fine details. While it’s a durable hardwood, it is slightly softer than maple, making it more of a serving board than a heavy-duty cutting board.
- Maple: If your design is highly detailed, maple is your best friend. This very hard, dense wood has a light, creamy color and a subtle, uniform grain, essentially acting as a blank piece of paper. It allows every intricate line and delicate shade of your design to be the star. Engraving on maple produces a clean, caramel-colored burn. The contrast is more subtle than on walnut, lending an elegant, understated feel. Its closed-grain structure makes it exceptionally food-safe and easy to clean.
From Blank Canvas to Masterpiece: Finding Your Design
Once you’ve selected your wood, the next step is to choose a design that elevates it from a simple kitchen accessory to a treasured heirloom. A great design is the foundation of a premium product, turning a functional item into a piece of art. For those who want intricate, professional-quality results without spending hours on design software, pre-made charcuterie board svg files are an invaluable resource. These vector files are designed for cutting and engraving machines, meaning they scale perfectly to any board size without losing an ounce of detail. You can find SVGs for complex floral borders, geometric patterns, and whimsical kitchen-themed illustrations that would be incredibly time-consuming to create from scratch.
When brainstorming wood engraving ideas, consider the board’s purpose and the recipient’s style. The possibilities are endless:
- The Classic Monogram: A beautifully rendered initial or family name is the cornerstone of a personalized charcuterie board. It’s a timeless option for weddings, housewarmings, or anniversary gifts.
- Important Dates: Engrave a wedding date, the year a family home was established, or the coordinates of a meaningful location.
- Artistic Scenes: Consider a tranquil mountain range for an outdoorsy family, a stylized ocean wave pattern for a coastal home, or a detailed botanical illustration of herbs and spices.
- Functional Art: Engrave a “Wine & Cheese Pairing” guide directly onto the board, or create designated sections for “Meats,” “Cheeses,” and “Baguette.”
- Handwritten Recipes: One of the most sentimental options is to digitize a cherished family recipe in a loved one’s handwriting and engrave it onto the board, preserving it forever.
Ultimately, the perfect board is a marriage of material and artistry. The unique grain of the wood should complement the lines of your design, working together to create a cohesive and stunning final product.
Preparing Your Laser and Engraving the Board
With your wood selected and your design finalized, it’s time to bring your vision to life. This stage is where precision and preparation meet, transforming a plain board into a custom charcuterie board. Follow these steps carefully to ensure a flawless engraving.
First, prepare the wood surface. Even a brand-new board benefits from a light sanding with a high-grit sandpaper, such as 220 or 320 grit. This smooths out any minor imperfections and opens the wood pores slightly for a more consistent burn. Always sand with the grain, not against it. Once sanded, it is absolutely critical to clean the surface thoroughly. Wipe it down with a lint-free cloth and isopropyl alcohol. This removes all sanding dust and any surface oils that could interfere with the laser, ensuring a crisp, clean engraving. For extra protection against scorching, especially on light-colored woods like maple, apply a layer of wide, low-tack paper masking tape over the entire engraving area. The laser will engrave right through the tape, which will peel away afterward, taking much of the smoke residue and charring with it.
Setting Up Your Laser for Success
Next, import your design into your laser control software. Position and scale the artwork to fit your board. Use your software’s alignment tools to perfectly center the design or place it in a specific corner. A great tip is to use your laser’s “frame” or “trace” function. This feature moves the laser head around the outer boundary of your design without firing the laser, allowing you to see its exact placement on the board. Adjust until it’s perfectly positioned. Double-check your focus; an out-of-focus laser will produce a blurry, weak engraving. Your laser’s manual will have instructions on the proper focusing procedure for your specific machine.
Dialing in your laser settings is the most critical step. Power, speed, and DPI (Dots Per Inch) or LPI (Lines Per Inch) work together to determine the final result. There is no single “perfect” setting, as it varies by machine and wood type. The best practice is to always run a test cut on a scrap piece of the same wood or on the back of the board in an inconspicuous spot.
- Power: Controls the intensity of the laser beam. Higher power creates a deeper, darker burn.
- Speed: Determines how fast the laser head moves. Slower speeds allow the laser to burn for longer in one spot, also resulting in a deeper, darker mark.
- DPI/LPI: This is the resolution of your engraving. A higher DPI (e.g., 300-600) will produce a more detailed, higher-quality image but will take longer to engrave.
As a starting point, hard, light woods like maple require more power or a slower speed to achieve a dark contrast. Softer, dark woods like walnut engrave easily and may require less power or a faster speed to avoid an overly deep or charred look. Oily woods like olive wood can sometimes produce more flare-ups, so ensure your air assist is running properly to blow away smoke and debris for a cleaner result.
If you encounter issues, don’t panic. If you see excessive scorching or “halos” of smoke around your letters, your power is likely too high or your speed too slow. Try increasing the speed or applying masking tape. If the engraving is too light, increase the power in small increments or decrease the speed. An uneven engraving can be caused by a warped board or inconsistent wood density; ensure your board is perfectly flat and secured to the laser bed. By testing first and making small adjustments, you can confidently execute the perfect engraving every time.
Finishing, Food Safety, and Care Instructions
The laser has finished its work, but your board isn’t quite ready for its debut. The final steps of cleaning, finishing, and protecting the wood are what separate a good project from a professional, long-lasting piece of functional art. This process not only ensures the board is safe for contact with food but also dramatically enhances the visual impact of your engraving.
First, you must thoroughly clean the engraved area. Even with masking and good air assist, a fine layer of smoke residue and resin will settle on the surface and within the engraved lines. If you used masking tape, peel it away carefully. Next, use a soft-bristled brush, like an old toothbrush, to gently scrub inside the engraved design and dislodge any loose particles. After brushing, wipe the entire surface with a clean, lint-free cloth lightly dampened with isopropyl alcohol. The alcohol is excellent for cutting through the sticky residue left behind by the laser, leaving you with a perfectly clean surface and crisp engraved lines. Allow the board to air dry completely before moving on to the next crucial step.
Applying a Food-Safe Finish for Beauty and Protection
This is the magical part where your design truly comes to life. Applying a food-safe finish not only protects the wood from moisture and bacteria but also deepens its natural color, creating a stunning contrast that makes your engraving “pop.” Never use finishes like polyurethane or lacquer that are not certified as food-safe for a surface that will be in direct contact with food.
Your primary tool for this job is food-grade mineral oil. It is an inert, non-toxic, and non-drying oil that penetrates deep into the wood fibers, hydrating them to prevent cracking and warping.
- Begin by pouring a generous amount of food-grade mineral oil onto the clean, dry board.
- Using a lint-free cloth, spread the oil evenly across the entire surface, including the sides, back, and handle. Pay special attention to working the oil into the freshly engraved areas.
- Let the board sit and absorb the oil. A new, “thirsty” board may soak it up quickly. The ideal method is to let it sit for several hours, or even overnight, allowing the oil to penetrate as deeply as possible.
- After it has rested, use a new clean cloth to wipe away any excess oil from the surface.
For an even more durable and premium finish, follow the oil treatment with a board conditioner or “board butter.” These products typically combine mineral oil with natural beeswax or carnauba wax. The wax creates a water-resistant barrier on the surface, sealing in the moisture from the mineral oil and giving the board a silky-smooth feel and a beautiful, subtle sheen. Apply it with a cloth, let it sit for about 20 minutes, then buff it off to a luster.
Providing Essential Care Instructions
If you are building a laser engraving business, providing your customers with clear care instructions adds immense value and shows a commitment to quality. Include a small card with each board detailing the following:
- Hand Wash Only: Use a soft sponge with warm water and a small amount of mild dish soap. Never place your board in the dishwasher, as the high heat and harsh detergents will destroy it.
- Dry Immediately: Do not let the board air dry flat. After washing, towel it dry completely and let it stand on its edge so all surfaces can dry evenly. Never soak your board in water.
- Recondition Regularly: To maintain its beauty and prevent drying, re-apply a food-grade mineral oil or board conditioner once a month, or whenever the wood looks dull or dry.
By following these finishing and care procedures, you ensure that every charcuterie board you create is not only a beautiful piece of art but also a safe, durable, and cherished kitchen tool for years to come.
From Hobby to Business: Selling Custom Charcuterie Boards
You’ve mastered the art of creating beautiful, engraved charcuterie boards. Now, what if that satisfying hum of the laser could become the sound of a thriving business? Turning your passion into a profitable venture is more achievable than you might think. The demand for unique, high-quality, and personalized goods is booming, and a custom charcuterie board is the perfect product to meet that demand. It’s a popular gift for weddings, housewarmings, anniversaries, and corporate events, giving you a diverse market to tap into.
Calculating Your Worth: A Solid Pricing Strategy
One of the biggest hurdles for new entrepreneurs is pricing. You need a formula that covers your costs, values your time, and is fair to the customer. Don’t fall into the trap of under-pricing your work. A great starting point for pricing a custom charcuterie board is:
(Cost of Materials + Design Fee) + (Your Hourly Rate x Time Spent) = Final Price
Let’s break that down:
- Cost of Materials: This is the most straightforward part. Include the cost of the blank board, any sandpaper used, masking tape, food-grade mineral oil, and even a portion of the shipping cost if you bought the boards online.
- Design Fee: Your design work has value. If you are creating a custom design from scratch or significantly modifying a file for a client, you should charge for that time. For simpler designs like monograms, you might build this into your base price. For complex, bespoke artwork, charge a separate, upfront design fee.
- Your Hourly Rate x Time Spent: Calculate all the time involved. This isn’t just the laser’s run time! It includes preparing the artwork, setting up the laser, the engraving itself, cleaning the board, and the multi-step finishing and oiling process. Set a realistic hourly rate for your skilled labor.
For example, if a walnut board costs you $20, materials are $2, your hourly rate is $25, and the total labor (prep, engraving, finishing) takes 1 hour, your base price would be ($22 + ($25 x 1)) = $47. This is your break-even point plus labor. From there, you add your profit margin to arrive at a final retail price.
Finding Your Customers and Building a Brand
With your pricing set, you need to find people who will appreciate your craftsmanship. A multi-channel approach often works best for a laser engraving business.
- Build a Stunning Portfolio: Your products are visual, so high-quality photography is non-negotiable. Stage your boards with artisanal cheeses, fruits, and crackers. Use natural light to showcase the wood grain and the engraving detail. This portfolio will be the foundation of all your marketing, showcasing your best wood engraving ideas and the appeal of a personalized charcuterie board.
- Harness Social Media: Platforms like Instagram, Pinterest, and Facebook are perfect for your products. Post your beautiful portfolio photos, share mesmerizing time-lapse videos of the laser in action, and run contests. Use relevant hashtags like #charcuterieboard, #customgift, and #laserengraving to reach a wider audience.
- Connect with the Community: Participate in local craft fairs, farmers’ markets, and artisan festivals. This allows customers to see and feel the quality of your work firsthand. It’s a fantastic way to make initial sales and build a local following.
- Forge Strategic Partnerships: Think about businesses that need recurring closing or thank-you gifts. Real estate agents, mortgage brokers, wedding planners, and corporate gift companies are ideal partners. Prepare a sample board and a small brochure to present to them. Offering a small discount on bulk orders can secure a steady stream of business.
By combining a solid pricing strategy with targeted marketing, you can successfully transition from a fulfilling hobby to a profitable and creative business.
Conclusions
You now have the knowledge to create a stunning engraved charcuterie board. By carefully selecting your wood, using a quality design, and applying the correct laser techniques, you can produce a professional-grade product. This project not only enhances your skills but also opens doors to a potential laser engraving business, creating custom pieces that are always in demand.
Frequently Asked Questions
Q: What is the best wood for a beginner to use for laser engraving a charcuterie board?
Interested in more Charcuterie Board? Check out our Charcuterie Board laser file designs: Click here!
A: Maple is an excellent choice for beginners. Its light, uniform color and subtle grain provide a forgiving canvas that makes details pop, and it engraves with a clean, consistent burn. It behaves much like a blank piece of paper, allowing you to focus on your design and laser settings.
Q: Do I really need to use masking tape before engraving?
A: While not always mandatory, it’s a highly recommended professional practice. Masking tape significantly reduces scorching and smoke staining on the wood surface, especially on lighter woods. This results in a much cleaner engraving and drastically cuts down on post-engraving cleanup time.
Q: What is the most important step for making a charcuterie board food-safe?
A: The single most critical step is applying a generous coat of 100% food-grade mineral oil after the board has been engraved and cleaned. This non-toxic oil penetrates the wood, preventing it from drying out and creating a safe, protective barrier for direct food contact. Never use industrial finishes like polyurethane or lacquer.
Q: How should I properly care for my engraved charcuterie board?
A: Always hand wash the board with mild soap and warm water; never put it in the dishwasher. Dry it immediately with a towel and let it air dry standing on its edge. To keep it from cracking or warping, re-apply food-grade mineral oil or a board conditioner once a month or whenever it looks dry.

Subscribe to Our Newsletter
And enjoy FREE Download Files, SALE Alerts and Inspiring TIPS
A Comprehensive Guide on How to Price Laser Engraving Services
How to Price Your Laser Engraving and Cutting Services
The Ultimate Guide to Crafting a Laser Cut Box
Charcuterie Board Engraving File – Wine & Grapes 3D Illusion…
$4.00Original price was: $4.00.$3.00Current price is: $3.00.(25% off)
Bee and Honey Jar Charcuterie Board Engraving File | PNG Download #007…
$4.00Original price was: $4.00.$3.20Current price is: $3.20.(20% off)
Valentine Love Captions: 6 Charcuterie Board Engraving Files…
$8.00Original price was: $8.00.$5.60Current price is: $5.60.(30% off)
American Eagle Flag Laser Engraving File for Charcuterie & Cutting…
$4.00Original price was: $4.00.$2.80Current price is: $2.80.(30% off)