

 Français
 Deutsch
 Español
 Italiano
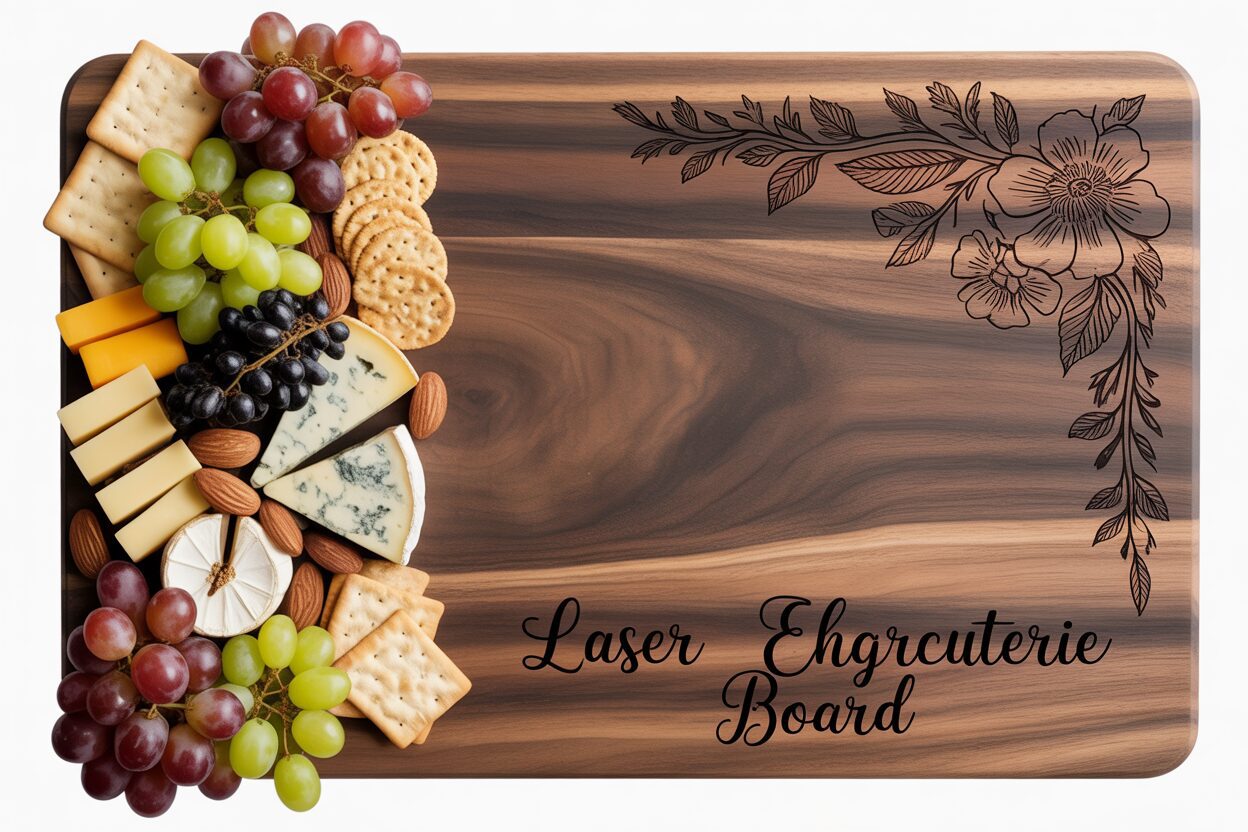
A Guide to Crafting a Laser Engraved Charcuterie Board
Jul
Estimated reading time: 10 minutes
Key Takeaways
- Wood Selection is Paramount: Always choose dense, non-porous (closed-grain) hardwoods like Maple, Walnut, or Cherry for your charcuterie board. These woods are food-safe, durable, and provide a great surface for laser engraving. Avoid open-grained woods (like Oak) and all softwoods.
- Design for the Medium: Optimize your design for wood by using vector software for crisp lines, ensuring sufficient line thickness, and considering the contrast. Light woods like Maple offer high contrast, while dark woods like Walnut create a more subtle, tone-on-tone effect.
- Test Your Settings: The success of your engraving depends on calibrating the laser’s focus, power, and speed. Always run a test grid on a scrap piece of the same wood to find the perfect settings before engraving your final board.
- Finish for Food Safety and Longevity: After engraving, sand the board smooth and apply a food-safe finish, such as a blend of mineral oil and beeswax. This protects the wood and makes it safe for serving. Proper care involves hand-washing only and regular re-oiling.
Table of Contents
- Choosing the Best Wood for Your Board
- Designing Your Custom Engraving
- The Laser Engraving Process Step-by-Step
- Applying a Food-Safe Finish and Proper Care
- Conclusions
- Frequently Asked Questions
Discover how to transform a simple piece of wood into a stunning, personalized cutting board. This guide offers a comprehensive walkthrough for creating your own laser engraved charcuterie board, covering everything from choosing the best wood to applying a beautiful, food-safe finish. Perfect for a unique gift or a stylish addition to your own kitchen, this project is both rewarding and practical.
Interested in more Charcuterie Board? Check out our Charcuterie Board laser file designs: Click here!
Choosing the Best Wood for Your Board
The foundation of any great charcuterie board is, quite literally, the wood itself. Your choice will impact not only the board’s appearance and durability but also its food safety and how well it accepts a laser engraving. The key is to select a dense, non-porous hardwood. These woods, known as closed-grain hardwoods, have very fine pores that are invisible to the naked eye. This tight grain structure prevents food particles, bacteria, and moisture from penetrating the surface, making the board easier to clean and safer for serving food. Furthermore, these hardwoods are tough enough to withstand knife use, ensuring your personalized creation lasts for years. When considering a wood for charcuterie board, focusing on these properties will guide you to the perfect material.
Top Tier Hardwoods for Your Project
When you walk into a lumberyard or browse online suppliers, three closed-grain hardwoods consistently stand out as ideal choices for cutting and charcuterie boards: Maple, Walnut, and Cherry. Each offers a unique combination of aesthetics, durability, and workability.
- Maple (specifically Hard Maple or Sugar Maple): This is the quintessential wood for cutting boards, and for good reason. Pros: It is incredibly hard and durable, providing excellent resistance to knife marks. Its light, creamy color creates a bright, clean look and offers a high-contrast canvas for laser engraving, making your design pop. Maple is also one of the more affordable and widely available options. Cons: Its light color, while great for engraving, can be prone to showing stains from colorful foods like berries or beets if not cleaned promptly.
- Walnut: For a more luxurious and dramatic aesthetic, walnut is an exceptional choice. Pros: Known for its rich, dark brown colors, often with beautiful grain patterns, walnut adds a touch of elegance. It is a very durable hardwood, though slightly softer than hard maple. The dark surface is excellent at hiding stains. Cons: Walnut is typically more expensive than maple. The primary drawback for a personalized cutting board is the lower contrast for laser engraving. The burn from the laser is also dark, resulting in a more subtle, tone-on-tone effect that, while elegant, may not be as bold as some desire.
- Cherry: Cherry offers a beautiful middle ground between the lightness of maple and the darkness of walnut. Pros: Famous for its warm, reddish-brown hue that deepens and grows richer with age and exposure to light, a process called patina. It has a smooth texture and is hard enough for regular use. It provides a nice, warm contrast with laser engraving. Cons: Cherry is softer than hard maple, making it slightly more susceptible to scratches and dents over time. It can also be more expensive, often falling between maple and walnut in price.
Woods to Avoid for Food Safety and Durability
Just as important as knowing which woods to use is knowing which to avoid. The biggest category to steer clear of is open-grained woods. Woods like Red Oak and Ash have large, visible pores. These pores are like tiny caverns for bacteria, moisture, and food particles to hide in, making the board nearly impossible to sanitize properly, posing a significant food safety risk. While beautiful for furniture, they are unsuitable for direct food contact surfaces. Another group to avoid is softwoods, such as Pine, Fir, Cedar, and Spruce. These woods are simply too soft. A knife will easily gouge and splinter the surface, creating deep cuts that harbor bacteria and ruin the board’s appearance. Many softwoods also contain resinous saps that can leach into food, imparting an unpleasant taste. Sticking to the recommended closed-grain hardwoods will ensure your board is safe, durable, and beautiful.
Designing Your Custom Engraving
This is where the magic happens. A plain piece of wood, no matter how beautiful, is just a board. A thoughtful, well-executed design transforms it into a unique story piece—a custom charcuterie board that commemorates an event, celebrates a family, or simply reflects a personal style. The design process is your opportunity to infuse the project with personality. To begin, you’ll need design software. For creating crisp, scalable text and graphics, vector-based programs like Adobe Illustrator or the free alternative Inkscape are industry standards. These programs create designs using mathematical equations rather than pixels, ensuring that lines remain perfectly sharp no matter how you resize them. For more photographic or complex shaded images, you’ll use raster-based software like Adobe Photoshop or GIMP. When using raster images, it’s crucial to start with a high-resolution file (at least 300 DPI) to avoid a pixelated or blurry final engraving. Many laser control programs, like LightBurn, also have basic design tools that are perfect for simple text layouts or arranging imported graphics.
Optimizing Your Design for Wood
Not all laser engraving designs for wood are created equal. Wood is a natural, organic material with grain and texture, and your design must account for its unique properties. A design that looks great on a computer screen might not translate well onto a maple or walnut surface. Keep these key principles in mind:
- Complexity and Line Thickness: Extremely fine lines or tiny, intricate details can get lost in the wood’s grain or may not burn consistently. It’s better to use slightly bolder lines and ensure there is enough negative space in your design. For text, choose fonts that are clear and not overly ornate or thin. A test burn on a scrap piece of the same wood is always the best way to see how fine details will render.
- Contrast is Key: Remember that laser engraving works by burning away the material. On light woods like Maple, you get a strong, dark burn with high contrast. On dark woods like Walnut, the burn is also dark, resulting in a more subtle, elegant, tone-on-tone effect. Consider this when choosing your design. Bold, filled-in shapes will be more prominent on Walnut, while detailed line art shines on Maple.
- Strategic Placement: Think about how the board will be used. Do you want the design to be a central feature or a subtle accent? Placing a large monogram in the center makes a bold statement but might be covered by food during serving. A common and practical approach is to place the design in a corner, along the bottom edge, or near the handle. This preserves the main surface for food presentation while keeping your beautiful engraving visible.
Popular ideas that make a fantastic laser engraved charcuterie board include family names and monograms, established dates for weddings or anniversaries, GPS coordinates of a special place, a favorite quote, or even a handwritten family recipe scanned and converted into a vector file. The right design doesn’t just decorate the wood; it gives it meaning and transforms it into a cherished keepsake.
The Laser Engraving Process Step-by-Step
With your design finalized, it’s time to bring it to life by fire. The laser engraving process is precise and requires careful setup, but by following a systematic approach, you can achieve consistently professional results. Before you even turn on the machine, ensure your board is clean, dry, and free of any dust or debris from sanding. This is also the time to double-check your safety measures: confirm your ventilation system is operational to properly exhaust smoke and fumes, and always have your laser safety glasses ready. You will be engraving on the raw, unfinished wood; the food-safe finish is the final step after the burn is complete.
Machine Calibration: Focus and Settings
The quality of your engraving is determined by three key variables: focus, power, and speed. Getting these right is non-negotiable.
- Focusing the Laser: A perfectly focused laser beam is incredibly small, concentrating all the machine’s energy into a fine point for a crisp, clean burn. An out-of-focus beam is larger and weaker, resulting in a blurry, muddy engraving. Most machines have a specific tool or an auto-focus probe to set the correct distance between the laser nozzle and the surface of your charcuterie board. Always perform this step carefully for every new project.
- Power and Speed Settings: These two settings work in tandem. Power dictates the intensity of the laser beam, while Speed controls how fast the laser head moves over the wood. A higher power or a slower speed will result in a deeper, darker burn. Conversely, lower power or higher speed creates a lighter mark. The ideal settings depend entirely on your specific laser and the wood you chose. As a starting point, hard woods like Maple require more power than softer hardwoods like Cherry. However, the single most important step is to run a test grid on a scrap piece of the exact same wood. This test engraves a series of squares at different power and speed combinations, allowing you to visually choose the setting that gives you the exact look you want for your laser engraved charcuterie board.
Board Alignment and Execution
Once your settings are dialed in from your test piece, you can prepare for the final engraving. Securely place your board on the laser bed. It must be perfectly flat and unable to shift during the job; even a millimeter of movement will ruin the alignment. Use heavy weights on the corners (outside the engraving area) or a custom-made jig to hold it firmly in place. Next, you must align your digital design with the physical board. In your laser software, like LightBurn, set the job origin (e.g., top-left, center) and then use the machine’s red dot pointer and “Frame” function. The frame function will trace the outer boundary of your design with the harmless red dot, showing you exactly where it will engrave. Adjust the board’s position until the frame traces perfectly in your desired location. With everything aligned, close the machine’s lid, put on your safety glasses, turn on the ventilation, and send the job to the laser. The most critical rule now comes into play: never leave a laser unattended while it is operating. Wood is flammable, and you must be present to monitor the process. Once the job is finished, let the smoke clear before opening the lid. You will notice some smoky residue around the engraved area. Gently clean this away with a soft brush or a cloth lightly dampened with denatured alcohol, being careful not to smear the soot into the surrounding wood grain. Now, your engraving is complete and ready for the final protective finish.
Applying a Food-Safe Finish and Proper Care
Your engraving is complete, but the project is not finished. The final steps—applying a protective, food-safe finish and understanding its long-term care—are what will elevate your project from a simple engraved object to a durable, beautiful, and functional kitchen tool. After engraving, you may notice the edges of the burn feel slightly raised. Your first step is a very light final sanding. Using a fine-grit sandpaper (220-grit or higher), gently sand the entire surface of the board by hand, always moving with the direction of the wood grain. Pay special attention to the engraved area, using light pressure to smooth any roughness without dulling the crisp details of your design. The goal is not to remove wood, but to knock down any raised fibers and create a silky-smooth tactile experience. Once you are satisfied with the feel, use a tack cloth or a clean cloth lightly dampened with denatured alcohol to wipe away every trace of sanding dust. Your board is now perfectly prepped for its finish.
Choosing and Applying a Food-Safe Finish
This is the most critical step for ensuring the longevity and safety of your board. You must use a food safe wood finish that is non-toxic and designed for surfaces that come into direct contact with food. Never use standard wood stains, varnishes, or polyurethanes, as they are not food-safe.
- The Best Options: The most popular and effective choice is a combination of food-grade mineral oil and beeswax. Pure food-grade mineral oil is a great starting point; it’s inexpensive, readily available, and penetrates deep into the wood fibers to hydrate them. However, mineral oil never truly dries or hardens. For a more durable finish, use a product that blends mineral oil with beeswax or carnauba wax. These products are often sold as “cutting board cream” or “board butter.” The oil penetrates and moisturizes, while the wax creates a protective barrier on the surface, helping to repel water and food particles.
- The Application Process: The application is a simple but essential ritual. Start by generously applying the oil or cream to a clean, lint-free cloth. Apply a heavy coat to all surfaces of the board—the top, bottom, and all four sides. It’s crucial to seal the entire board to prevent uneven moisture absorption, which can lead to warping. Let the finish soak in for at least a few hours; overnight is even better. The wood will “drink” the oil, and you will see dry spots appear as it absorbs. Apply more finish to these spots until the wood is fully saturated. After the soaking period, take a fresh, clean cloth and thoroughly buff the entire board, wiping away all the excess. You want the finish to be in the wood, not on the wood. The surface should feel smooth and hydrated, not oily or greasy.
Cleaning and Ongoing Maintenance
Proper care is the key to making your personalized cutting board last a lifetime. The rules are simple but absolute. After each use, wash the board by hand with a soft sponge, warm water, and a small amount of mild dish soap. Rinse it clean, and—this is critical—dry it immediately and thoroughly with a towel. Never, ever put a wooden board in the dishwasher or let it soak in the sink. The extreme heat and prolonged exposure to water will cause the wood to warp, split, and crack, destroying your beautiful work. For ongoing maintenance, you’ll need to reapply the finish periodically. A good rule of thumb is to re-oil your board about once a month, or whenever it starts to look dry and faded. This regular re-oiling keeps the wood seasoned, prevents it from drying out, and maintains its lustrous, protective sheen for years of safe and stylish serving.
Conclusions
You now have the knowledge to create a beautiful and functional laser engraved charcuterie board. By selecting the right wood, preparing your design carefully, and applying a food-safe finish, you can produce a high-quality, personalized item. We encourage you to experiment with different designs and wood types to create unique pieces for yourself or to sell in your own shop.
Frequently Asked Questions
Q: What is the best wood for a laser engraved charcuterie board?
A: The best woods are dense, closed-grain hardwoods because they are durable, food-safe, and engrave cleanly. Top choices include Hard Maple for high-contrast engravings, Walnut for a dark, luxurious look, and Cherry for a warm, reddish-brown tone.
Q: Are there any woods I should avoid for a cutting board?
A: Yes. Avoid open-grained woods like Red Oak and Ash, as their large pores can trap food and bacteria, making them unsafe. Also, avoid all softwoods like Pine and Cedar, as they are too soft, damage easily from knives, and can contain saps that affect food’s taste.
Q: How do I properly clean and care for my wooden charcuterie board?
A: Always hand wash the board with mild soap and warm water, then dry it immediately and thoroughly with a towel. Never put it in the dishwasher or soak it in water. Re-apply a food-safe mineral oil and beeswax finish monthly or whenever the wood looks dry.
Q: What is the best finish for a food-safe cutting board?
A: The best and most popular finish is a combination of food-grade mineral oil and beeswax (or carnauba wax), often sold as “board butter” or “cutting board cream.” The oil hydrates the wood, and the wax provides a protective surface barrier.
Q: My engraving on dark walnut wood is hard to see. How can I improve it?
A: Engraving on dark woods like Walnut naturally results in a subtle, tone-on-tone effect. To make the design more prominent, use bolder designs with filled-in shapes rather than fine lines. Always run a test on a scrap piece to see how the design will look before committing to your board.

Subscribe to Our Newsletter
And enjoy FREE Download Files, SALE Alerts and Inspiring TIPS
Pricing Your Laser Engraving Work for Profitability
A Comprehensive Guide to Pricing Your Laser Engraving Services
A Comprehensive Guide on How to Price Laser Engraving Services
Charcuterie Board Engraving File – Wine & Grapes 3D Illusion…
$4.00Original price was: $4.00.$3.00Current price is: $3.00.(25% off)
Bee and Honey Jar Charcuterie Board Engraving File | PNG Download #007…
$4.00Original price was: $4.00.$3.20Current price is: $3.20.(20% off)
Valentine Love Captions: 6 Charcuterie Board Engraving Files…
$8.00Original price was: $8.00.$5.60Current price is: $5.60.(30% off)
American Eagle Flag Laser Engraving File for Charcuterie & Cutting…
$4.00Original price was: $4.00.$2.80Current price is: $2.80.(30% off)