

 Français
 Deutsch
 Español
 Italiano
A Comprehensive Guide to Laser Engraving Photos on Wood
Aug
Estimated reading time: 8 minutes
Key Takeaways
- Master Image Preparation: The quality of a wood photo engraving is determined before the laser is even turned on. Start with a high-contrast photo, isolate the subject by removing the background, convert to grayscale, and sharpen the image for the best results.
- Select the Right Wood: Choose light-colored woods with a minimal, tight grain for maximum contrast and detail. Maple, Basswood, Cherry, and Alder are top choices, while woods like Oak and Pine should be avoided.
- Dial in Laser Settings: Balance Power, Speed, and DPI for your specific wood type. Utilize dithering algorithms like Jarvis or Stucki to translate grayscale images into detailed dot patterns that the laser can engrave. Always perform a test on scrap material first.
- Focus on Finishing: A professional result requires proper post-processing. Carefully clean soot and residue from the engraved surface using a soft brush and denatured alcohol, then apply a protective finish like satin lacquer or Danish oil to enhance contrast and protect the wood.
In This Guide
- Mastering Image Preparation for Flawless Engraving
- Selecting Wood and Dialing in Engraving Settings
- The Engraving Process and Professional Finishing
- Conclusions
- Frequently Asked Questions
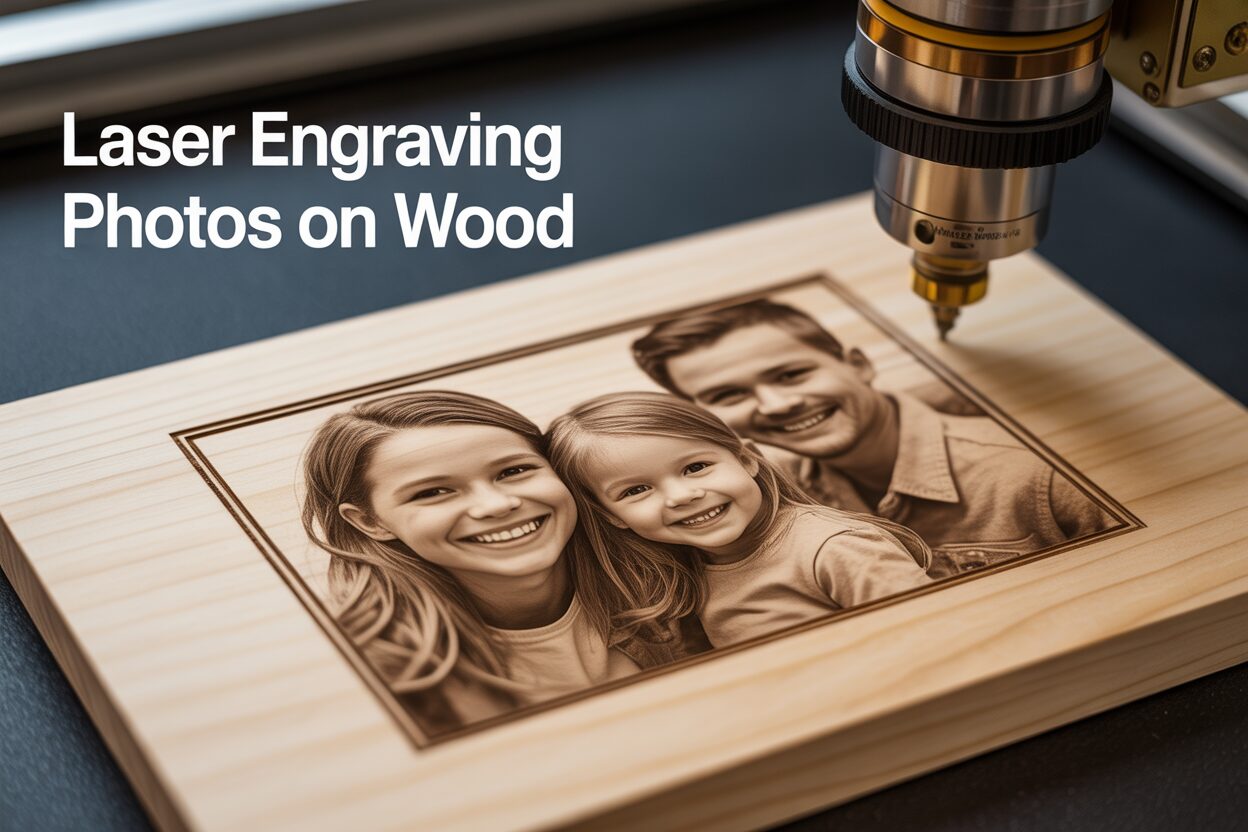
Transform your favorite memories into timeless keepsakes. This guide delves into the art of laser engraving photos on wood, a process that blends technology with craftsmanship. We will explore everything from essential image preparation and software settings to selecting the perfect wood, ensuring you can achieve stunning, high-detail results for your projects or products.
Mastering Image Preparation for Flawless Engraving
The journey to a breathtaking wood photo engraving begins not at the laser machine, but on your computer screen. The digital image is the blueprint for the laser; every pixel dictates where the beam will fire and with how much intensity. A poorly prepared image will result in a muddy, indistinct, and disappointing engraving, no matter how advanced your laser or beautiful your piece of wood. This chapter provides the essential steps to transform a standard photograph into a laser-ready masterpiece, ensuring the final product is rich with detail and life.
Choosing the Right Photograph
Before you open any editing software, the most critical decision is selecting the right source image. Not all photos are created equal when it comes to laser engraving. Look for images with high contrast and good, clear lighting. Contrast is paramount because the laser translates shades of gray into power levels; pure black receives the most power (burning deeper or darker), while pure white receives no power, leaving the wood untouched. A photo with a wide range of tones from bright whites to dark blacks will produce an engraving with depth and dimension. Avoid photos that are flat, hazy, or have a narrow range of mid-tones. Good lighting is equally important. A photo with soft, diffused light that clearly illuminates the subject’s features is ideal. Harsh, direct sunlight can create deep, black shadows where all detail is lost, which will translate into large, featureless dark patches on the wood.
The Digital Editing Process: From Photo to Engraving Blueprint
Once you have selected a suitable photo, it’s time to process it. Using software like Adobe Photoshop, GIMP (a powerful free alternative), or even the built-in tools in laser software like LightBurn, follow these crucial steps.
- Step 1: Isolate the Subject. This is one of the most impactful laser photo engraving tips for a professional result. A busy background distracts from the main subject and clutters the final engraving. Use your software’s selection tools (like Photoshop’s AI-powered “Select Subject,” the Pen Tool for precision, or GIMP’s Foreground Select Tool) to carefully cut out your subject. Place the subject on a pure white background. This tells the laser to focus all its energy on the subject and leave the surrounding wood untouched, creating a clean, portrait-like effect.
- Step 2: Convert to Grayscale. Your laser does not see color, only shades of gray. The first action on your isolated image should be to convert it to grayscale (sometimes called desaturation). This allows you to see the image exactly as the laser will interpret it, forming the basis for all subsequent adjustments.
- Step 3: Adjust Brightness and Contrast. This is where you fine-tune the engraving’s final look. Wood naturally darkens the entire image, so you often need to increase the overall brightness slightly more than you think. Use the “Levels” or “Curves” adjustment tools for the best results. By adjusting these, you can brighten the mid-tones without blowing out the highlights (the brightest parts). Gently increase the contrast to make the subject “pop.” The goal is to ensure the lightest parts of the image are close to pure white and the darkest parts are rich black, with a good spread of tones in between.
- Step 4: Sharpen the Details. The engraving process and the natural wood grain can slightly soften an image. A final sharpening step can counteract this, bringing out fine details in hair, eyes, and textures. Use a sharpening filter like the “Unsharp Mask.” Apply it subtly; a radius of around 1-2 pixels and a moderate amount is usually sufficient. Be careful not to over-sharpen, which can create an unnatural “halo” effect around edges. This final touch ensures that the crisp details you worked to preserve are clearly visible in the finished piece.
With your image now fully prepared, you have a clean, high-contrast, and sharp blueprint. This perfected file is ready to be imported into your laser control software, where you will translate this visual data into the physical machine settings of power, speed, and dithering, as we will explore in the next chapter.
Selecting Wood and Dialing in Engraving Settings
With a perfectly prepared image file in hand, the focus shifts to the physical canvas and the machine’s language. The choice of wood and the laser’s settings are inextricably linked; the same settings that produce a beautiful image on one type of wood may result in a charred mess on another. Mastering this stage is about creating a synergy between the material and the machine.
Choosing the Best Wood for Photo Engraving
The ideal wood for photo engraving is one with a light, uniform color and a minimal, tight grain pattern. The laser creates contrast by burning the wood, so starting with a light-colored surface provides the highest possible dynamic range, allowing for bright whites (the unburned wood) and rich darks. Woods with prominent, dark grain lines, like oak or hickory, are poor choices because the grain pattern will fight with the details of your image, creating a busy and confusing final product. Resin-rich woods like pine are also problematic, as they tend to burn unevenly and produce a blotchy result. The best options include:
- Maple: Often considered the gold standard, maple is a hardwood with a very light color and a subtle, tight grain. It engraves with excellent contrast and holds fine details exceptionally well.
- Cherry: While slightly darker than maple, cherry wood has a fine grain and a rich, warm tone. It engraves to a beautiful deep brown, offering a sophisticated, lower-contrast look. As it ages, the wood will darken, enhancing the engraving.
- Basswood: A very soft, light-colored wood with almost no visible grain. Its consistency makes it extremely easy to engrave, making it a favorite for beginners and for highly detailed projects. It provides a crisp, clean burn.
- Alder: Similar to cherry in its reddish hue but lighter in color, alder is another excellent choice that engraves with consistent, dark results and minimal resin buildup.
Decoding Photo Engraving Settings
Translating your grayscale image into laser commands requires understanding a few key photo engraving settings, the most important of which is the dithering algorithm. A laser engraver’s beam is essentially either on or off; it cannot natively produce shades of gray. Dithering algorithms are the software’s clever solution to this problem. They convert the shades of gray in your image into a pattern of black dots of varying density. Areas with more, denser dots appear darker to the human eye, simulating a continuous tone. Different algorithms arrange these dots in different ways:
- Jarvis: This is a very popular algorithm for photos because it uses an error-diffusion method that creates exceptionally smooth gradients and a pleasing, natural look, especially for portraits.
- Stucki: Another error-diffusion dither, Stucki is similar to Jarvis but often produces a slightly sharper and cleaner result with less “noise.” The choice between Jarvis and Stucki is often a matter of artistic preference.
- Halftone: This method uses dots of varying sizes arranged in a grid, similar to newspaper print. It can create a stylized, classic look but is generally less realistic for photos than dithering.
Alongside dithering, you must balance three core settings: Power, Speed, and DPI (Dots Per Inch). Power dictates the intensity of the laser burn. Speed controls how quickly the laser head moves. These two have an inverse relationship: higher power and lower speed result in a darker burn. DPI determines the resolution, or how many lines the laser engraves per inch. A typical starting point for a photo on maple might be a relatively low power setting at a high speed, with a DPI around 250-300. This combination avoids over-burning the delicate wood while still capturing detail. The absolute best practice is to always run a test matrix or a small section of your photo on a scrap piece of your chosen wood before committing to the final piece. This allows you to see precisely how different combinations of settings will appear on that specific material, ensuring your final engraving is flawless.
The Engraving Process and Professional Finishing
With all the digital preparation and material selection complete, the moment has arrived to physically create your wood photo. This final stage transforms your careful planning into a tangible work of art, but it requires just as much attention to detail to ensure the transition from screen to wood is flawless. The process doesn’t end when the laser stops; post-processing and finishing are what elevate a good engraving to a professional one.
Executing the Engraving
Before you press the start button, two physical checks are absolutely critical. First, ensure your wood piece is perfectly flat and secure on the laser bed. Any warping, however slight, will cause the distance between the laser lens and the wood surface to vary. This variation will shift the laser’s focal point, resulting in areas that are blurry, washed-out, or inconsistent. Use hold-down pins, clamps, or a weighted object on the non-engraving area to guarantee the material remains flat throughout the process. Second, you must achieve perfect focus. Your laser’s beam is most powerful and precise at a single point. Use the focus gauge or auto-focus system specific to your machine to set the correct distance between the lens and the wood surface. An out-of-focus laser produces a weak, blurry line, destroying the fine detail you worked so hard to prepare in your image.
Post-Processing: Cleaning and Finishing
Once the engraving is complete, the surface will be covered in a fine layer of soot and resin residue. This must be cleaned off carefully to reveal the crisp detail underneath. The key is to be gentle to avoid smearing the dark soot into the lighter, unburned areas of the wood grain, which can create a muddy appearance. A highly effective method is to use a soft-bristled brush (like a clean, soft toothbrush) in conjunction with compressed air. Lightly brush the surface to dislodge the residue while blowing it away with the air. For more stubborn residue, especially on resinous woods, you can lightly dampen a clean microfiber cloth with denatured alcohol. The alcohol acts as a solvent to lift the soot without raising the wood grain as water would. Wipe gently and allow it to evaporate completely.
After cleaning, applying a finish is essential for both protection and enhancement. A finish seals the wood from moisture and dirt while dramatically improving the visual contrast of the photo. A clear spray lacquer or polyurethane, applied in several thin, even coats, is an excellent choice. It creates a durable protective layer on the surface. Opt for a satin or matte finish, as a high-gloss finish can create glare that makes the photo difficult to see. Alternatively, a penetrating oil finish like Danish oil or Tung oil can provide a beautiful, natural look. These oils soak into the wood, hardening the fibers and making the natural color and grain pop, which in turn deepens the richness of the engraved portions.
Final Laser Photo Engraving Tips for Troubleshooting
Even with careful preparation, you may encounter issues. Here’s how to troubleshoot common problems:
- Washed-out or Faint Engraving: This means not enough energy was applied. The solution is to either increase the laser power, decrease the travel speed, or both. Also, revisit your image file to ensure it has sufficient contrast and isn’t too bright overall.
- Overly Dark or Charred Engraving: This is a result of too much energy. Decrease the power or increase the speed. If details are being lost in dark areas, your source image may be too dark, or you may need to choose a harder wood that resists burning.
- Blurry or Inconsistent Results: The primary culprits are poor focus or warped material. Double-check your laser focus and ensure your wood is perfectly flat and secured to the bed before starting again.
- Visible Horizontal Lines (Banding): This can indicate that your DPI (or Line Interval) setting is too low for the image, leaving gaps between passes. It can also point to a mechanical issue, such as loose belts on your laser machine. Check your settings first, then inspect your machine’s hardware if the problem persists.
Conclusions
You now have the foundational knowledge to confidently tackle laser engraving photos on wood. By carefully preparing your images, dialing in your engraving settings, and applying the right finishing touches, you can create breathtaking pieces. Don’t be afraid to experiment with different woods and photos to perfect your technique and produce truly personal works of art.
Frequently Asked Questions
Q: What is the best type of photo to use for laser engraving on wood?
A: The best photos for laser engraving have high contrast and good, clear lighting. Look for images with a wide range of tones from bright whites to dark blacks. Avoid photos that are flat, hazy, or have harsh direct sunlight that creates large, featureless black shadows.
Q: What is the best wood for engraving photos?
A: The best wood has a light, uniform color and a minimal grain pattern to ensure the photo’s details stand out. Maple is considered the gold standard, with Basswood, Alder, and Cherry also being excellent choices. Avoid woods with strong grain patterns like Oak or resinous woods like Pine.
Q: My engraving looks blurry. What did I do wrong?
A: Blurry or inconsistent results are most often caused by two issues: poor laser focus or warped material. Before starting, always use your machine’s focus tool to set the correct distance to the wood surface, and ensure your material is perfectly flat and securely held down on the laser bed.
Q: What is dithering and why is it important for photo engraving?
A: Dithering is a software algorithm that converts the shades of gray in your photo into a pattern of black dots with varying density. Since a laser is either on or off, it can’t create true grayscale. Dithering simulates these tones, allowing for detailed, realistic photo engravings. Jarvis and Stucki are popular dithering algorithms for this purpose.

Subscribe to Our Newsletter
And enjoy FREE Download Files, SALE Alerts and Inspiring TIPS
Pricing Your Laser Engraving Work for Profitability
A Comprehensive Guide to Pricing Your Laser Engraving Services
A Comprehensive Guide on How to Price Laser Engraving Services
Charcuterie Board Engraving File – Wine & Grapes 3D Illusion…
$4.00Original price was: $4.00.$3.00Current price is: $3.00.(25% off)
Bee and Honey Jar Charcuterie Board Engraving File | PNG Download #007…
$4.00Original price was: $4.00.$3.20Current price is: $3.20.(20% off)
Valentine Love Captions: 6 Charcuterie Board Engraving Files…
$8.00Original price was: $8.00.$5.60Current price is: $5.60.(30% off)
American Eagle Flag Laser Engraving File for Charcuterie & Cutting…
$4.00Original price was: $4.00.$2.80Current price is: $2.80.(30% off)