

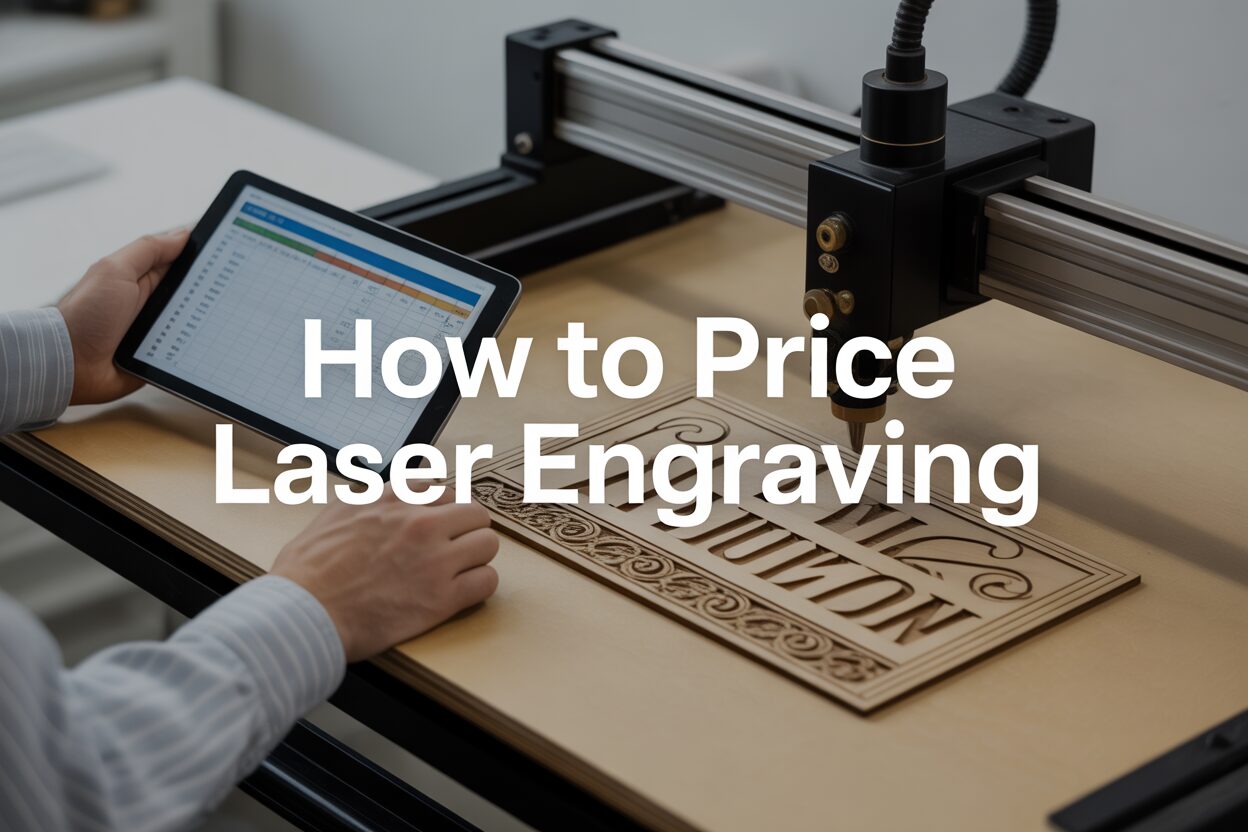
A Comprehensive Guide on How to Price Laser Engraving Services
Mar
Estimated reading time: 10 minutes
Key Takeaways
- Understand Your Foundation: Before setting any price, you must calculate your total costs, including fixed expenses (rent, software), variable costs (materials, consumables), and your own labor. This is your break-even point.
- Choose the Right Strategy: Employ different pricing models for different jobs. Use a per-minute rate for custom one-offs, a flat-rate for standardized products, and value-based pricing for unique, artistic creations.
- Build a Quoting Tool: Create a simple spreadsheet calculator with your labor and machine rates to generate fast, consistent, and profitable quotes for every project, eliminating guesswork.
- Maximize Profit Beyond Costs: Increase profitability by researching your market to find a niche, offering tiered pricing options (good, better, best), and strategically upselling or cross-selling complementary products.
Table of Contents
- Foundation of Pricing: Understanding Your Total Laser Engraving Cost
- Choosing Your Pricing Model: Strategies for Different Projects
- Building Your Laser Engraving Pricing Calculator for Consistent Quotes
- Maximizing Profitability: Advanced Tips for Selling Laser Engraved Products
- Conclusions
- Frequently Asked Questions
Determining the right price for your laser engraving work is crucial for success. This guide provides a clear roadmap on how to price laser engraving services effectively. We’ll explore everything from calculating your initial costs to developing a flexible pricing strategy, ensuring your creative passion translates into a profitable venture and you feel confident in what you charge.
Foundation of Pricing: Understanding Your Total Laser Engraving Cost
Before you can set a profitable price for your services, you must first understand what it costs you to produce each engraved item. This total cost is your financial baseline; pricing below this number means you are actively losing money. Calculating this figure isn’t just about the price of the wood or acrylic you’re engraving. It’s a comprehensive look at your entire operation, broken down into three key categories: fixed costs, variable costs, and labor.
Understanding Your Fixed Costs
Fixed costs are the consistent, predictable expenses you pay regardless of whether your laser is running for one hour or one hundred hours a month. They are the financial foundation of your business. To price effectively, you need to break these down into an hourly rate. Common fixed costs include:
- Equipment Amortization: Your laser engraver is your biggest asset and its cost must be accounted for over time. If your machine cost $8,000 and you expect it to last 5 years (or about 10,000 operating hours), its cost is $0.80 for every hour it’s available to work.
- Software Subscriptions: Monthly or annual fees for design software like Adobe Illustrator or CorelDRAW, as well as any specialized laser control software.
- Rent and Utilities: This includes your workshop rent or, for home-based businesses, a percentage of your mortgage/rent and utilities (internet, electricity base charge) that corresponds to the square footage of your workspace.
- Insurance: Business liability insurance to protect you and your assets.
To make these numbers useful, calculate your total monthly fixed costs and divide that by the number of hours you plan to work each month. For example, if your total fixed costs are $400/month and you work 100 hours, your fixed cost hourly rate is $4.00/hour. Every project must cover this baseline rate for the time it takes.
Calculating Variable Costs Per Project
Variable costs are expenses directly tied to a specific job. The more you produce, the higher these costs will be. Accuracy here is crucial for job-specific pricing.
- Materials: This is the most obvious variable cost. It includes the price of the blank item (e.g., cutting board, tumbler, slate coaster) plus an allowance for waste and test pieces. Always factor in a small buffer for mistakes.
- Machine Consumables: Your laser tube, lenses, and mirrors have a limited lifespan measured in operating hours. Calculate their cost per hour of use. A $400 laser tube rated for 2,000 hours adds a variable cost of $0.20 for every hour the laser is firing.
- Electricity Consumption: While small on a per-job basis, this adds up. Check your laser’s power rating (in kilowatts) and multiply it by the job’s run time in hours and your local electricity rate ($/kWh). A 1.5kW laser running for 20 minutes (0.33 hours) at $0.15/kWh costs about $0.07.
Factoring in Your Labor Costs
Your time, skill, and expertise are your most valuable assets. Never work for free. Labor cost isn’t just the time the laser is running; it encompasses the entire process from start to finish. You must assign a fair hourly wage to yourself—one that reflects your experience and allows you to earn a living. Break down your labor for each project into these phases:
- Design and Preparation: Time spent creating a design from scratch, cleaning up a customer’s file, or laying out the project in your software.
- Setup: The hands-on time for placing the material in the machine, setting the focus, and running a test pass.
- Post-Processing: Cleaning soot, sanding, applying oils or finishes, assembly, and packaging the final product for the customer.
If your desired hourly wage is $25 and you spend a total of 30 minutes on design, setup, and finishing, your labor cost for that job is $12.50.
With these three components calculated, you can determine your total cost for any project using a simple formula:
Total Cost = Fixed Costs + Variable Costs + Labor
This final number is your break-even point. It is the absolute minimum you must charge to cover all your expenses and pay yourself for your time. Anything above this amount is your profit, which is the essential next step in building a sustainable and successful business.
Choosing Your Pricing Model: Strategies for Different Projects
With a firm grasp of your total costs, you can now move from simply covering expenses to strategically pricing for profit. There is no single “best” pricing model for a laser engraving business; the right strategy depends on the nature of the work. The key is to select a model that aligns with the project’s complexity, the customer’s expectations, and your profit goals. Let’s explore three effective models that you can use individually or in combination.
The Per-Minute Pricing Model
This is often the most logical starting point and is ideal for custom, one-off jobs where the primary driver of cost is machine run time. To implement this, you first need to establish your all-inclusive machine hourly rate. This rate isn’t just the machine’s running cost; it’s a comprehensive figure that bundles your fixed costs, labor costs (for machine supervision), and a desired profit margin into a single hourly number. For example, if your total cost per hour (fixed + labor) from the previous chapter was $29, and you want to achieve a 50% profit margin on your time and overhead, you might set your billable machine rate at $43.50 per hour, which translates to approximately $0.73 per minute. When a customer brings you a unique item and a design that takes 22 minutes to engrave, you can confidently quote them $16.06 for the machine time, plus any separate charges for design or material handling. This method is transparent and ensures that longer, more intensive jobs are priced appropriately.
The Flat-Rate or Per-Project Model
When you produce standardized or repeatable items, a flat-rate model is far more efficient and customer-friendly. This strategy works perfectly for products like sets of slate coasters, engraved tumblers, or seasonal wooden ornaments that you sell regularly. To set a flat rate, you perform a detailed cost calculation once for a single item or a small batch. You tally up the exact material cost, the precise design and setup labor time, the machine run time, and the finishing labor. Using our example figures, a coaster might cost:
- Material: $1.50
- Machine Time (5 minutes at $0.73/min): $3.65
- Labor (10 mins design/finishing at $25/hr): $4.17
Your total cost is $9.32. To this, you add your profit margin. A 100% markup on cost (a common retail strategy) would lead to a flat-rate price of $18.64, which you might round to a clean $19 or $20. This model provides price consistency for your customers and incentivizes you to streamline your production process to increase your profit margin over time.
Value-Based Pricing
This is the most advanced and potentially most profitable model, reserved for projects where the value is subjective and tied to artistry, personalization, and emotion. The price here is determined less by the input costs and more by the perceived value to the customer. This applies to intricate, custom-designed artwork, a deeply personal memorial piece, or a large, high-end corporate logo sign. While you must still calculate your base cost to ensure you don’t lose money, the final price is set based on what the market will bear for such a unique item. For instance, when it comes to pricing laser cut wood, a simple cut-out name sign might follow a flat-rate model. However, a multi-layered, intricately detailed wooden map that took hours of design refinement has an artistic value far exceeding the sum of its parts. Its base cost might be $80, but its perceived value as a unique piece of art could justify a price of $400 or more. This model requires confidence in your skills and an understanding of your target market’s willingness to pay for premium, bespoke work.
Building Your Laser Engraving Pricing Calculator for Consistent Quotes
Consistency is key to building trust and ensuring profitability when selling laser engraved products. Quoting prices off the cuff leads to mistakes, lost profits, and customer confusion. The solution is to build a dedicated laser engraving pricing calculator. This tool, easily created in a spreadsheet program like Microsoft Excel or Google Sheets, will become the backbone of your quoting process, allowing you to generate accurate, profitable prices in minutes. It systematizes your pricing by combining your foundational costs with job-specific variables.
Setting Up Your Calculator’s Core Components
Your calculator will have two main sections: a set of predefined ‘constants’ that rarely change, and a section for the unique inputs of each job. The constants are your business’s financial DNA, derived from the cost analysis in the first chapter.
- Your Labor Rate ($/hour): This is the hourly wage you pay yourself for all hands-on work. It should be a living wage that reflects your skill level. For easier calculations, also have a cell that converts this to a per-minute rate (e.g., $25/hour = ~$0.42/minute).
- Your Machine Rate ($/minute): This is the all-inclusive rate for running your laser. It’s not just electricity; this rate bundles your fixed costs (rent, software, insurance) and variable machine costs (amortization, consumables like lenses and tubes) into a single, easy-to-apply figure. For instance, if your total machine overhead is $600/month and you run it for 100 hours, your base rate is $6/hour, or $0.10/minute. You can build a small profit into this rate as well.
Set these values at the top of your spreadsheet so you can easily reference them in your formulas and update them annually if your costs change.
Job-Specific Inputs for Accurate Quoting
This is the section you will fill out for every new quote. Each input captures a direct cost associated with the specific project.
- Material Cost ($): The cost of the blank item or raw material. If using sheet goods, calculate this per square inch and multiply by the project’s footprint, adding a buffer for waste. For pre-made items like tumblers, this is simply the unit cost.
- Machine Run Time (minutes): Your laser software provides a very accurate estimate of how long a job will take. Use this number directly.
- Design and Setup Time (minutes): This is all the hands-on labor before the laser starts. It includes creating a design, vectorizing a customer’s logo, cleaning up files, and the physical time spent focusing the laser and positioning the material.
- Post-Processing Time (minutes): All labor that happens after the laser finishes. This includes cleaning soot off a piece, sanding, oiling, painting, assembling parts, and packaging.
- Desired Profit Margin (%): This is the percentage you want to earn on top of your total costs. This is not markup; a 50% profit margin means you add 50% of the total cost to itself.
The Formula for Profitability
With your constants and inputs defined, a simple series of formulas will calculate the final price. The logic is to first calculate your total break-even cost, then apply your profit margin.
Step 1: Calculate Total Labor Cost = (Design/Setup Time + Post-Processing Time) * Your Per-Minute Labor Rate
Step 2: Calculate Total Machine Cost = Machine Run Time * Your Per-Minute Machine Rate
Step 3: Calculate Total Project Cost (Break-Even Point) = Material Cost + Total Labor Cost + Total Machine Cost
Step 4: Calculate Final Customer Price = Total Project Cost * (1 + Desired Profit Margin)
For example, a custom sign might have: Material ($5), Run Time (15 mins), Design Time (20 mins), and Finishing Time (10 mins). Using a Labor Rate of $0.42/min, a Machine Rate of $0.10/min, and a 50% profit margin:
- Total Labor Cost = (20 + 10) * $0.42 = $12.60
- Total Machine Cost = 15 * $0.10 = $1.50
- Total Project Cost = $5.00 + $12.60 + $1.50 = $19.10
- Final Price = $19.10 * (1 + 0.50) = $28.65
This calculator removes emotion and guesswork, ensuring every quote you send is both fair to the customer and fundamentally profitable for your business.
Maximizing Profitability: Advanced Tips for Selling Laser Engraved Products
Once you have mastered the fundamentals of calculating costs and creating consistent quotes, the next step is to transition from merely covering expenses to strategically maximizing your profitability. This involves looking beyond your own spreadsheet and into the broader market, understanding customer psychology, and building a brand that commands higher prices. In a competitive laser engraving business, these advanced strategies are what separate a hobbyist from a thriving enterprise.
Conducting Market Research to Find Your Niche
Pricing doesn’t happen in a vacuum. Before finalizing your prices, you must conduct market research to understand your competitive landscape. This isn’t about blindly copying prices but about strategically positioning your brand. Look at what other engravers on platforms like Etsy, Facebook Marketplace, and local craft sites are charging for similar items. Are they competing solely on price, offering low-quality work for cheap? Or are they targeting a premium market? This research helps you find underserved niches. Perhaps no one in your area is offering high-end, architectural-style house number signs on slate, or intricate, multi-layered wooden mandalas. By identifying these gaps, you can become the go-to provider, allowing you to set a premium price with less direct competition.
Implementing Tiered Pricing to Capture More Sales
Customers have different budgets and perceived needs. By offering a single price, you risk alienating both budget-conscious shoppers and those willing to pay more for a premium product. The solution is tiered pricing, often structured as ‘good,’ ‘better,’ and ‘best’ options.
- Good: The basic, entry-level option. For a whiskey glass, this might be a simple name or monogram in a standard font. It’s affordable and gets the customer in the door.
- Better: The mid-tier, most popular option. This could include adding a more complex customer-provided logo or a design from your catalog, offering more value for a moderate price increase.
- Best: The premium, all-inclusive package. This might feature a full-wrap, intricate design, engraving on a premium brand of glass, and perhaps a color-fill finish. This option anchors the value of the other tiers and captures high-end sales.
This strategy empowers the customer to choose their own price point while guiding them toward the option that offers you a healthy profit margin.
Strategic Upselling and Cross-Selling
Once a customer has decided to buy, you have a prime opportunity to increase the total value of their order.
- Upselling is encouraging the customer to purchase a more premium version of the product. For example, when a customer wants a photo engraved on a piece of basswood, you can upsell them to a piece of cherry or maple by explaining how the finer grain will produce a higher-quality result for a small additional cost.
- Cross-selling is offering complementary products. If a customer buys an engraved charcuterie board, offer a matching set of engraved slate coasters at a bundled price. This is also a perfect opportunity for pricing laser cut wood projects; offer a custom-made, engraved wooden gift box to elevate the presentation of a smaller item like an engraved flask or piece of jewelry. This not only increases your revenue but also enhances the customer’s overall experience.
These small suggestions can significantly boost your average order value and, by extension, your overall profitability. By building a strong brand with excellent customer service, professional product photography, and clear communication, you justify these premium prices and strategic offers, transforming your operation from a simple service into a sought-after brand.
Conclusions
Pricing your laser engraving work doesn’t have to be a guessing game. By thoroughly understanding your costs, choosing the right pricing model, and considering the value you provide, you can build a sustainable and profitable laser engraving business. Use these principles to create your own pricing system, adapt to new projects, and confidently grow your brand in the creative marketplace.
Frequently Asked Questions
Q: What is the most important first step to price my laser engraving work?
A: The most critical first step is to thoroughly understand your total costs. This involves calculating your fixed costs (rent, software), variable costs (materials, machine consumables), and your own labor rate. This total cost is your break-even point, the absolute minimum you can charge.
Q: How do I charge for my own time without feeling like I’m overcharging?
A: Your time and skill are valuable assets. Assign yourself a fair hourly wage that reflects your experience and covers your living expenses. Track all the time you spend on a project—not just the machine’s run time, but also design, file preparation, setup, and post-processing (cleaning, finishing, packaging). This ensures you are compensated for the entire job.
Q: When should I use a flat-rate price instead of charging by the minute?
A: A flat-rate price is ideal for standardized and repeatable products you sell often, like sets of coasters, engraved tumblers, or ornaments. You calculate the cost once and add your profit margin to set a consistent price. This is customer-friendly and incentivizes you to become more efficient in your production.
Q: What is value-based pricing and when is it appropriate for laser engraving?
A: Value-based pricing sets the price based on the perceived value to the customer rather than the direct costs. It’s best for highly custom, artistic, or emotionally significant projects, like intricate wooden art, a personalized memorial piece, or a large corporate logo. For these items, the artistic value and uniqueness can justify a price far higher than the sum of materials and time.

Subscribe to Our Newsletter
And enjoy FREE Download Files, SALE Alerts and Inspiring TIPS
A Comprehensive Guide on How to Price Laser Engraving Services
How to Price Your Laser Engraving and Cutting Services
The Ultimate Guide to Crafting a Laser Cut Box
Charcuterie Board Engraving File – Wine & Grapes 3D Illusion…
$4.00Original price was: $4.00.$3.00Current price is: $3.00.(25% off)
Bee and Honey Jar Charcuterie Board Engraving File | PNG Download #007…
$4.00Original price was: $4.00.$3.20Current price is: $3.20.(20% off)
Valentine Love Captions: 6 Charcuterie Board Engraving Files…
$8.00Original price was: $8.00.$5.60Current price is: $5.60.(30% off)
American Eagle Flag Laser Engraving File for Charcuterie & Cutting…
$4.00Original price was: $4.00.$2.80Current price is: $2.80.(30% off)