

 Français
 Deutsch
 Español
 Italiano
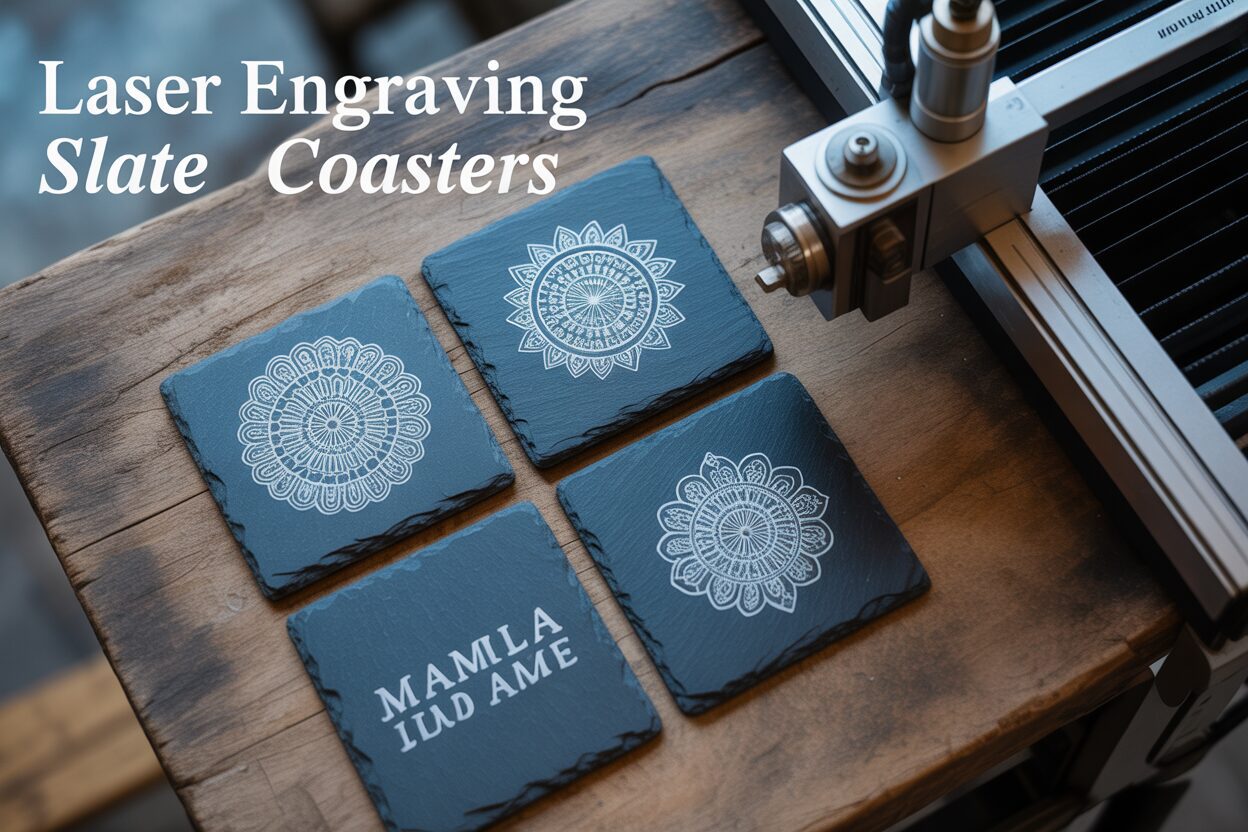
A Beginner’s Guide to Laser Engraving Slate Coasters
Sep
Estimated reading time: 9 minutes
Key Takeaways
- Proper Preparation is Crucial: Before engraving, thoroughly clean each slate coaster with isopropyl alcohol to remove dust and oils. For the sharpest results, apply and smooth down paper masking tape to prevent residue from settling around the design.
- Always Run a Materials Test: Slate varies in composition. The most important step for achieving a perfect engraving is to run a test grid on a scrap coaster to determine the ideal combination of power, speed, and DPI for your specific laser and material.
- Choose High-Contrast Designs: Slate engraving excels with bold, high-contrast artwork. Simple black-and-white logos, thick text, and clear line art produce the most striking results, as subtle gradients do not translate well.
- Seal for Contrast and Protection: The final step of sealing transforms the coaster. Applying mineral oil or a matte acrylic sealer deepens the slate’s natural dark color, makes the light-gray engraving “pop” with contrast, and protects the coaster from moisture and stains.
Table of Contents
- Preparing Slate for Engraving
- Optimal Laser Settings for Slate
- Design and Engraving Process
- Finishing and Sealing Your Engraved Coasters
- Conclusions
- Frequently Asked Questions
Discover the elegance of laser engraving slate coasters. This guide will walk you through the entire process, from selecting the right materials to perfecting your laser settings. Whether you’re making personalized gifts or starting a new product line, you’ll learn how to achieve professional, high-contrast results on slate, turning simple stone into functional art.
Preparing Slate for Engraving
Before the laser even warms up, the success of your slate coaster engraving project is determined by one crucial stage: preparation. Rushing this step is a common beginner mistake that often leads to inconsistent results and frustration. Taking a few extra minutes to properly prepare your slate will ensure your final product looks sharp, clean, and professional. Preparation is the foundation upon which a great engraving is built.
Interested in more Coaster? Check out our Coaster laser file designs: Click here!
Selecting Your Slate Canvases
Not all slate is created equal. While the previous chapter covered sourcing materials, it’s vital to inspect each individual coaster before you begin. Look for pieces that are as flat and uniform in thickness as possible. Natural slate has variations, but significant dips, high spots, or a heavily textured surface will interfere with the laser’s focus. An out-of-focus laser will produce blurry or faint engraving, so a flat surface is your best friend. Also, check for loose, flaky edges. While this is characteristic of rustic slate, excessively brittle pieces can chip during handling or engraving. The goal is to choose the best possible “canvas” to ensure the laser can do its job consistently across the entire design area.
The Critical Cleaning Step
Every slate coaster, even one straight out of the box, needs a thorough cleaning. Slate is a porous material that can be covered in a fine layer of dust from the cutting process, and it easily picks up oils from your fingerprints. This invisible layer of grime can block the laser beam, resulting in a faded or uneven engraving. The solution is simple and effective: isopropyl alcohol (IPA) and a lint-free cloth.
Why isopropyl alcohol? It’s an excellent degreaser that evaporates quickly without leaving any residue behind, unlike water which can soak into the slate or some household cleaners which might leave a chemical film. Simply dampen a clean, lint-free microfiber cloth with IPA and wipe down the entire surface of the coaster you intend to engrave. Pay special attention to the engraving area, but cleaning the whole face is good practice. This single step removes all oils, dust, and debris, guaranteeing the laser makes direct, clean contact with the slate itself.
To Mask or Not to Mask?
Masking is the process of applying a protective layer, typically paper masking tape, over the slate’s surface before engraving. When the laser engraves the slate, it essentially fractures the surface, creating a light-colored mark and a very fine dust. Without a mask, this dust can settle back onto the coaster, sometimes creating a slight haze around the design that can be difficult to clean off completely. Masking solves this problem. The adhesive tape traps the dust and residue, and when you peel it off after engraving, you are left with a pristine surface and an incredibly crisp design.
While not always mandatory for simple designs, masking is highly recommended when working on intricate patterns or fine text. To apply the mask:
- Start with a piece of medium-tack paper masking tape slightly larger than your coaster.
- Carefully lay it over the slate, starting from one edge and smoothing it down across the surface to prevent air bubbles.
- Use a squeegee, a credit card, or your thumbnail to firmly press the tape onto the slate. This is a critical detail, as any air bubbles trapped between the tape and the slate can cause the laser to diffuse, resulting in an incomplete or blurry engraving in that spot.
Once your slate is clean and masked, you have a perfectly prepared surface. You are now ready to move on to the laser itself, confident that you’ve done everything possible to ensure a beautiful and professional-looking slate coaster engraving.
Optimal Laser Settings for Slate
Dialing in the correct laser engraving slate settings is the secret to achieving that coveted, high-contrast, brilliant white finish on your personalized slate coasters. Unlike wood, which burns and chars, slate engraving is a process of fracturing the surface. The laser’s focused energy superheats a minuscule point on the slate, causing it to expand and flake off, revealing the lighter-colored material underneath. Understanding this core principle is key: your goal is not to burn deeper, but to find the perfect combination of energy and speed to create a clean fracture. The three main variables you will control are power, speed, and resolution (DPI/LPI).
Power dictates the intensity of the laser beam. For slate, you typically need enough power to fracture the surface but not so much that it melts the material, which results in a muddy, greyish mark instead of a bright white one. Speed is how fast the laser head moves across the material. A faster speed delivers less energy to any given point, while a slower speed concentrates more energy. Resolution, measured in Dots Per Inch (DPI) or Lines Per Inch (LPI), determines the spacing between the engraved lines. A very high DPI can look great but also puts more heat into the material, as the laser passes are closer together. For slate, a moderate resolution is often perfect.
Starting Point Settings
Every laser machine and every batch of slate is slightly different. The settings below are not absolute rules but are excellent, tested starting points from which you can begin your own testing. Always ensure your laser is properly focused before starting any engraving job.
- For a 10W Diode Laser: A good baseline to start your tests would be a speed of around 3000-4000 mm/min with the power set to 85-95%. For resolution, start with 254 or 300 DPI. Diode lasers generally work very well on slate and this combination of high speed and high power delivers a quick, intense burst of energy that is ideal for fracturing the surface cleanly.
- For a 40-60W CO2 Laser: These machines are more powerful and can operate much faster. A great starting point is a speed of 300-400 mm/s (note the units are per second, not minute) and a power setting of only 15-25%. Again, a resolution of around 300 DPI is ideal. Using low power is critical with CO2 lasers; too much power will easily overheat and melt the slate.
The Non-Negotiable Step: The Materials Test Grid
The single most important step in finding your perfect settings is running a materials test on a spare or scrap coaster. Do not skip this step! Natural variations in slate’s density and composition mean that one batch may engrave differently than another. A test grid allows you to engrave a series of small squares on a single piece of slate, with each square using a slightly different combination of power and speed. Your laser software (like LightBurn) likely has a built-in feature to generate this grid automatically.
When you run the test, you will see a range of results. Some squares will be faint and grey (too fast/not enough power). Others might look melted or have excessive chipping (too slow/too much power). You are looking for the “sweet spot” – the square that displays the brightest, most consistent white color with the sharpest edges. Once you find that perfect combination, save it in your software’s material library. This small investment of time and one coaster will save you from ruining many others and is the hallmark of a skilled laser operator.
Design and Engraving Process
With a prepared coaster and a set of tested laser settings, you’ve reached the most exciting part: bringing your design to life. This is where your creativity results in stunning custom slate coasters. The process involves choosing an appropriate design, setting it up in your software, and then physically aligning it on the coaster for a perfect engraving.
Design Considerations for Slate
Slate is a high-contrast medium, which is both a limitation and a strength. Unlike wood, which can produce various shades of brown, slate engraving creates a stark contrast between the dark, untouched surface and the bright, light-gray engraved areas. This means that designs with fine gradients, subtle shadows, or complex color variations will not translate well. The key to a successful slate design is boldness.
- High-Contrast Artwork: Simple black-and-white images, logos, and text work best. The laser software will interpret black as the area to engrave and white as the area to ignore.
- Bold Lines and Text: Thin, delicate lines or very small text can get lost or appear faint. Opt for fonts with a decent weight and designs with clear, solid shapes.
- Design Ideas: The possibilities are endless. For truly personalized slate coasters, consider monogrammed initials, family names, important dates, or even a child’s drawing. For more general use, intricate Celtic knots, geometric patterns, or nature silhouettes look fantastic. You can create your own designs or find a vast library of pre-made digital files (like SVGs or PNGs) online that are optimized for laser engraving.
Setting Up the Job in Your Software
Whether you’re using LightBurn, LaserGRBL, or another program, the setup process is similar. First, import your chosen design file onto your virtual workspace. Size the design appropriately for your coaster, typically leaving a small margin around the edge. Select your artwork and assign it to a layer with the mode set to “Fill,” which tells the laser to engrave the solid areas of the design. Now, apply the optimal power, speed, and DPI settings that you determined from your materials test grid in the previous chapter. If you are engraving a photograph, you will need to use an image mode like “Jarvis” or “Stucki” dithering, which converts grayscale into a pattern of dots the laser can engrave. For bold graphics, a simple “Threshold” mode is perfect.
Focusing and Framing for Precision
At the laser machine, place your clean, prepared coaster onto the workbed. The next step is absolutely critical: focusing the laser. An out-of-focus laser beam is wider and less concentrated, resulting in a weak, blurry engraving. Every machine has a specific method for focusing, often involving a small acrylic gauge or a built-in sensor. Follow your manufacturer’s instructions precisely to set the correct distance between the laser lens and the surface of the slate.
Once focused, you must align your design with the coaster. The most reliable way to do this is by using the “Frame” function in your software. This feature commands the laser head (often using a low-power red dot pointer) to trace the outer perimeter of your design. Watch the red dot and carefully adjust the physical position of your coaster until the traced frame is perfectly centered. For repeated jobs, creating a simple corner jig out of cardboard or wood can save you a lot of time. Once you are satisfied with the alignment, close the laser lid, turn on your ventilation system, and you are ready to press start.
Finishing and Sealing Your Engraved Coasters
The laser has finished its work, but your project isn’t quite complete. The final steps of cleaning and sealing are what transform a good engraving into a professional, finished product. This stage is not just about aesthetics; it enhances the visual appeal and ensures your coasters are durable enough for everyday use, protecting them from spills and condensation. Rushing this final phase can undermine all the careful work you’ve done up to this point.
Post-Engraving Cleanup
Once the engraving cycle is complete and your ventilation system has cleared the air, carefully remove your coaster from the laser bed. You will notice a fine layer of light-colored dust, which is the pulverized slate created by the laser. How you clean this up depends on whether you used a mask.
If you applied masking tape as recommended in the preparation chapter, the cleanup is incredibly simple. Just find an edge of the tape and peel it back slowly. The tape will lift away almost all the dust and residue with it, revealing a perfectly clean surface and an exceptionally crisp design underneath. This is the cleanest and most efficient method.
If you engraved on bare slate, a bit more manual cleaning is required.
- First, use a soft-bristled brush (an old, clean toothbrush works perfectly) to gently sweep away all the loose dust from within the engraved areas.
- Next, take a clean, lint-free microfiber cloth lightly dampened with either water or isopropyl alcohol and wipe down the entire coaster. Isopropyl alcohol is often preferred as it evaporates quickly without leaving streaks and is very effective at lifting any remaining fine dust particles.
- Wipe gently but thoroughly to ensure the surface is completely free of debris before moving on to sealing.
The Magic of Sealing: Contrast and Protection
With the coaster clean and dry, your engraving will look good, but the raw slate itself might appear a bit dull, almost chalky. Sealing is the transformative step that brings out the deep, rich, natural color of the slate and makes the engraved design “pop” with brilliant contrast. Furthermore, it adds a crucial layer of protection against moisture and stains from drink condensation, making the coaster truly functional and long-lasting. This final touch is what truly elevates any laser engraving slate coasters project from a hobbyist piece to a retail-quality item.
Choosing the Right Sealant
You have two primary options for sealing, each offering a different finish and level of protection. Your choice will depend on the final look you desire.
- Food-Safe Mineral Oil: This is a very popular choice for its stunning visual effect and simplicity. Wiping a thin layer of mineral oil over the slate will instantly darken it to a deep, rich black or charcoal gray. This dramatic darkening of the background makes the light-gray engraved artwork stand out with incredible contrast. To apply, simply put a small amount of oil on a soft cloth, wipe it evenly across the entire coaster surface, let it soak in for ten minutes, and then use a clean, dry cloth to buff off any excess. The result is a beautiful, natural-looking satin finish that feels great to the touch. As a bonus, mineral oil is completely food-safe.
- Clear Acrylic Spray Sealer: For maximum durability and water resistance, an acrylic spray sealer is an excellent choice. These are available in various finishes, including matte, satin, and gloss. A matte finish is often preferred as it preserves the natural, rustic look of the slate without adding an artificial shine. To apply, work in a well-ventilated area. Shake the can well and spray a light, even coat from about 10-12 inches away. Let it dry completely (as per the can’s instructions) before applying a second coat if needed. This method creates a hard, protective shell over the coaster, making it very resilient.
As a final professional detail, consider adding small self-adhesive cork or felt feet to the bottom of each coaster. This small addition prevents the slate from scratching furniture and gives your custom coasters a truly finished feel.
Conclusions
You now have the knowledge to create stunning custom slate coasters. By following these steps and experimenting with designs, you can produce unique and durable items. Don’t be afraid to test different settings and finishing techniques to find what works best for your machine and materials. Start your own slate coaster engraving project today and see the amazing results for yourself.
Frequently Asked Questions
Q: What is the most critical step before engraving slate?
A: Preparation. Thoroughly cleaning the slate coaster with isopropyl alcohol to remove dust and oils is the most crucial step. This ensures the laser makes clean, direct contact with the stone for a crisp and even engraving.
Q: Do I really need to use masking tape on slate coasters?
A: While not always mandatory, masking is highly recommended, especially for intricate designs. It prevents the fine slate dust created during engraving from settling around your design, resulting in a much cleaner and sharper final product with minimal cleanup.
Q: What’s a good starting point for laser settings on a 10W diode laser?
A: A great starting point for a 10W diode laser is a speed of 3000-4000 mm/min, power at 85-95%, and a resolution of around 300 DPI. However, always run a materials test grid to fine-tune these settings for your specific slate.
Q: How can I make the engraved design on my slate coaster “pop”?
A: Sealing the coaster after cleaning is the key. Applying a thin coat of food-safe mineral oil will dramatically darken the slate to a rich black or charcoal gray, making the light-colored engraving stand out with brilliant contrast.

Subscribe to Our Newsletter
And enjoy FREE Download Files, SALE Alerts and Inspiring TIPS
Pricing Your Laser Engraving Work for Profitability
A Comprehensive Guide to Pricing Your Laser Engraving Services
A Comprehensive Guide on How to Price Laser Engraving Services
Charcuterie Board Engraving File – Wine & Grapes 3D Illusion…
$4.00Original price was: $4.00.$3.00Current price is: $3.00.(25% off)
Bee and Honey Jar Charcuterie Board Engraving File | PNG Download #007…
$4.00Original price was: $4.00.$3.20Current price is: $3.20.(20% off)
Valentine Love Captions: 6 Charcuterie Board Engraving Files…
$8.00Original price was: $8.00.$5.60Current price is: $5.60.(30% off)
American Eagle Flag Laser Engraving File for Charcuterie & Cutting…
$4.00Original price was: $4.00.$2.80Current price is: $2.80.(30% off)