

 Français
 Deutsch
 Español
 Italiano
A Beginner’s Guide to Creating 3D Illusion Laser Engravings
Feb
Estimated Reading Time: 8 minutes
Key Takeaways
- The Illusion Explained: 3D illusion engraving is not true 3D carving. It’s a 2D technique where precisely engraved lines on clear cast acrylic scatter light from an LED base, tricking your brain into perceiving a three-dimensional object.
- Materials Are Not Optional: Success hinges on using the right materials. You must use cast acrylic (not extruded), a laser engraver (CO2 is preferred), a correctly sized LED lamp base, and specialized vector design files.
- Vector Files are a Must: You cannot use standard images like JPGs or PNGs. The effect relies on high-quality vector files (SVG, AI, DXF) that contain specific line patterns designed to create the illusion of depth and shading.
- Precision is Key: The process requires careful setup, from scaling the design file’s tab to perfectly match the lamp base slot to dialing in the correct laser settings for power, speed, and line interval to achieve a clean, bright engraving.
- Safety First: Working with lasers and acrylic requires non-negotiable safety measures, including safety glasses rated for your laser’s wavelength and proper ventilation to exhaust harmful fumes.
Table of Contents
- Understanding the Magic of 3D Illusion Engraving
- Crafting Depth with Lines and Shadows
- The Blueprint for Illusion: Specialized Vector Files
- Essential Tools and Materials for Your Project
- Step-by-Step Guide to Engraving Your 3D Illusion Lamp
- Conclusions
- Frequently Asked Questions
Dive into the fascinating world of 3D illusion laser engraving. This article provides a comprehensive guide to creating captivating optical illusions on acrylic. We will cover everything from the basic principles to the step-by-step process of making your own illuminated 3D lamp, a project that is sure to impress and open up new creative possibilities for your craft.
Interested in more 3D illusion? Check out our 3D illusion laser file designs: Click here!
Understanding the Magic of 3D Illusion Engraving
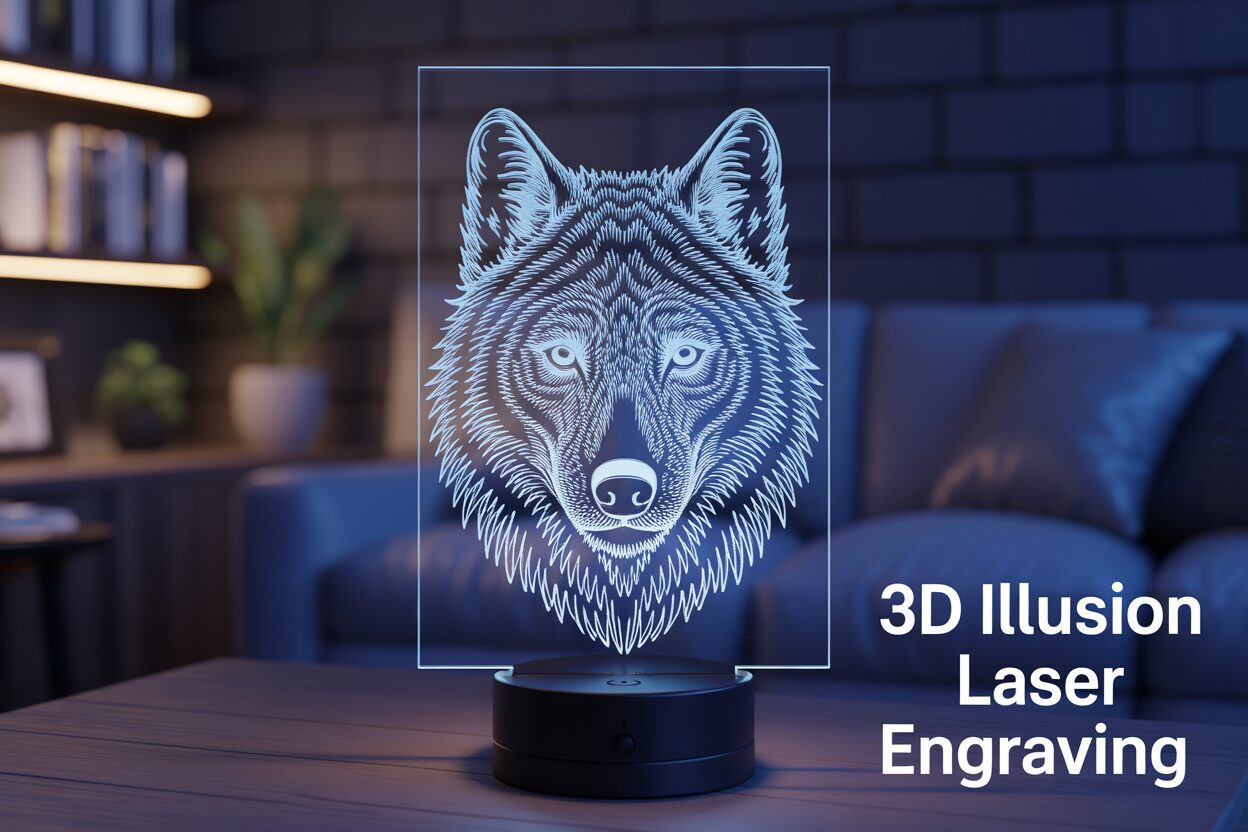
At its core, 3D illusion laser engraving is a fascinating technique that leverages science and art to create a captivating visual trick. It is not true three-dimensional engraving, where material is carved out to create physical depth. Instead, it involves etching a meticulously designed two-dimensional pattern onto a flat, transparent sheet of material, most commonly cast acrylic. When this engraved sheet is placed in a lighted base, typically with LEDs, the flat 2D lines suddenly appear to form a floating, luminous 3D object. The magic isn’t in the material itself, but in the precise interaction between the engraved lines, the properties of the acrylic, and the light that passes through it. The result is a stunning hologram-like effect where an object seems to have volume and presence, all originating from a completely flat surface.
The scientific principle that makes this illusion possible is known as Total Internal Reflection (TIR), combined with light scattering. When light enters the edge of the acrylic sheet from the LED base, it travels up through the material. Because acrylic is highly transparent, the light beams bounce internally off the front and back surfaces, remaining trapped within the sheet as long as they strike the surface at a shallow angle. This is TIR in action. The sheet itself remains clear and mostly invisible. However, the laser engraver changes everything. Where the laser beam touches the acrylic, it vaporizes a tiny amount of the material, creating a frosted, rough line. When the trapped light hits one of these engraved lines, the roughened surface disrupts the smooth reflection. Instead of reflecting internally, the light scatters in multiple directions, with a significant portion escaping the surface and traveling directly to your eyes. Consequently, only the lines etched by the laser light up, while the rest of the acrylic stays dark.
Crafting Depth with Lines and Shadows
Your brain is the final component that brings the illusion to life. Our minds are exceptionally skilled at interpreting two-dimensional cues like shading, contour, and perspective to perceive a three-dimensional world. The designer of a 3D illusion file uses this to their advantage. The engraved pattern is not a simple outline; it is a complex web of lines that mimic how light and shadow would fall on a real 3D object. Densely packed lines are engraved in areas that would be in shadow or curving away from the viewer. This density causes more light to scatter from that area, making it appear brighter and more solid. Conversely, areas that would be highly illuminated on a real object have fewer, more widely spaced lines, or no lines at all. Your brain processes this variance in light intensity as depth, contour, and form. The bright, concentrated lines are interpreted as edges and surfaces, while the dark, un-engraved spaces are perceived as empty air, effectively tricking your brain into constructing a 3D model from a 2D light source.
The Blueprint for Illusion: Specialized Vector Files
This is why you cannot simply use any image for this process. The success of the effect is entirely dependent on using high-quality 3d illusion laser files. These are almost always vector files (such as SVG, AI, or DXF) rather than raster images (like JPG or PNG). A vector file is a mathematical blueprint made of paths, curves, and points. The laser engraver follows these paths with extreme precision, creating clean, continuous lines. This precision is non-negotiable for achieving the perfect 3d optical illusion laser effect. Each line’s placement and thickness is intentionally designed to contribute to the overall perception of depth. A raster image, which is made of pixels, would result in a dotted or jagged engraving that scatters light inconsistently, destroying the clean lines necessary to fool the eye. The vector file is the artist’s deliberate instruction set, ensuring every single line plays its part in building the final, breathtaking illusion.
Essential Tools and Materials for Your Project
With the theory behind the illusion understood, the next step is to gather the right equipment. A successful 3D laser engraving acrylic project hinges on using the correct tools and materials from the start. Each component plays a critical role, and substituting for lower-quality alternatives will almost certainly lead to disappointing results. Below is a comprehensive list of everything you’ll need to turn a digital design into a stunning physical lamp.
- A Laser Engraver: This is the heart of your operation. While both CO2 and diode lasers can engrave acrylic, CO2 lasers are generally superior for this task, producing cleaner and faster results. If using a diode laser, ensure it is a blue light model (typically around the 455nm wavelength), as infrared lasers will pass right through clear acrylic without marking it. Key features to look for in any machine are precise control over power and speed, a high resolution (measured in DPI or lines per inch) for fine detail, and an effective air assist. Air assist is crucial as it blows a steady stream of air at the engraving point, preventing the acrylic from melting back on itself and ensuring a clean, frosted line.
- Cast Acrylic Sheets: This is non-negotiable. You must use cast acrylic, not extruded acrylic. While they may look identical, they are manufactured differently and react to the laser in opposite ways. Cast acrylic is created by pouring liquid monomer into a mold, resulting in a material that fractures and chips on a microscopic level when engraved. This creates the perfect frosty white finish that catches and scatters light beautifully. Extruded acrylic, which is pushed through a die, tends to melt rather than vaporize, resulting in a clear, gummy, and useless engraving for this purpose. A thickness of 3mm or 4mm is standard, as it fits most commercially available lamp bases.
- An LED Lamp Base: This is the component that brings your engraving to life. These bases contain a strip of LEDs that shine light upwards through a narrow slot. When selecting a base, the most important factor is ensuring the slot width perfectly matches the thickness of your acrylic sheet. A loose fit will cause the lamp to wobble, while a tight fit might not work at all. Bases come in various styles, from simple single-color USB-powered units to multi-color RGB models with remote controls and battery options.
- Digital Design Files: You need a specific type of vector file purpose-built for this illusion. Generic images or clipart will not work. These specialized led illusion lamp design files are composed of carefully spaced lines that create the illusion of shading and depth when lit. You can find vast libraries of these files for purchase on marketplaces like Etsy or through design-focused websites. Look for files in SVG, AI, DXF, or LBRN formats.
- Software: You will need software to both prepare your design and control your laser. For preparing the 3d laser engraving files, a vector graphics program like Adobe Illustrator, CorelDRAW, or the free alternative Inkscape is ideal. These allow you to resize the design, add text, or make minor adjustments. To control the laser itself, a dedicated program like LightBurn is the industry standard for hobbyists. It allows you to import your vector file and assign the critical speed, power, and line interval settings before sending the job to the engraver.
- Safety Equipment: Safety is paramount when working with lasers. At a minimum, you must have a pair of safety glasses rated for the specific wavelength of your laser. The glasses that come with many hobbyist lasers are often insufficient; invest in a quality pair from a reputable supplier. Furthermore, engraving acrylic releases fumes that are harmful to inhale, so proper ventilation with an exhaust fan that vents to the outside is essential. Keeping a small fire extinguisher nearby is also a wise precaution for any laser work.
Step-by-Step Guide to Engraving Your 3D Illusion Lamp
Now that you have your tools and materials ready, it’s time to bring your design to life. This step-by-step guide will walk you through the entire process, from loading the file into your software to the final assembly of your lamp. Precision and patience are key, so follow each step carefully for the best results.
Step 1: Preparing Your Design File
Begin by opening your laser control software, such as LightBurn. Import your chosen 3d illusion laser file (e.g., an SVG or DXF file). The first and most critical adjustment is scaling. Your design will have a small rectangular tab at the bottom, which is designed to fit into the LED base slot. You must measure the length and thickness of your LED base’s slot with calipers and scale the design so that the tab matches these dimensions perfectly. Be sure to lock the aspect ratio of the design while scaling the tab’s width to ensure the main image doesn’t get distorted. Once scaled, position the design on your virtual workspace, ensuring it fits within the boundaries of your acrylic sheet. Your file will typically contain two elements: the intricate lines for engraving and a simple outline for cutting. Assign the engraving lines to one layer (e.g., black) and the cutting outline to another (e.g., red). This allows you to apply different settings to each part of the job.
Step 2: Setting Up the Laser and Material
Prepare your sheet of cast acrylic by peeling the protective paper or plastic film from the top side only. Leaving the backing on the bottom surface protects it from scratches and flashback from the laser bed during the cut. Place the sheet into your laser engraver and secure it if necessary. Next, you must perfectly focus the laser onto the surface of the acrylic. An out-of-focus laser will produce thick, blurry lines that ruin the illusion. Use your machine’s specific focusing tool or procedure to set the correct focal height. Now, input the settings for the 3d laser engraving acrylic process. These will vary based on your machine’s wattage, but a good starting point for the engraving layer on a 40-60W CO2 laser is:
- Power: 12-18%
- Speed: 300-500 mm/s
- Line Interval (or DPI): Around 0.08mm (approx. 318 DPI). This is a crucial setting; a smaller interval packs the lines closer, making the lit areas brighter.
For the cutting layer, your settings will be drastically different:
- Power: 50-70%
- Speed: 10-20 mm/s
Ensure your software is set to process the engraving layer first, followed by the cutting layer. Turn on your air assist and ventilation system.
Step 3: Engraving and Cutting
With all settings confirmed, close the lid of your laser engraver. Do a final check that your safety glasses are on. Start the engraving job. The machine will first move quickly back and forth, etching the fine lines of the illusion. Do not open the lid while the laser is active. Once the engraving is complete, the machine will automatically switch to the cutting settings and slowly trace the outline to free the lamp from the sheet.
Step 4: Cleaning and Final Assembly
After the job is finished, wait a minute for any fumes to be cleared by the exhaust fan and for the acrylic to cool slightly before handling it. Carefully remove the finished piece from the laser bed. It will be covered in fine acrylic dust. The best way to clean it is with a soft microfiber cloth and some isopropyl alcohol. Gently wipe the surface to remove all residue and fingerprints. Be careful not to press too hard or use an abrasive cloth, as you can scratch the acrylic. Once it is perfectly clean, peel off the remaining protective film from the back. Finally, take your pristine acrylic piece and carefully insert its tab into the slot of the LED light base. Power it on, and watch as your flat, two-dimensional engraving transforms into a brilliant three-dimensional illusion.
Conclusions
You now have the knowledge to create your own stunning 3D illusion laser engraving projects. By understanding the principles of light and shadow in design and following the correct steps, you can produce incredible pieces. Don’t hesitate to experiment with different 3d illusion laser files and settings to craft unique and personalized lamps for yourself or to sell.
Frequently Asked Questions
Q: Can I use any picture for a 3D illusion lamp?
A: No, you cannot use a standard image like a JPG or PNG. The illusion requires a specialized vector file (like SVG, AI, or DXF) where lines are intentionally designed to mimic shading and create the perception of depth when lit. Raster images lack the precise path information the laser needs to create clean, effective lines.
Q: Why must I use cast acrylic instead of extruded acrylic?
A: Cast acrylic is essential because of how it reacts to the laser. It vaporizes and creates a frosted, microscopic fracture that scatters light perfectly. Extruded acrylic melts and becomes gummy, resulting in a clear engraving that does not catch the light and fails to create the 3D illusion.
Q: What is the most important setting on the laser engraver for this project?
A: While power and speed are important, the Line Interval (or DPI) is one of the most critical settings for the engraving layer. This setting controls how closely the engraved lines are packed together. A smaller interval creates a denser, brighter area, which is key to simulating shadows and contours that form the 3D effect.
Q: Can I use a diode laser for engraving on clear acrylic?
A: It depends on the diode laser. Standard infrared diode lasers will pass through clear acrylic without marking it. However, a blue light diode laser (typically around the 455nm wavelength) can successfully engrave on acrylic. That said, CO2 lasers are generally recommended for this task as they produce a cleaner and more consistent frosted finish.

Subscribe to Our Newsletter
And enjoy FREE Download Files, SALE Alerts and Inspiring TIPS
A Beginner’s Guide to Crafting a Custom Laser Cut Box
A Step-by-Step Guide to Creating a Laser Cut Box
A Guide to Designing and Making a Laser Cut Box
Charcuterie Board Engraving File – Wine & Grapes 3D Illusion…
$4.00Original price was: $4.00.$3.00Current price is: $3.00.(25% off)
Bee and Honey Jar Charcuterie Board Engraving File | PNG Download #007…
$4.00Original price was: $4.00.$3.20Current price is: $3.20.(20% off)
Valentine Love Captions: 6 Charcuterie Board Engraving Files…
$8.00Original price was: $8.00.$5.60Current price is: $5.60.(30% off)
American Eagle Flag Laser Engraving File for Charcuterie & Cutting…
$4.00Original price was: $4.00.$2.80Current price is: $2.80.(30% off)