

 Français
 Deutsch
 Español
 Italiano
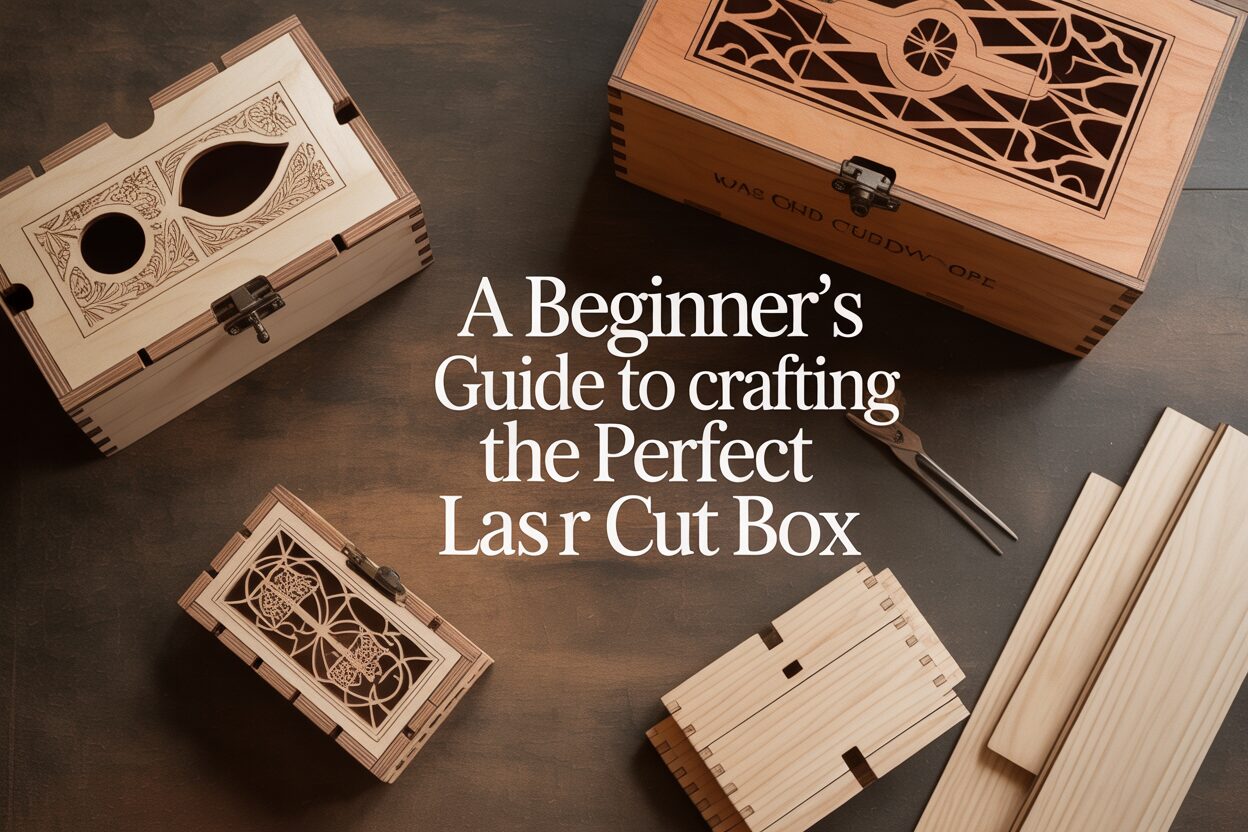
A Beginner’s Guide to Crafting the Perfect Laser Cut Box
Feb
Estimated reading time: 8 minutes
Key Takeaways
- Design and Material are Crucial: The success of your laser cut box project hinges on choosing a high-quality vector file (like an SVG) and the right material, with Baltic Birch plywood being the top recommendation for beginners.
- Master Your Settings: Achieving clean, precise cuts requires balancing laser power, speed, and focus. Always perform a test cut on a scrap piece of your material to calibrate these settings before running the full project.
- Assembly Best Practices: For a strong and square box, always perform a “dry fit” before gluing. Use wood glue sparingly, wipe away any excess immediately, and use painter’s tape as a simple and effective clamping method.
- Finishing Elevates the Final Product: Sanding the individual pieces before assembly is the key to a professional, smooth finish. A clear coat, stain, or paint will protect the wood and enhance its appearance.
Table of Contents
- Finding the Perfect Design and Materials
- Mastering Your Laser Cutter for Clean Cuts
- Assembly and Finishing for a Professional Look
- Conclusions
- Frequently Asked Questions
Dive into the world of laser cutting with one of its most popular applications: creating custom wooden boxes. A laser cut box is a versatile project, perfect for gifts, storage, or product packaging. This guide will walk you through the entire process, empowering you to turn a simple sheet of wood into a beautifully crafted and functional piece of art.
Interested in more Boxes? Check out our Boxes laser file designs: Click here!
Finding the Perfect Design and Materials
Your journey to a beautiful, custom-made box begins long before the laser fires up. It starts with two fundamental choices: the digital blueprint and the physical material. Getting these right is the most critical step toward a successful project, as even the most advanced laser cutter cannot fix a flawed design or compensate for the wrong type of wood.
Selecting a High-Quality Laser Cut File
The digital design, or laser cut file, is the DNA of your project. A well-crafted file ensures that every piece fits together perfectly, while a poor one leads to frustration, wasted material, and a wobbly final product. These files are vector-based, meaning they use mathematical equations to create lines and shapes that the laser can follow with precision. The most common formats you will encounter are:
- SVG (Scalable Vector Graphics): The most versatile and widely supported format. It’s compatible with almost all laser cutter software, including LightBurn and the Glowforge user interface, making it an excellent choice for beginners.
- DXF (Drawing Exchange Format): An older format originating from CAD software. It is highly precise but can sometimes have issues with scaling or open paths if not exported correctly.
- AI (Adobe Illustrator): The native format for Adobe’s design software. It’s perfect if you plan to modify the design in Illustrator but is less universal than SVG.
You can find these files in many places, from sprawling online marketplaces like Etsy and Creative Fabrica, which offer thousands of designs, to the personal online stores of individual creators. For a truly custom box, you can use free online box generator tools like MakerCase or Boxes.py to create a simple design tailored to your exact dimensions.
Decoding a Good Wooden Box Design
When evaluating a design, look beyond the aesthetics and pay close attention to its construction. The joinery is paramount. Most laser cut boxes use finger joints (also called box joints), where interlocking tabs create a strong, self-aligning corner. A good designer accounts for the laser’s ‘kerf’—the tiny amount of material vaporized by the beam—to ensure these joints are snug. Some more advanced designs might use classic mortise and tenon joints for superior strength. Also, consider the complexity. For your first project, choose a simple six-sided box with a basic lid. Avoid intricate living hinges or complex assembly mechanisms until you have more experience. Finally, check for assembly instructions. The best files come with a PDF guide or a diagram showing how the numbered parts fit together, saving you from a frustrating puzzle later on.
Choosing the Right Wood
The material you choose defines the box’s look, feel, and durability. For beginners, the best options offer consistency and predictability.
- Baltic Birch Plywood: This is the gold standard for laser cutting. It’s strong, stable, and has a void-free core, which means it cuts cleanly without hitting air pockets. It has an attractive, light-colored grain and is perfect for staining or a natural finish. Most designs you find online are optimized for the common thicknesses of Baltic Birch, such as 3mm (1/8 inch).
- MDF (Medium-Density Fiberboard): If you plan to paint your box, MDF is an excellent choice. It’s an engineered wood product with a perfectly smooth, uniform surface that takes paint beautifully. However, its edges are less attractive when cut, and it creates more dust.
- Solid Hardwoods: For a premium, heirloom-quality box, nothing beats solid wood. Woods like cherry, walnut, or maple offer rich colors and beautiful grain patterns. They engrave exceptionally well but can be more challenging to cut consistently due to variations in density.
Material thickness is non-negotiable. Most laser cut files are designed for a specific thickness. If a box is designed for 3mm wood, using 3.2mm wood will make the joints impossible to assemble without force. Always use digital calipers to measure your material before cutting, as its actual thickness often varies slightly from its stated thickness. A good design file will often include a small test piece with a few slots so you can check the fit with your specific material before committing to the full cut.
Mastering Your Laser Cutter for Clean Cuts
With your design chosen and material in hand, it is time to interface with the laser cutter itself. This is where your digital concept becomes a physical reality. Achieving clean, precise cuts is a balancing act between three key settings: power, speed, and focus. Mastering them is the difference between a box that snaps together perfectly and a pile of charred, ill-fitting pieces.
Your first step is to load the laser cut file into your machine’s control software. Here, you will assign settings to the different lines in your design. Typically, red lines are designated for cutting and blue or black lines for engraving. The crucial variables you will control for your cut lines are:
- Power: This dictates the intensity of the laser beam, expressed as a percentage. Higher power is needed for denser or thicker materials.
- Speed: This is how fast the laser head moves. Slower speeds allow the laser to dwell on the material longer, resulting in a deeper cut.
- Focus: The laser beam is focused to a tiny point, much like a magnifying glass in the sun. For cutting, this focal point must be precisely on the surface of your material to achieve the thinnest, most efficient cut.
These settings are interconnected. A slow speed with high power will result in excessive burning and a wider cut line (kerf). A high speed with low power will fail to cut through the material. For 3mm Baltic Birch plywood, a common starting point might be 60-70% power at a speed of 15-20 mm/s, but this varies significantly between machines. This is why you must always perform a test cut. Before running your full project, take a small scrap of the exact same material, and cut a small shape, like a one-inch square. Did it cut cleanly through? Did the piece fall out easily? If not, slightly decrease the speed or increase the power and try again. Adjust until you get a perfect cut with minimal charring on the edges.
The Innovative Living Hinge
One of the most remarkable techniques in laser cutting is the living hinge. This is a carefully designed pattern of cuts that allows a rigid material like wood or acrylic to bend and flex as if it were a solid, curved piece. The pattern consists of long, parallel cuts with small gaps, creating a series of “springs” that distribute the bending stress across the surface. This technique is perfect for creating boxes with seamless rounded corners or unique roll-top lids. While powerful, living hinges are delicate. The settings must be perfectly calibrated, as too much power can sever the tiny connections that give the hinge its structure.
Troubleshooting Common Cutting Issues
Even with careful preparation, you may encounter problems. Here is how to solve the most common ones:
- Incomplete Cuts: If the laser doesn’t cut all the way through, your material may be warped and moving out of the laser’s focal plane. Use honeycomb pins or strong magnets to hold it perfectly flat. If it’s flat, your speed is likely too high or your power too low.
- Excessive Burning (Charring): This is usually caused by having the power too high or the speed too low. It can also indicate a problem with your machine’s air assist, a feature that blows a jet of air at the cutting point to clear away smoke and prevent flare-ups. Ensure your air assist is on and functioning properly.
Assembly and Finishing for a Professional Look
The laser has cooled, and you now have a neat stack of precisely cut wooden pieces. This is where the magic truly happens, transforming flat components into a three-dimensional object. The assembly and finishing stages are what elevate your project from a simple kit to a professional, handcrafted piece.
The first rule of assembly is to always perform a “dry fit.” Before a single drop of glue is applied, connect all the pieces to ensure they fit together as intended. This allows you to understand the assembly order and identify any tight joints that might need a light touch with sandpaper. Once you’re confident, it’s time for glue. For a detailed example, let’s assemble a classic wine box laser cut from 3mm plywood.
- Lay out your pieces: the bottom, two long sides, two short sides, and the sliding lid.
- Take one long side and one short side. Apply a very thin, even bead of standard wood glue to the finger joints of one piece.
- Press the two pieces together, ensuring they form a perfect 90-degree angle. A small framing square can be invaluable here.
- Immediately wipe away any “squeeze-out” (excess glue) on the exterior with a damp cloth. If you don’t, the dried glue will prevent stain or finish from being absorbed evenly, leaving a blotchy mark. For interior corners, a cotton swab works well.
- Repeat this process, adding the other two sides to form the box’s frame.
- To clamp the box while it dries, stretch pieces of blue painter’s tape tightly across the corners. For small boxes, this provides more than enough pressure and ensures everything stays square.
- Finally, apply glue to the bottom edge of the frame and press the bottom piece into place. Let the entire assembly dry for several hours, or as directed by the glue manufacturer.
Finishing for Durability and Beauty
A great finish begins with great prep work. Sanding is not optional if you want a smooth, professional feel. The best time to sand is before you assemble. It is infinitely easier to sand flat, individual pieces than to try and reach into the corners of a completed box. Use a fine-grit sandpaper, around 220-grit, to remove any slight charring from the laser and to smooth the wood’s surface. Pay special attention to the flat faces of the box.
Once sanded and assembled, you have several finishing options:
- Stain: To enhance the natural grain of the wood. For plywood like Baltic Birch, it’s wise to first apply a pre-stain wood conditioner. This prevents the stain from looking blotchy by ensuring it absorbs evenly.
- Paint: For a bold, opaque color. Always start with a coat of primer, especially on MDF, to seal the material and provide a uniform base for your paint.
- Clear Coat: To protect the wood while letting its natural beauty show. A water-based polyurethane is a great choice for beginners; it has low odor, dries quickly, and won’t yellow over time. For a deeper, richer look, an oil-based finish or Danish oil can be used. Apply several thin coats, sanding lightly between each one for the smoothest possible result.
Finally, don’t be afraid to personalize your laser cut box further. Adding small metal hinges and a latch can transform a simple lift-off lid into a functional treasure chest. A custom engraving on the lid—a name, a date, or a meaningful design—turns a well-crafted box into a cherished, one-of-a-kind gift.
Conclusions
You now have the foundational knowledge to create stunning laser-cut boxes. By selecting the right wooden box design and mastering your laser cutter’s settings, you can tackle a wide array of projects. Don’t be afraid to experiment with different materials and finishing techniques to make each laser cut box uniquely yours. Start creating today and see what you can build!
Frequently Asked Questions
Q: What is the best wood for a beginner’s laser cut box project?
A: Baltic Birch plywood is the gold standard for beginners. It’s stable, has a void-free core for clean cuts, and its light grain is attractive with a natural finish or stain. Most online designs are specifically created for its common thicknesses, like 3mm (1/8 inch).
Q: Why are my laser cuts not going all the way through the wood?
A: This is usually due to one of three issues. First, your material might be warped, causing parts of it to be out of the laser’s focal plane; use magnets or pins to hold it flat. Second, your laser’s speed may be set too high. Third, the power setting might be too low for the material’s thickness and density.
Q: Should I sand my box before or after assembling it?
A: You should always sand the individual pieces before assembly. It is much easier to get a smooth, even surface on flat pieces than it is to reach into the tight corners and edges of a fully assembled box.
Q: What is a “living hinge” in laser cutting?
A: A living hinge is a design pattern of precise, parallel cuts that allows a rigid material like wood to bend and flex. It’s an advanced technique used to create seamless rounded corners or roll-top lids on laser cut boxes without needing separate curved pieces.

Subscribe to Our Newsletter
And enjoy FREE Download Files, SALE Alerts and Inspiring TIPS
Pricing Your Laser Engraving Work for Profitability
A Comprehensive Guide to Pricing Your Laser Engraving Services
A Comprehensive Guide on How to Price Laser Engraving Services
Charcuterie Board Engraving File – Wine & Grapes 3D Illusion…
$4.00Original price was: $4.00.$3.00Current price is: $3.00.(25% off)
Bee and Honey Jar Charcuterie Board Engraving File | PNG Download #007…
$4.00Original price was: $4.00.$3.20Current price is: $3.20.(20% off)
Valentine Love Captions: 6 Charcuterie Board Engraving Files…
$8.00Original price was: $8.00.$5.60Current price is: $5.60.(30% off)
American Eagle Flag Laser Engraving File for Charcuterie & Cutting…
$4.00Original price was: $4.00.$2.80Current price is: $2.80.(30% off)