

 Français
 Deutsch
 Español
 Italiano
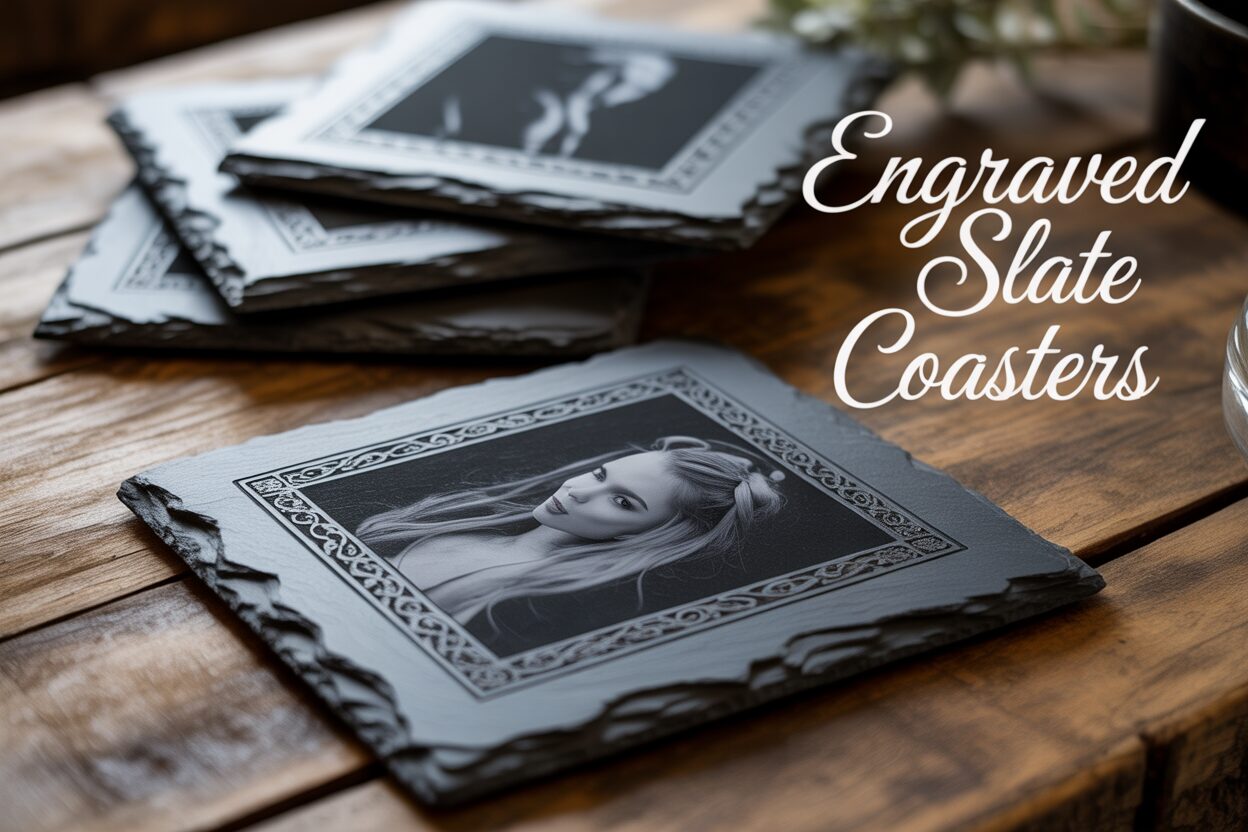
A Beginner’s Guide to Crafting Engraved Slate Coasters
Jan
Estimated reading time: 7 minutes
Key Takeaways
- Preparation is Paramount: Always clean slate coasters with isopropyl alcohol to remove dust and oils. This simple step prevents blotchy results and ensures a crisp, clean engraving.
- Settings are About Finesse, Not Force: Use high speed and relatively low power on your laser. The goal is to fracture the surface for a bright white mark, not to burn it, which can cause flaking or discoloration.
- Design in Reverse: For a light engraving on dark slate, the areas you want to engrave must be black in your digital design file. High-contrast, bold designs work best.
- Test, Don’t Guess: Always run a power/speed test grid on a spare coaster. Slate varies, and a test grid is the only way to find the optimal settings for your specific material and laser.
- Finish for a Professional Look: After cleaning, apply mineral oil or a food-safe sealant. This final step dramatically enhances contrast by darkening the slate, making your engraved design pop.
Table of Contents
- Choosing and Preparing Your Slate Coasters
- Mastering Laser Settings for Slate
- Engraving and Finishing Your Custom Coasters
- Conclusions
- Frequently Asked Questions
Discover the elegance of natural slate as a medium for laser engraving. This guide will walk you through the entire process of creating stunning engraved slate coasters, from selecting the right materials to dialing in your laser settings. Transform a simple piece of stone into a personalized work of art perfect for any home or occasion.
Choosing and Preparing Your Slate Coasters
The foundation of a stunning engraved coaster is the slate itself. While it may seem like a simple piece of rock, the quality and characteristics of your coaster blanks will directly impact your final result. When sourcing your slate, pay close attention to two primary factors: uniformity in thickness and consistency in color.
Interested in more Coaster? Check out our Coaster laser file designs: Click here!
Uniform thickness is arguably the most critical element for laser engraving. Your laser has a very precise focal point, and even a millimeter of difference in height between coasters can throw off the focus, leading to blurry, inconsistent engravings. When you set up a job for multiple coasters, you want the laser to be perfectly focused on each one without constant adjustments. Look for suppliers who specify a consistent thickness, and when you receive your order, it’s a good practice to measure a few with calipers to ensure they are within an acceptable tolerance.
Color consistency is important for achieving a predictable contrast. Slate naturally varies from light gray to almost black. Engraving on slate works by fracturing the surface, creating a light, whitish-gray mark. This mark will appear more prominent and striking on a darker slate. If your batch has a wide range of colors, your engravings will look different on each one, which is not ideal for a matching set.
Preparing the Slate Surface
Once you’ve selected your coasters, proper preparation is a non-negotiable step for a clean, professional engraving. Slate often arrives covered in fine dust from the cutting process, and may also have oils from handling. These contaminants can interfere with the laser beam, causing blotchy or faint results. Skipping this step is a common beginner mistake that leads to disappointing outcomes. The cleaning process is simple but essential. Follow these steps for each coaster:
- Initial Wipe-Down: Start by wiping the coaster with a dry, clean microfiber cloth to remove the bulk of the loose slate dust.
- Deep Clean: Lightly dampen a corner of your microfiber cloth with isopropyl alcohol (90% or higher is recommended). Gently wipe the entire surface of the coaster. The alcohol is excellent for cutting through any oils or grease without leaving a residue. Avoid soaking the slate; a light wipe is all that’s needed.
- Final Dry: Use a dry part of the cloth to wipe away any remaining moisture. Let the coaster air dry completely for a few minutes before placing it in your laser engraver. At this stage, inspect each coaster for any chips or significant imperfections on the engraving surface that might disrupt your design.
Preparing Your Design for Engraving
Preparing your digital file is just as important as preparing the physical slate. Because engraving on dark slate produces a light mark, you need to think in reverse. Your design file must be set up so that the areas you want to be engraved are black in the file. When you find a great slate coaster svg or create your own design, you will likely need to invert it. For example, if you have a design with black text on a white background, the laser will engrave the text, leaving it a light gray color on the dark coaster.
Simple, high-contrast designs with bold lines and clear text work best. Very thin lines or intricate, low-contrast details can get lost or appear muddy on the textured surface of the slate. When working with a slate coaster svg file in your design software (like LightBurn, Adobe Illustrator, or Inkscape), your workflow should be to import the design, ensure it is converted to a bitmap or raster image, and then invert the colors if necessary. Make the design elements you want engraved a solid black, and the background white (which the laser will ignore). This ensures the laser only fires on the parts of the design intended to be marked, giving you a crisp, clear, and beautiful result.
Mastering Laser Settings for Slate
Dialing in the correct slate engraving settings is less about power and more about finesse. Unlike wood or acrylic where you are burning or melting material away, engraving slate is a process of fracturing the surface. The goal is to create a bright, white, high-contrast mark without overheating the stone, which can cause it to flake, chip, or turn a muddy yellow color. This delicate balance is controlled by three key variables: laser power, speed, and focus. Understanding their relationship is crucial.
Power dictates the intensity of the laser beam, while speed controls how long the beam dwells on any single point. Think of them as working in opposition: a faster speed requires more power to make the same mark, and a slower speed requires less. The trick with slate is to use relatively high speed and just enough power to fracture the surface layer, creating that crisp, light-gray finish.
Finding the Sweet Spot with Power and Speed
Too much power or too slow a speed will deposit excessive energy into the slate. This “overburns” the material, often resulting in a less vibrant mark and can cause the edges of your design to become brittle and flake off. Conversely, too little power or too high a speed will fail to fracture the surface adequately, leaving you with a faint, barely visible gray mark. The perfect combination produces a clean micro-fracture that reflects light brilliantly. Each laser is different, but here are some reliable starting points for your tests:
- CO2 Lasers (40W-60W): These lasers are very efficient on slate. Begin with a very low power setting, around 12-18%, and a relatively high speed, such as 350-500 mm/s. Set your Line Interval to approximately 0.08 mm (around 318 DPI) for good coverage without overlapping lines too much.
- Diode Lasers (5W-20W Optical Power): Achieving a great mark with a diode laser is entirely possible, but the settings will differ significantly from a CO2 laser. Due to their wavelength and lower effective power, you’ll need to use a higher percentage of your available power and a slower speed. For a 10W diode laser, a good starting point for your diode laser slate engraving test is 70-85% power at a speed of 2000-4000 mm/min. Note that diode laser software often uses mm/min instead of mm/s.
Running a Test Grid to Nail Your Settings
These numbers are merely starting points. The specific mineral composition of your slate coasters can vary, meaning you must perform a test to find the optimal settings for your specific batch. The most effective way to do this is by engraving a test grid on a spare coaster or the back of one you plan to use. Most laser software has a built-in tool for creating material tests. Create a grid of small squares where each square is engraved with a different combination of power and speed. For example, you can set up a grid with power increasing from 10% to 20% along the Y-axis and speed increasing from 250 mm/s to 450 mm/s along the X-axis.
After running the test, examine the results closely. You are looking for the square that displays the brightest, most consistent white color with the sharpest edges. Run your finger over the squares; the ideal setting will feel smooth to the touch, while poor settings will feel rough and flaky. Once you find that perfect square, note the settings—that is your golden ticket for achieving consistently beautiful results on that batch of slate.
Engraving and Finishing Your Custom Coasters
With your design finalized and laser settings dialed in, you are ready to bring your custom slate coaster to life. The first step in the engraving process is precise placement and alignment. Since slate coasters can be irregular in shape and size, creating a simple jig is highly recommended, especially for producing multiple coasters. A jig can be as simple as a piece of scrap wood or cardboard with a 4×4 inch square cut out of it. Place the jig in your laser bed and secure it, then you can simply drop each coaster into the cutout, ensuring perfect, repeatable placement every time. Use your laser’s framing function (which outlines the engraving area with a low-power beam) to confirm your design is centered on the coaster. Double-check your focus height for the first coaster in the batch; maintaining a sharp focus is paramount for a crisp result.
From Vector to Photo: The Engraving Run
For vector-based designs like text, logos, or patterns from a slate coaster svg file, the process is straightforward. Once aligned and focused, you can start the engraving job. Always supervise your laser while it is running. The real art comes into play when creating photo slate coasters. Because a laser engraver essentially operates in a binary on/off state for each dot, it cannot natively reproduce the smooth gradients of a grayscale photograph. To overcome this, you must process the image using a technique called dithering. Dithering uses patterns of small dots to simulate shades of gray, fooling the eye into seeing a continuous tone. Most laser software, like LightBurn, has built-in dithering algorithms.
- Prepare the Photo: Before dithering, edit your photo in a program like Photoshop or GIMP. Increase the contrast, sharpen the details, and crop it to the coaster’s dimensions. A high-contrast image will translate much better to slate.
- Choose a Dithering Algorithm: In your laser software, you will have several dithering options. For slate, algorithms like Jarvis or Stucki often produce excellent, detailed results. Experiment on a test piece to see which one you prefer for your specific image.
Once your image is dithered, the engraving process is the same as for a vector design. The laser will meticulously create the dot pattern, slowly revealing your photograph on the stone surface.
The Final Touch: Cleaning and Sealing
After the laser has finished its work, the coaster will be covered in a fine layer of gray dust. The engraving will look good, but the final step is what elevates it to a professional-quality product. First, the coaster must be thoroughly cleaned. Take it to a sink and gently rinse it under cool running water, using a soft brush (like an old toothbrush) to lightly scrub away all the engraving residue from the crevices. Pat it dry with a soft cloth and let it air dry completely.
Now for the magic step: applying a finish. This will dramatically enhance the contrast, turning the dark gray of the slate into a deep, rich black, making the light gray engraving pop. You have two primary options:
- Mineral Oil: This is a food-safe, inexpensive, and easy option. Apply a small amount of mineral oil to a clean cloth and wipe it evenly across the entire surface. Let it soak in for a few minutes, then use a dry part of the cloth to buff off any excess.
- Food-Safe Sealant: For a more permanent and protective finish, you can use a clear food-safe spray sealant (available in matte, satin, or gloss). This will provide a durable layer that protects against moisture and stains. Apply it in a well-ventilated area according to the manufacturer’s instructions.
This finishing process not only protects the coaster but transforms its appearance, revealing the true beauty and contrast of your custom engraving.
Conclusions
You now have the knowledge to create your own professional-quality engraved slate coasters. By following these steps, you can consistently produce beautiful, high-contrast designs. Don’t hesitate to experiment with different settings and designs to develop your unique style. This is a fantastic project for both hobbyists and entrepreneurs looking to sell custom-made goods.
Frequently Asked Questions
Q: Why are my slate engravings blurry or inconsistent?
A: This is most often caused by two things: inconsistent slate thickness or an incorrect focal point. Ensure your coaster blanks are uniform in height and that your laser’s focus is precisely set for the surface of the slate. Even a millimeter of difference can ruin the result.
Q: My engraving looks dull and low-contrast. How do I make it “pop”?
A: The magic is in the finishing step. After engraving, thoroughly clean the coaster with water and a soft brush. Once it’s completely dry, apply a thin coat of mineral oil or a food-safe clear sealant. This will darken the slate to a rich black and make the light gray engraving stand out dramatically.
Q: Can I use a diode laser to engrave slate?
A: Absolutely. While CO2 lasers are very efficient, diode lasers produce excellent results. You will typically need to use a higher power percentage and a slower speed compared to a CO2 laser. For a 10W diode, start testing around 70-85% power at 2000-4000 mm/min, and always run a test grid.
Q: How do I engrave a photograph on a slate coaster?
A: To engrave a photo, you must first process it in your laser software using a dithering algorithm (such as Jarvis, Stucki, or Floyd-Steinberg). This converts the grayscale image into a pattern of dots that the laser can engrave to simulate shades of gray. For best results, edit your photo beforehand to increase its contrast and sharpness.

Subscribe to Our Newsletter
And enjoy FREE Download Files, SALE Alerts and Inspiring TIPS
A Comprehensive Guide to Pricing Your Laser Engraving Services
A Comprehensive Guide on How to Price Laser Engraving Services
How to Price Your Laser Engraving and Cutting Services
Charcuterie Board Engraving File – Wine & Grapes 3D Illusion…
$4.00Original price was: $4.00.$3.00Current price is: $3.00.(25% off)
Bee and Honey Jar Charcuterie Board Engraving File | PNG Download #007…
$4.00Original price was: $4.00.$3.20Current price is: $3.20.(20% off)
Valentine Love Captions: 6 Charcuterie Board Engraving Files…
$8.00Original price was: $8.00.$5.60Current price is: $5.60.(30% off)
American Eagle Flag Laser Engraving File for Charcuterie & Cutting…
$4.00Original price was: $4.00.$2.80Current price is: $2.80.(30% off)